Featured Image: Our new Pimax Crystal Light in review
In today’s article, I’m going to kick off a series of small guides to the Pimax Crystal Light, my latest acquisition for the sim racing room.
Rather than dive straight in and install it on the simulator, I decided to start by taking a look at a few important changes between the brand new Pimax Crystal Light headset, and its predecessor the Crystal (also detailed on the Pimax website, here). (Perhaps I should say “parent” or “sibling”, as these two products compliment each other).
I’m also going to unbox and write up my experience of installing the device too. I’ve set it up on my gaming (and work) machine to do a proper runthrough of the device’s capabilities and installation procedure, just to get used to it for general gaming before we go sim racing.
Overall I’m pretty excited, as the Light does actually feel lighter (it’s not just a clever name) and the cabling / additional extras are much less burdensome. I’m OK with the battery feature being removed, for example, – as I always use the Crystal plugged into my gaming PC.
Crystal Light Pricing
Price wise, the Crystal Light starts at around $799 USD / £749 GBP (Local dimming, no controllers). The version I have came with controllers ($899).
Compared to the Pimax Crystal’s RRP of: $1599.00, this is a major discount. The Light has dispensed with some of the bigger features, like auto IPD and batteries, which is why it’s so much cheaper and lighter.
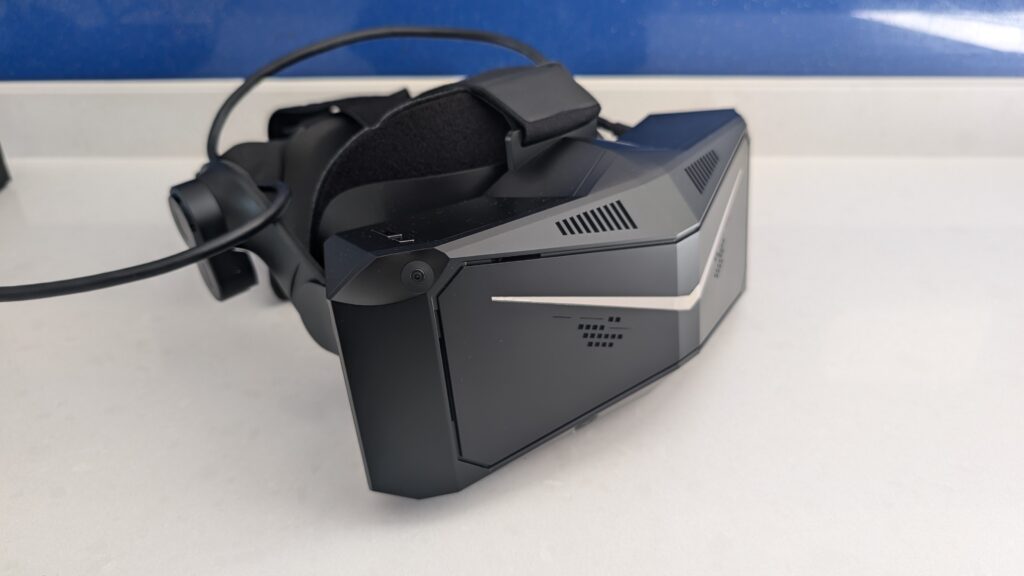
My view before getting started is that I don’t expect it to be better but in its reduced “Light” form, but is it actually more convenient as a VR headset than its “full fat” sibling? It ceratinly seems to have addressed a few minor inconveniences. Weight, being a signicant factor.
Before we get started I’ll also note that the Light came very quickly (it was with me within 3 days of order) which, distributed from China, is very impressive.
Initial Unboxing
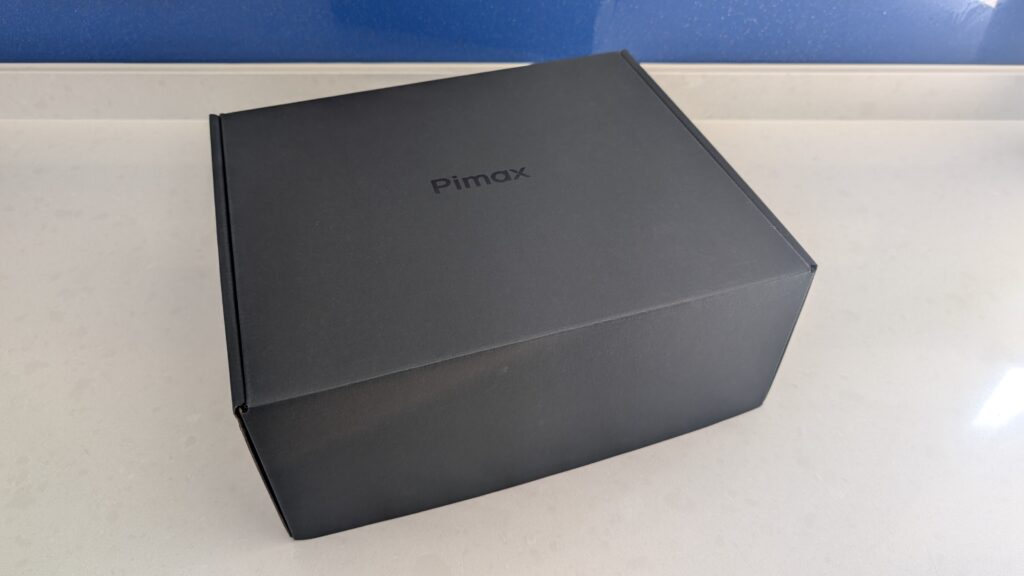
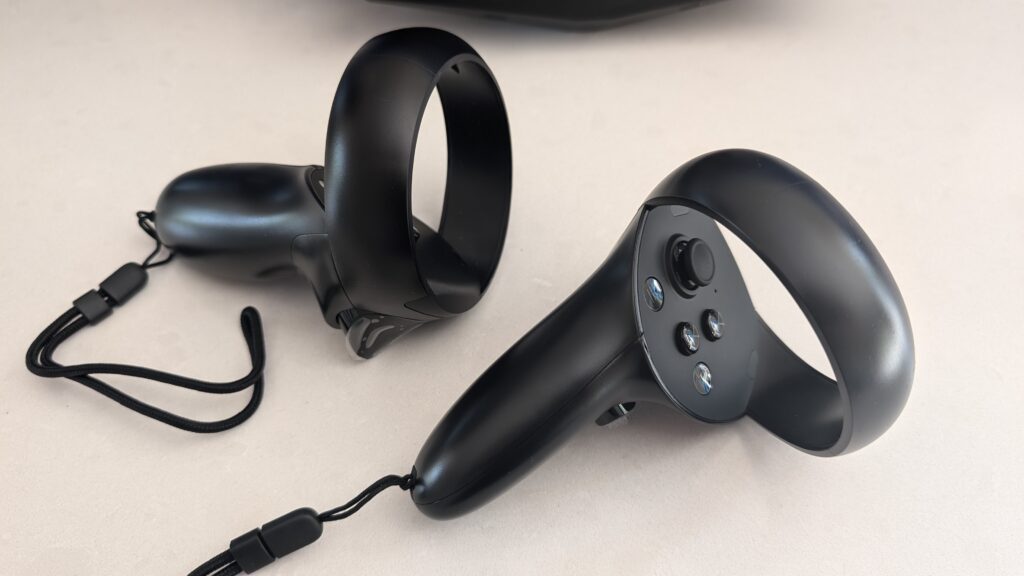
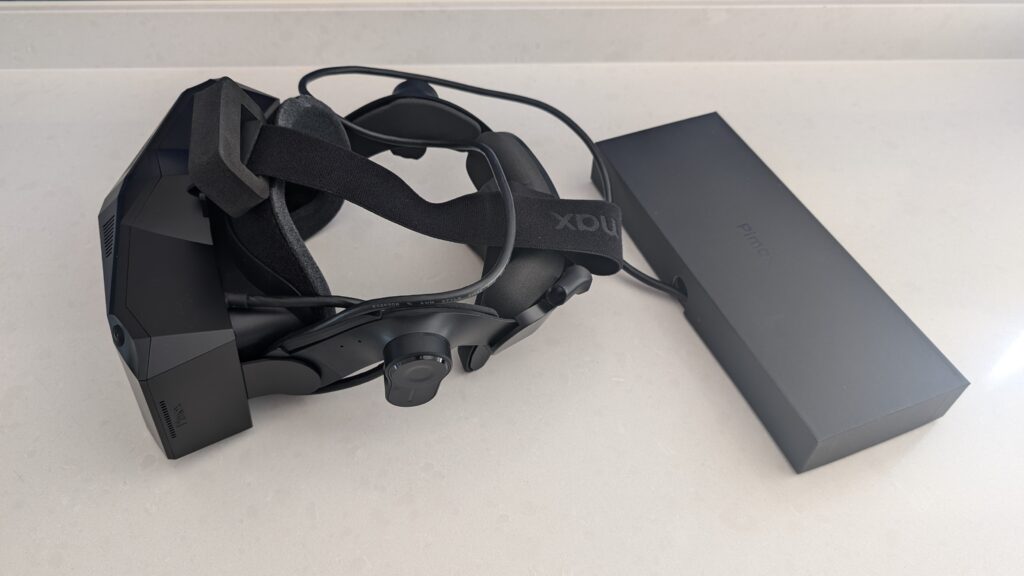
The Pimax Crystal Light comes in a simple, well packed black box. While the headset is at the centre of the purchase, my version also came with controllers and a separate power supply.
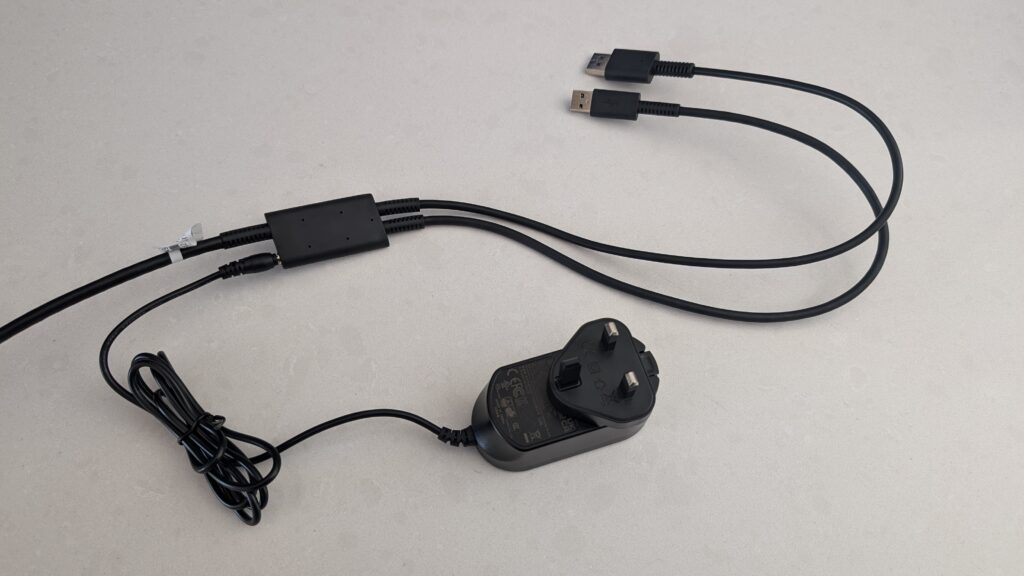
The power cable connects to a breakout section on the main Pimax cable, which feels like a sensible reduction to the power / battery setup of the Pimax Crystal.
The PSU comes with every local variation of mains connector, so you shouldn’t have any trouble localising your PSU.
On first impression, the Light really is significantly lighter, too. It feels like almost half the weight of the Pimax Crystal with a battery installed (ed: it’s actually a third!).
Pimax Crystal vs Crystal Light: What’s the Difference?
For those of you wondering what the key technical differences between the Crystal Light and its predecessor, the Crystal are, I’ve created a quick technical summary below:
- Weighs significantly less: 951g vs the Crystal’s 1268g
- Auto IPD: Removed
- Eye tracking: None
- Foveated Rendering: Fixed foveated rendering instead of dynamic (see: What is foveated rendering?)
- Lenses: Non-interchangeable
- Audio in: One less microphone
- Storage: No internal storage
- Standalone: Not available
- PSU: Simplified power supply (via DP cable only – I think this is a plus!)
I’m not getting the feeling that I’ll miss all of those features; of all the items in the list, auto IPD is probably my favourite feature of the standard Crystal. With that said, it’s OK as a “set and forget” feature, your interpupillary distance isn’t something that changes much. I hope!
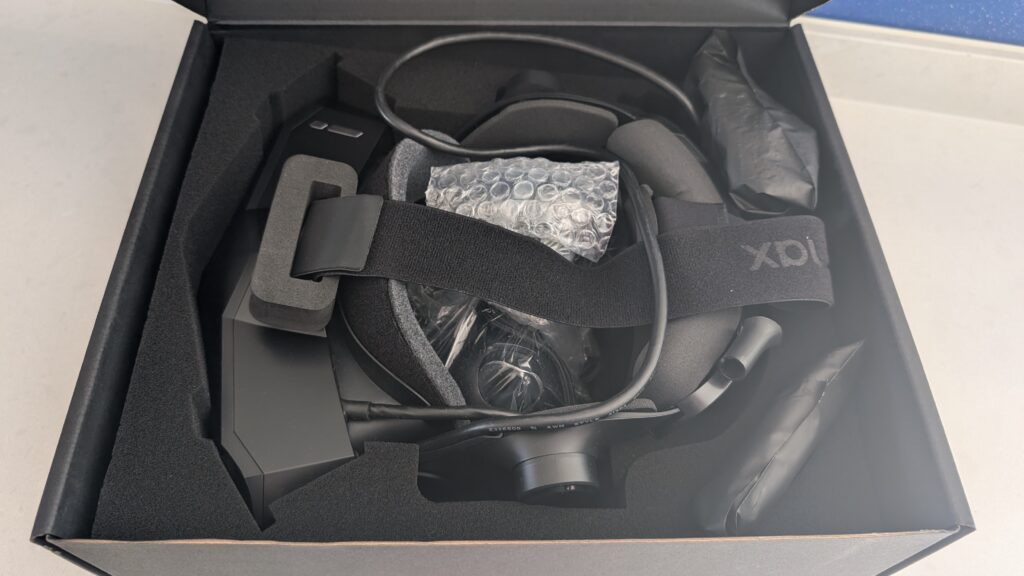
And let’s not forget what we get for around half the price of the orginal. A technically impressive VR headset:
Technical Specifications
- Resolution: 2880 x 2880 per eye
- Panel: QLED (Mini-LED optional)
- Refresh rates: 60, 72, 90, 120 Hz
- IPD range: 58-72mm (manual adjust only)
- Eye-tracking: None
- Foveated Rendering: Fixed
- Tracking: Inside-out (Lighthouse optional)
- Lenses: Glass aspheric, 35 PPD
- Audio: Integrated, 3.5 mm jack, 2x microphone
- Chipset: PCVR Engine Dual-processor
- VR modes: PCVR
- Connectivity: Pimax 4.5m DP cable + PSU
Pimax Crystal Light: Setup
According to the manual, the minimum GPU / CPU combination to adequately power the Crystal Light is NVIDIA® GeForce RTX 2070 or above and the CPU: Intel® Core™ i5-12500 / AMD Ryzen™ 7 3700X.
The two machines I have are a 11th gen i9 with an RTX 3080 (my old sim racing PC) and a 13th gen i9 with a 4090 (on the racing simulator). Either, according to the specs, will be ample but based on my previous experience with Crystal’s performance optimisation, I’m pretty confident the 4090 will have a far easier time running the Crystal Light.
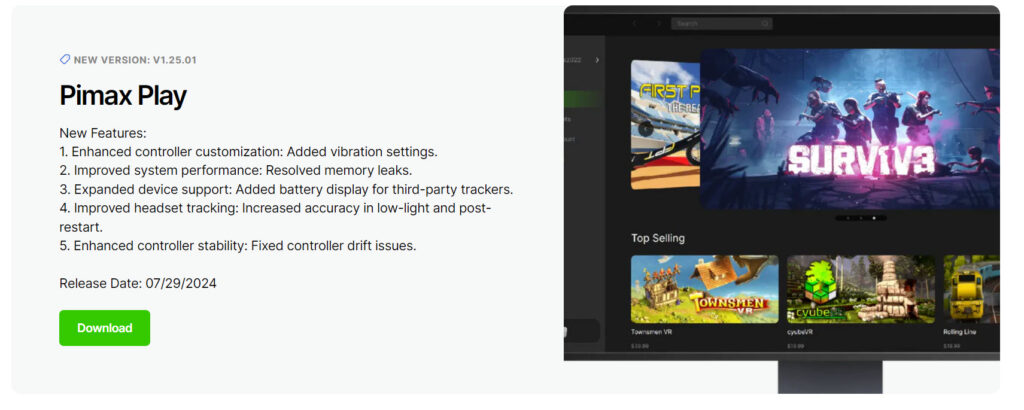
The first step, then, is to install Pimax Play. The latest version is v1.25.01 and it can be downloaded from their website here.
On first open and detection, Pimax Play seems not to fully detect or connect to the device, citing a DisplayPort connection failiure:
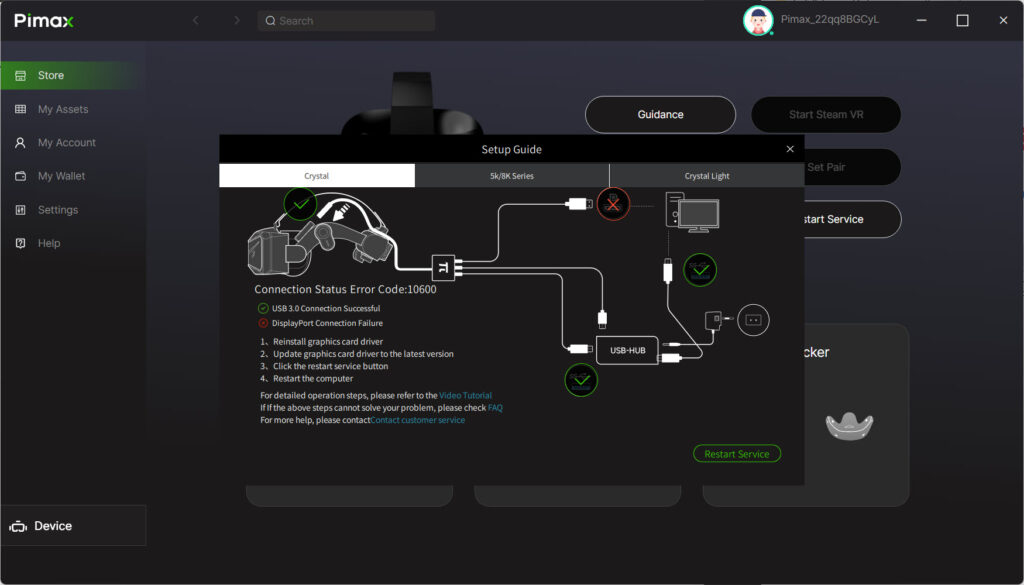
This experience feels extremely familiar and hasn’t changed since the Pimax Crystal, so I followed the instructions to restart my PC after updating the graphics driver. Hopefully Pimax techs will find a way to resolve this small bump in the road, but it’s not a big deal.
A restart did indeed solve my problem, and PimaX Play detected the headset. Upon detection, the activation process starts. Activation is a simple two step process of installing the latest firmware and registering your device.
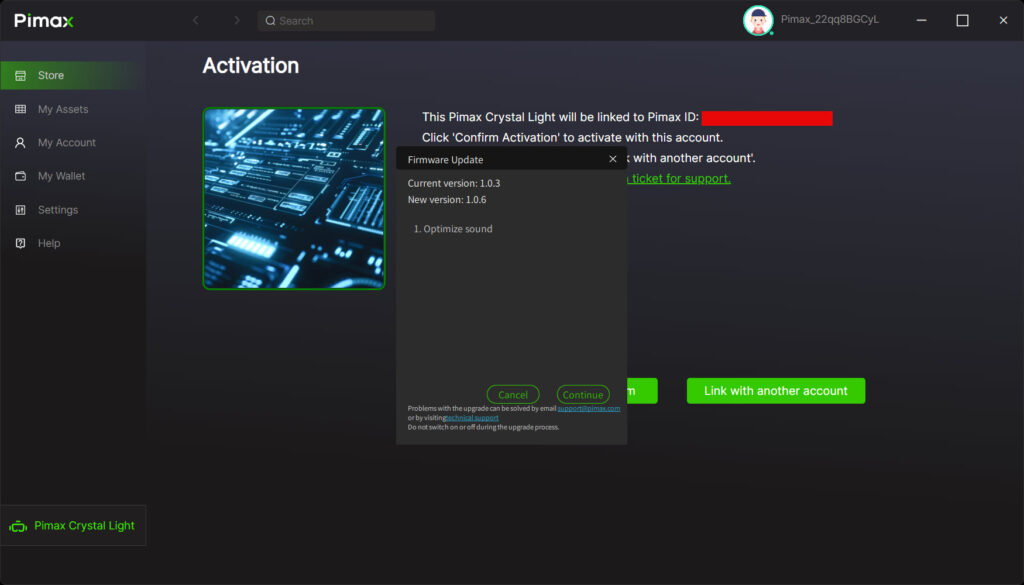
When the initial installation is complete, this is how Pimax Play should look:
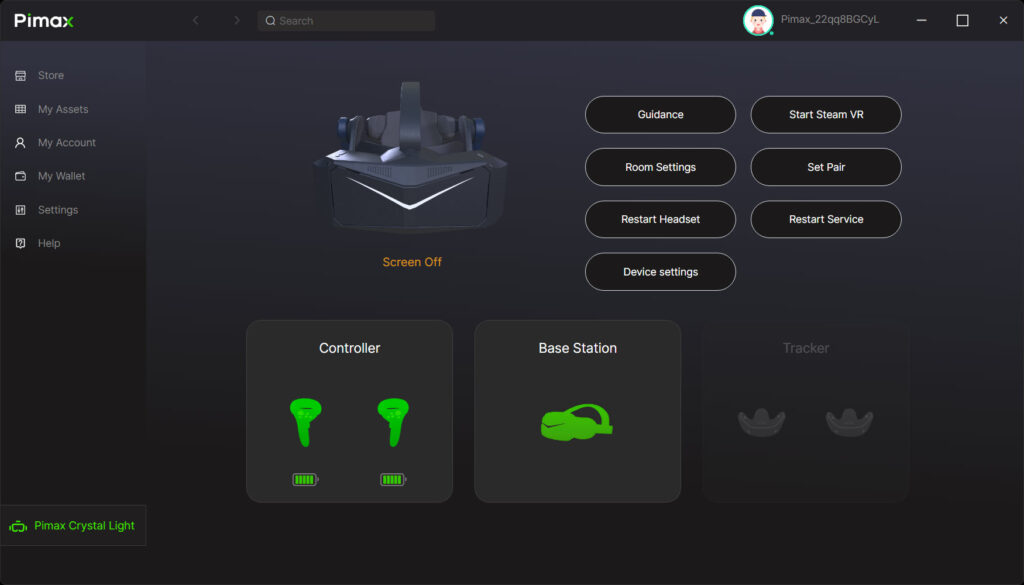
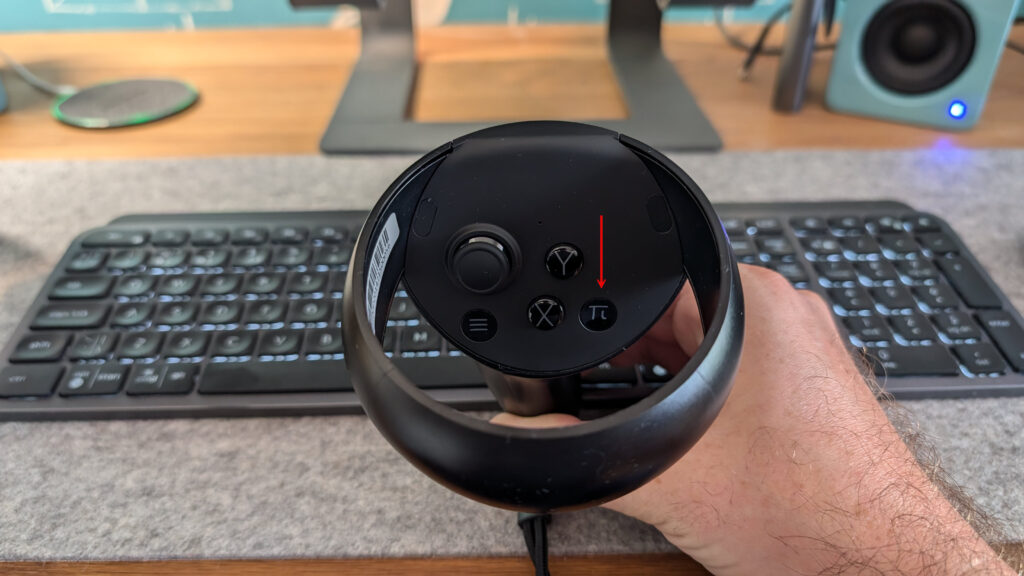
To power the controllers, press the little Pi logo button on the bottom right of the controller:
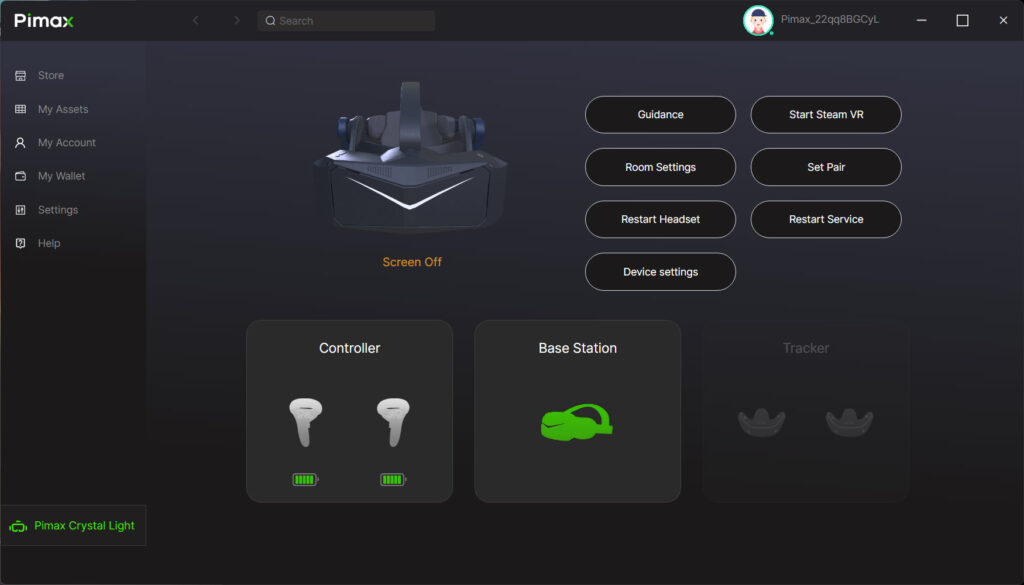
Just a small thing to point out – I think it’s wise to put the controllers on charge while you’re unboxing and setting everything up, just in case one or more are flat when they arrive.
Getting Started
Once you have a working headset installed, I recommend (if you don’t already) installing SteamVR – Pimax Play will give you access to your VR compatible games via Steam VR. To find it, search for “SteamVR” and install. That’s all you need to do.
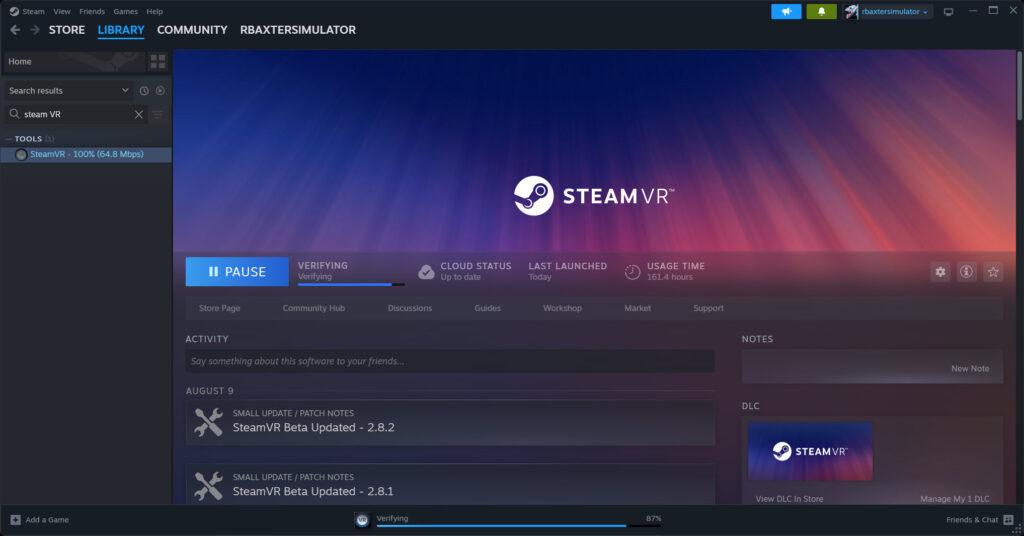
By the way; I checked and SteamVR does not detect the headset unless Pimax Play is running. If Steam is running with SteamVR installed, clicking “Start SteamVR” will open Steam and take you to Steam’s Home in your headset.
Room Settings
Room settings is very straightforward. From the position you’ll be using your headset, click “Room Settings” and put the Crystal Light on. Thankfully the headset uses video passthrough in this mode, so it’s easy to find a controller.
The app asks you to draw a line on a grid it overlays on the floor. You hold the trigger and draw.
From this I gather the headset calculates the horizontal height above the floor, as once I’d completed this step, the headset view horizon was set correctly.
Manually Adjust IPD
As we now know, the auto IPD (InterPupillory Distance) feature has been left out of the Crystal Light in order to save weight. This is absolutely fine – you just need to find the manual adjust, and have a friend nearby to help you measure your IPD.
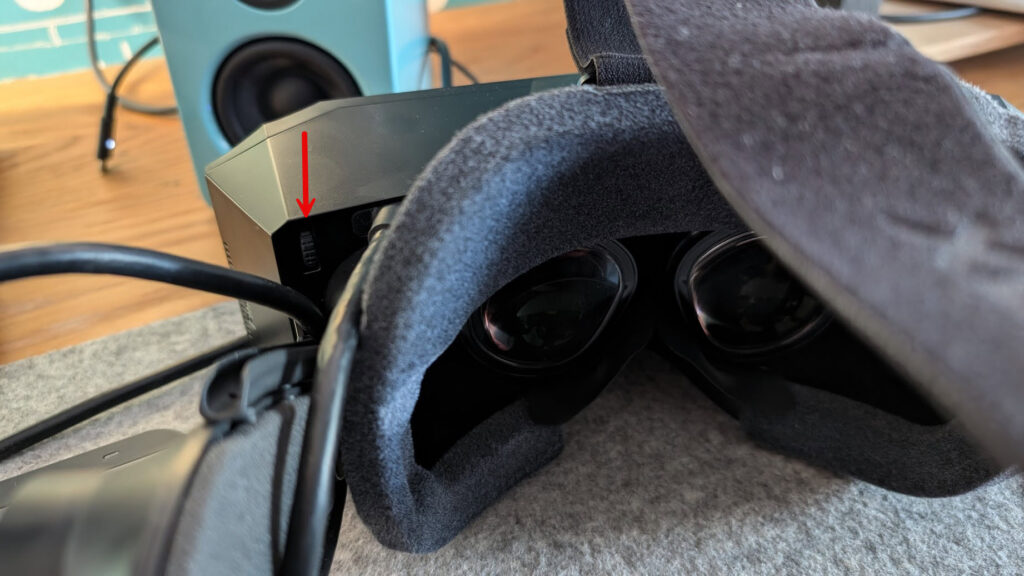
The IPD adjust on a Pimax Crystal Light is located in the top left of the casing. Up increases the distance, down decreases the distance.
Initial Device Settings
While I plan to cover device settings in a more in-depth post, for now, here are the device settings I used:
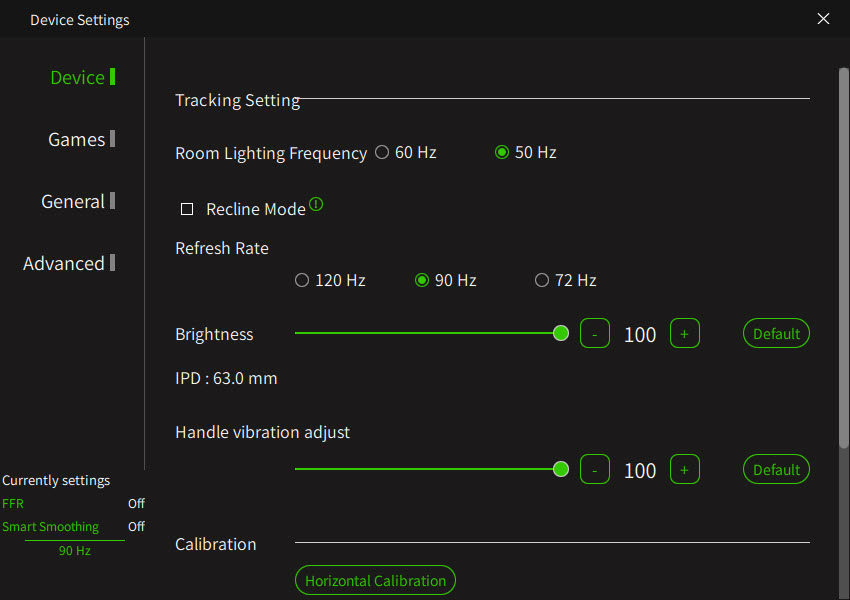
For getting started, I think you only need to match your “Room LIghting Frequency” which is the mains AC frequency for the country you live in. For the UK, that’s 50Hz and the USA, 60Hz.
“Horizontal Calibration” needs to be clicked to set the device’s understanding of “horizontal”. I performed this calibration wearing my headset in the position I’d be using it in.
First Impressions: Visual Performance
So I suppose the important point to note here is the underlying resolution at 2880×2880 per eye is the same as the “full fat” Crystal, and performance-wise the refresh rates are the same. On an RTX 3080, I found that 72Hz refresh had the edge, quality-wise over 90Hz. It reduced artefacts and a slight stutter caused when I was looking around vigorously in various directions. Smooth head movement and more typical inputs didn’t pose much of a problem.
Rapid head movements are not a reflection of how this headset will be used in the simulator.
On a more powerful GPU and CPU setup, I suspect I’ll return to my original iRacing optimised settings for the Crystal without noticing any difference. iRacing’s FPS meter is also useful when optimising the VR headset settings; if I recall, 100 to 120 FPS is to be expected on maximum settings.
For fun, I let Titans of Space Plus fly me around the solar system to refine the visual settings. I struggled a little with the default settings for darkness and stumbled across this thread on Reddit. I’ll be referring to these settings in my next article, but as a quick summary, you can modify the ‘profile.json’ (located at C:\Users\username\AppData\Local\Pimax\runtime) file to adjust the local dimming black level.
There’s also a useful recommendation to reduce the backlight settings, to darken the blacks further. I can’t think of a single VR headset that left the factory with the optimal backlight settings – I almost always find them all to be too bright by default.

My first impressions have gone very well. It’s always a lot of work to get to know a new VR headset, and the process can take days if not weeks to fine-tune the settings and come to terms with the technology.
The weight of the Crystal Light is a huge improvement for me, and any “loss” in functionality isn’t necessarily a loss at all. I wasn’t using the free roam capabilities of the Crystal headset, for example, making the batteries a cumbersome addition to the setup.
If I hadn’t used my Pimax Crystal for a long time, the batteries would need a long charge before I could use it again. This took the spontaneity out of using VR, which was a shame. The Light solves this problem perfectly!
The manual IPD adjustment simplifies the user experience, as the novelty of auto IPD wanting to make adjustments quite regularly could be distracting. There’s perhaps a minor difference in backlight and black contrast as I mentioned before, but as the Reddit thread I shared earlier notes, this is a matter of finding the right settings.
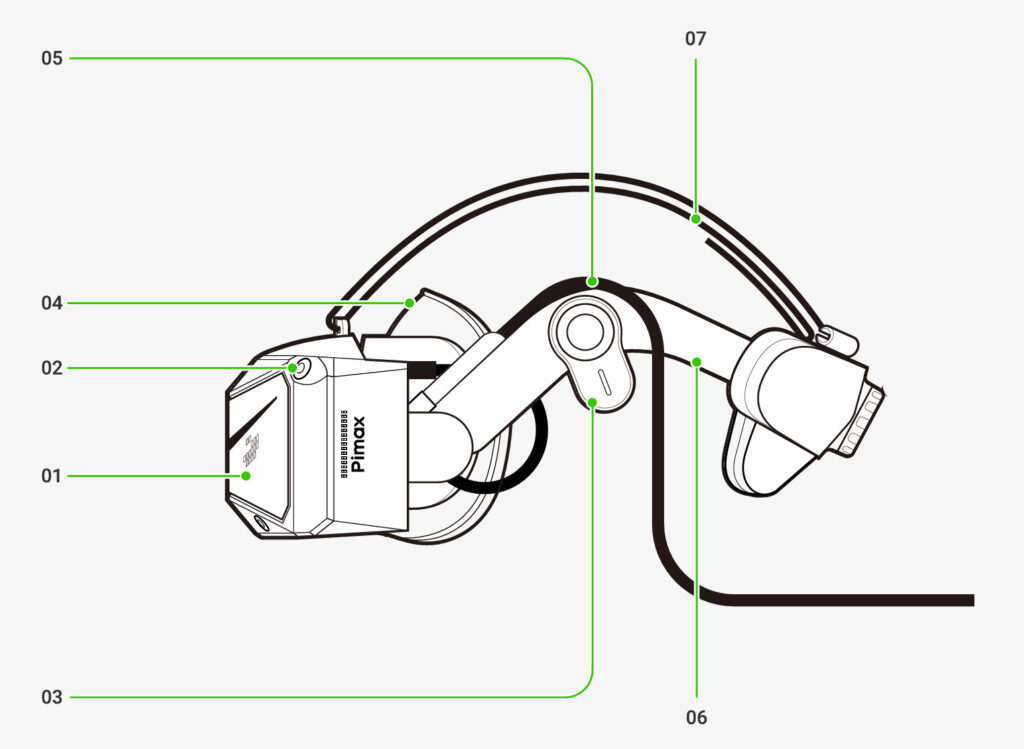
- Faceplate
- Tracking Camera
- Speaker
- Facial Foam
- DP Cable
- Headstrap
- Top Headstrap
Comfort-wise, I would have preferred a slightly thicker “Facial Foam” insert; as I can’t help but feel I’m very close to the lenses. I think I’ve still got some work to do on improving the overall fit.
Finally, and perhaps most importantly, the Crystal Light performs very closely in terms of visual fidelity to the Crystal and the clarity of the display is excellent.
Now I’m installed and set up, the Crystal Light will be finding itself rendering iRacing in my next article. I like the Crystal Light so far, so, it’s time to find that optimal sim racing setup.
Related Articles
Le Mans Ultimate: How to Drive the LMGT3 and Hypercar
mBooster Review: Moza’s New Active Pedal
Is Moza about to Completely Disrupt the Sim Racing Pedal game?
Mustang GT3 Sim Racing Wheel from VPG – Close Look
Five of the best Gran Turismo 7 track and car combinations
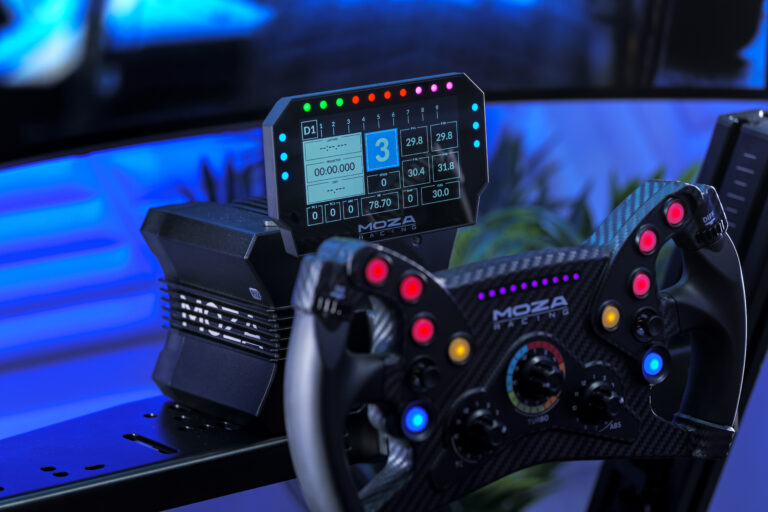
MOZA Racing FSR2 Formula Wheel and CM2 Dash Review
Topic: VR Headsets for Sim Racing
2 thoughts on “Pimax Crystal Light: First Thoughts, Installation and Setup”
Comments are closed.



Hello
Coming from HP’s REVERB G2 (which is doomed to die) I am very interested in the Pimax Christal Light from what I understand it is the perfect successor to the G2. The only information I have not found anywhere yet is on its use for those (like me) who wear glasses. Do you have any information? Thanks
Nicola (Italy)
Hi Nicola, to the best of my knowledge, Pimax Light doesn’t currently support prescription lenses. I’m pretty sure I saw a comment from Pimax that they were “working” on getting this resolved. I’ve never fitted prescription lenses to a VR Headset, but I can see the little screws that hold them in place. I suspect it’s a case of the manufacturer publishing the lens fitment to the companies who make lenses for the things. Regarding wearing glasses with this headset, that’s a non-starter – your eyes feel very close to the lenses already! All the best, Richard.