Featured Image: My Racing Simulator
In today’s article, I’m sharing more details on the simulator at SIMRACINGCOCKPIT HQ. I’ll start with an overview of my own simulator, list all of the components I’ve fitted, and, I’ll link to the individual reviews so you can grab more detail. If you fancy a major upgrade to your simulator or you’re a first-time builder, I’ve written this article for you.
I started sim racing around 5 years ago. My first wheelbase was a Fanatec CSL Elite with the v1 CSL pedals. I ran for quite a long time with an RSEAT RS1 cockpit and my first sim racing PC.
Over time, I began to “get the upgrade bug”, and I started adding new components to my rig. First, the Heusinkveld Sprint Pedals arrived, then a Fanatec DD2 direct drive wheelbase – very soon the torque loads were too much for my RSEAT and I upgraded to a proper cockpit. And now, here I am!
Building a racing sim is far easier today than it ever used to be, requiring only minimal experience with assembly (lots of hex bolts and little else), and some experience with gaming PCs and software installation.
If you’re completely new to sim racing, I suggest you take a look at our beginner’s sim racing setup guide.
First, let’s decide if you’re going to build from scratch or acquire a ready-made simulator.
Ready-Made Racing Simulator vs. DIY – Which is Better?
If you’re reasonably tech-savvy, and you have several days of time on your hands for a build project, build your rig from scratch. If you want to fully immerse yourself into sim racing, getting the tools out and building your own is pretty non-negotiable for most of us.
We’ll get on to the components you’ll need a little later in my article but for now, let’s weigh up the pros and cons of ready-built simulators vs a DIY setup.
Building Your Own Racing Simulator
Getting started is easy. Once you’ve researched and chosen all of the components and the accessories you need (hopefully by reading our buyer’s guides!), assembly is guided by instruction manuals.
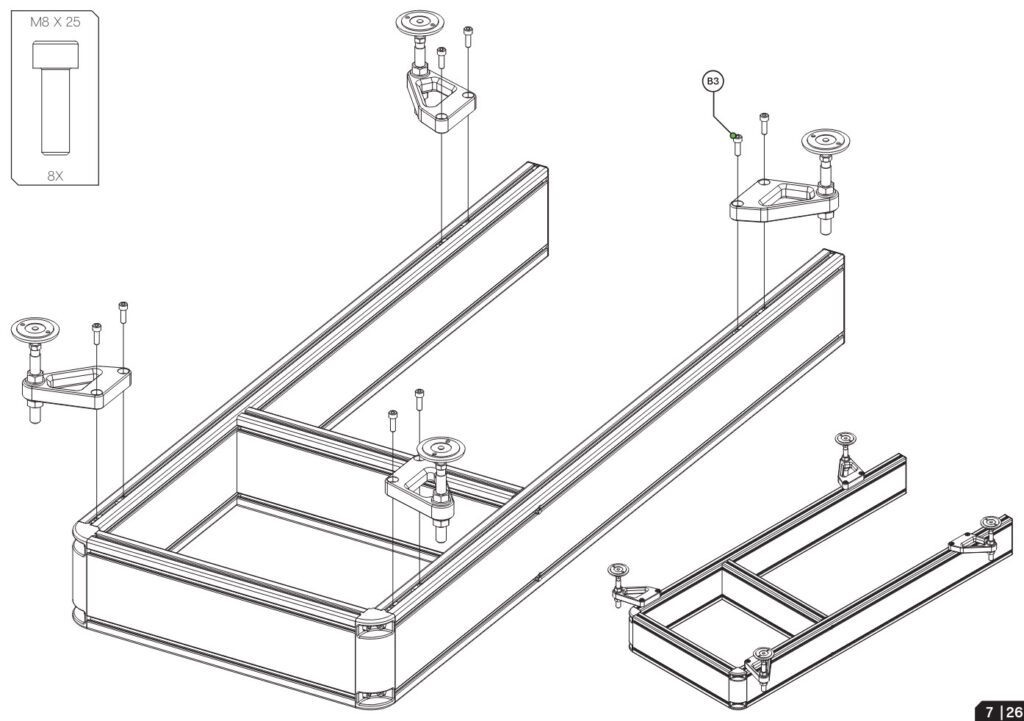
Assemble the cockpit, mount the wheelbase and seat, mount the monitors and you’re done. As you can see from the image above, assembly manuals are very step-by-step and simple to read.
Products like the P1X Pro sim racing cockpit come provided with the assembly tools you need too.
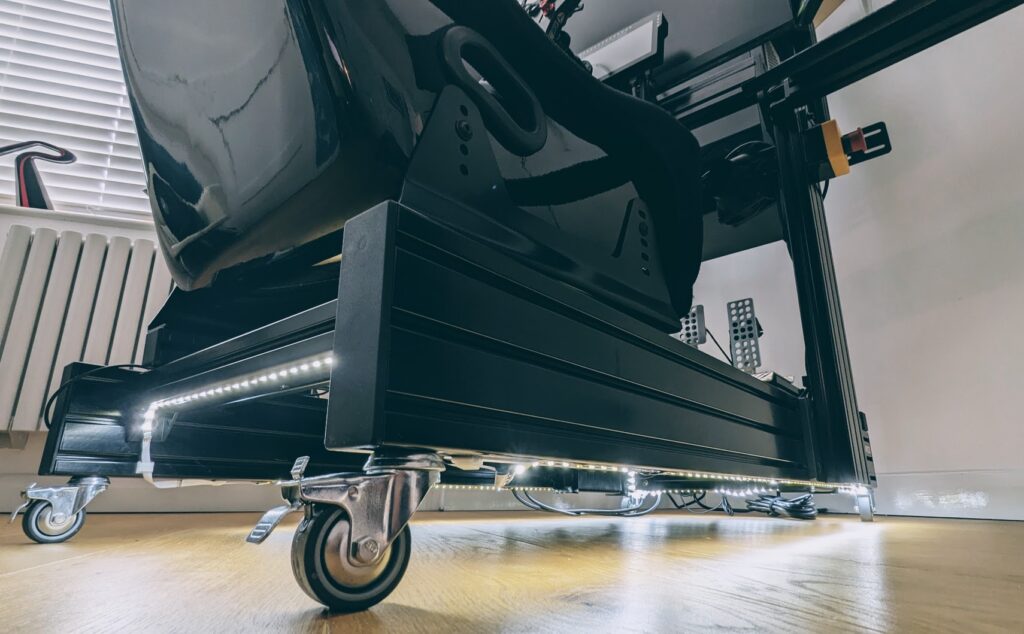
Getting started with a simulator build is so much easier than it used to be. Once you’ve assembled your sim and mounted the accessories, there are just a few adjustments to make to perfect your setup:
- You’ll need to mount the monitors so that the in-game horizon meets your eyes at the middle of the monitor display.
- Setting up the wheelbase FFB is a task that requires a bit of Googling (unless you own a Simucube 2 Pro).
- Getting the seat positioned correctly is a matter of testing your seating position, making adjustments and testing again.
- Then, you need to work with the software setup: setting up the graphics and FOV after installing iRacing (or your preferred simulator), setting up your wheelbase FFB profile and so on.
Building your own racing simulator brings a huge joy in understanding how everything works, not to mention the satisfaction of embracing a new hobby properly!
Knowing what to do if something goes wrong is a superpower. If you’re not new to sim racing, all of the small hurdles I’ve listed above should seem trivial.
If you’re new to sim racing or not 100% confident, I’ve written guides for every step on this site, and Google is your friend.
Making the case for “Turnkey” Racing Simulators
Let’s just get this out of the way; I’ve fallen out of love for “turnkey” setups because they’re very expensive, even though the components supplied are just the same as if you’d assembled your own.
If you want to go racing as soon as possible and you’d prefer to have other people do everything for you, then a pre-built sim might be the way to go for you. If that’s the case, who am I to judge?
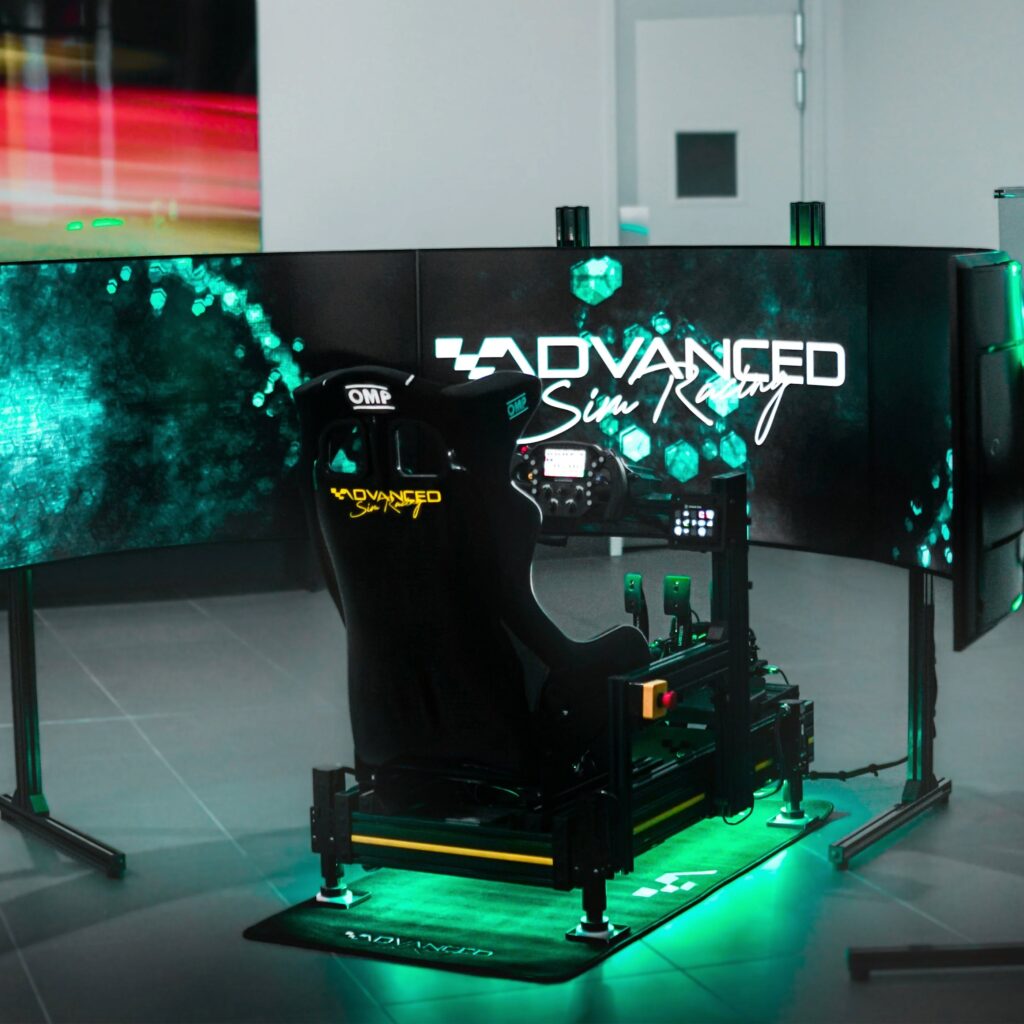
Buying the complete setup from a retailer also affords you some customer support. It’s the customer support that keeps you running but, it’s also an invaluable source of education – you can learn a great deal from an experienced simulator builder.
However, turnkey simulators cost much more – the World Champion racing simulator I’ve pictured above is $60,000! Be aware that the cost added by a retailer to a ready-built sim is huge – the retailers I know openly admit that ready-built sims are where their businesses derive most of their profit, not from component sales.
This is why I think the wisest strategy is to build your own, perhaps by building to a budget in a well thought out way so that upgrades can be planned in a logical order (read my advice on building a sim cheaply here).
My Racing Simulator
I’m very proud of my sim racing setup. I think all sim racers who are true to their hobby ought to be able to build, upgrade and manage their simulator with a reasonable degree of competence.
It takes time to learn, we all start somewhere, but the joy of improving your sim, adding cool accessories and improving settings is very much part of the sport. This is the very ethos as to why I started this site.
Here’s mine:
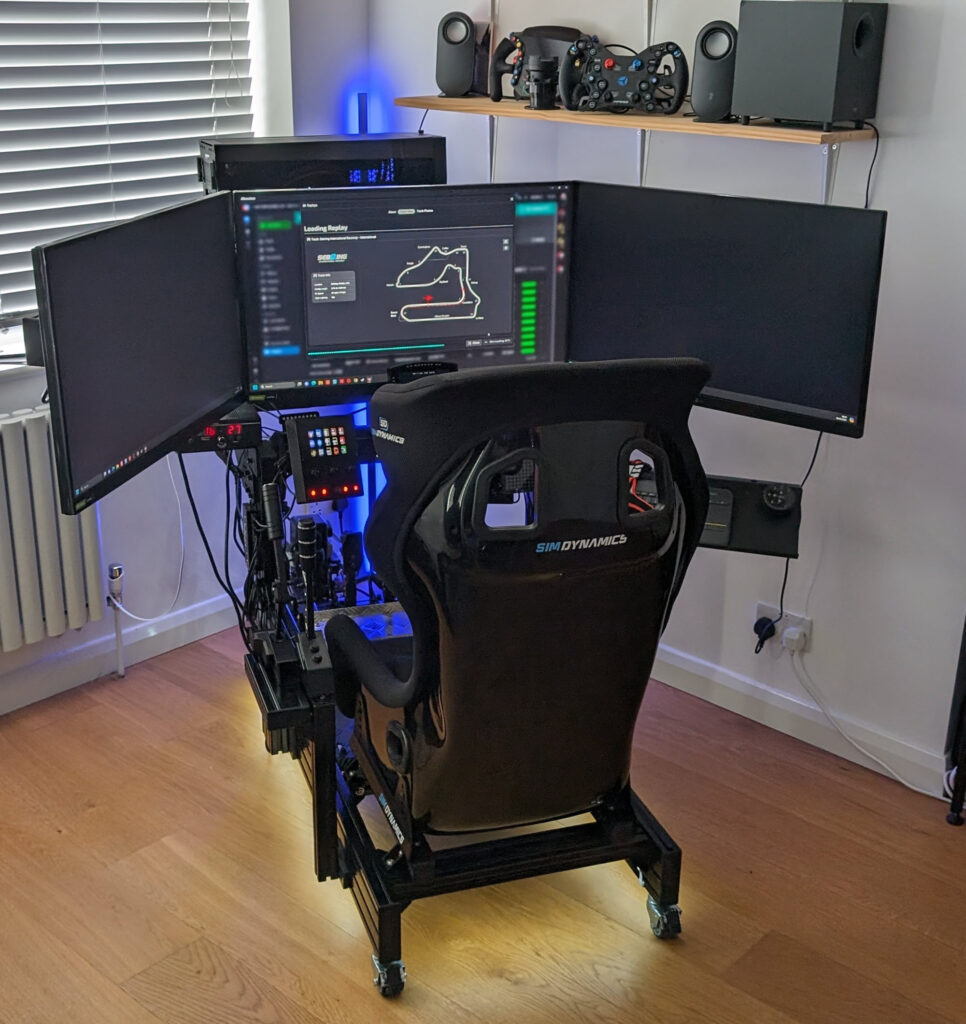
The first step is to choose a cockpit. I’m a big fan of the Sim-Lab P1X Pro, but there are some excellent options, many of which you can purchase at a surprisingly low budget.
Take a look at my guide to sim racing cockpits here.
Monitors and Monitor Mount
Our rig features triple 34″ monitors: AOC Gaming U34G3XM, mounted with Sim-Lab Vario Vesa Mounts on a Triple Monitor Mount.
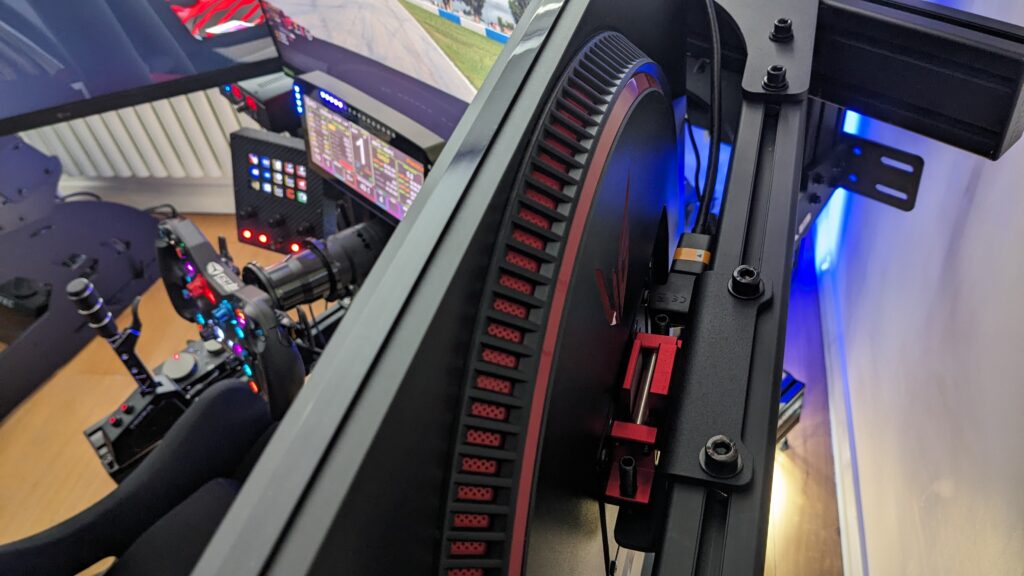
The monitors are mounted to a Trak Racer triple monitor arm, via a set of Vario Vesa mounts. Setting up the triples takes time and patience, but they’re excellent for the money and give me a very wide peripheral view at 90 degrees FOV.
Here’s how to set up triple monitors, and here’s my monitor buyer’s guide for sim racers.
Sim Racing PC
The 34″ monitors refresh at 166hz, which the RTX 4090 inside my sim racing PC deals with very easily:
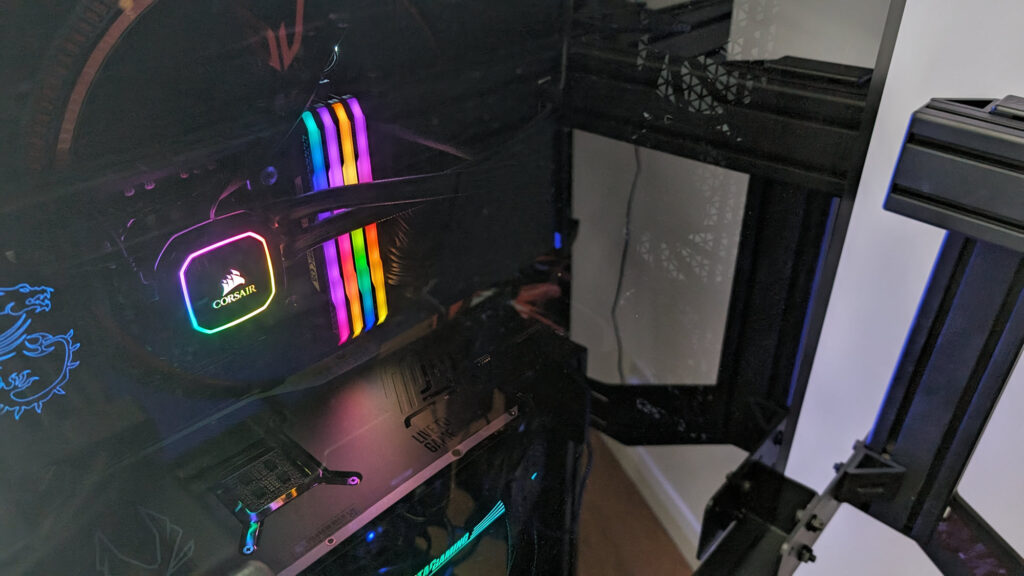
The sim racing PC I use features a 4090 GPU. Frankly, a lower-spec GPU for iRacing is fine, but with triple 34″ monitors you need more graphics rendering power available if you want to preserve a respectable frame rate.
Sim Racing Pedals
Conspit CPP Lite sim racing pedals: these lesser-known pedals from Conspit certainly made a splash when they were released. They have an intelligent launch control system, built-in haptics and the brake pedal feels very close to a genuine racing brake system. I reviewed them last year and they stayed put.
Here’s the review of the Conspit CPP Lite set; the throttle is lovely and smooth and the brake feedback is perfect. They’re on the rig for the “long term” where I can keep an eye on any potential issues. Some 6 months later and they’re still as nice as they were when I opened the box.
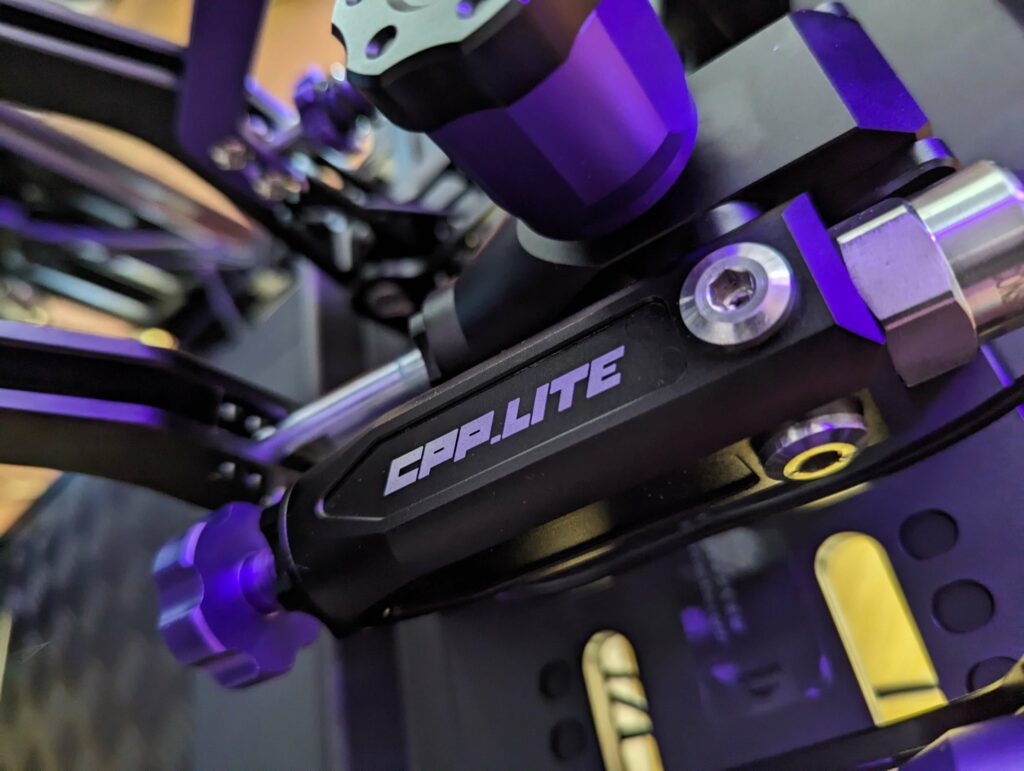
The Conspit CPP pedals are quite a high-end accessory – for a full list of the best pedals available, check out my pedals buyer’s guide.
DD Wheelbase, Wheel and Accessories:
Grid Engineering’s DDU5 is mounted to the top of my Simucube 2 Pro direct drive sim racing wheel with an Ascher Racing McLaren Artura Pro (USB) steering wheel, mounted via an SQR hub and BG Racing hub extension.
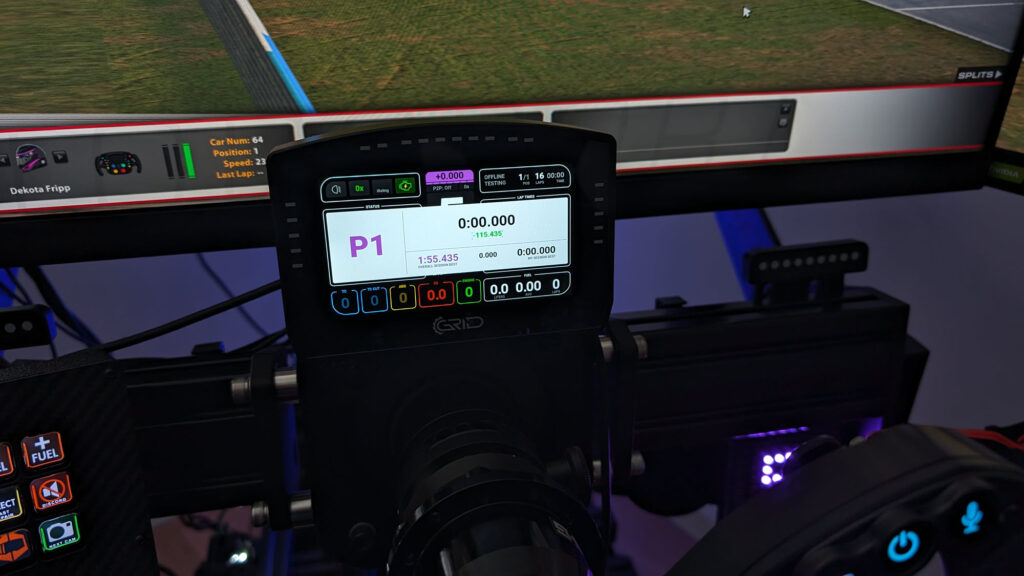
On the left, you’ll see my trusty Apex “Race Deck” button box with a Stream Deck installed, and Grid Engineering’s Brows peaking over the top. I’ve got the Stream Deck setup for iRacing and the Brows run via Simhub.
The Grid Engineering DDU is configured in Simhub, as are the RPM LEDs. The LED profile of the Arture Pro wheel is also configured in Simhub – setup these days is so easy, you download the LED profile from the manufacturer and open it with SimHub. That’s all!
Take a look at all of the DDUs for sim racing I’ve covered in this buyer’s guide.
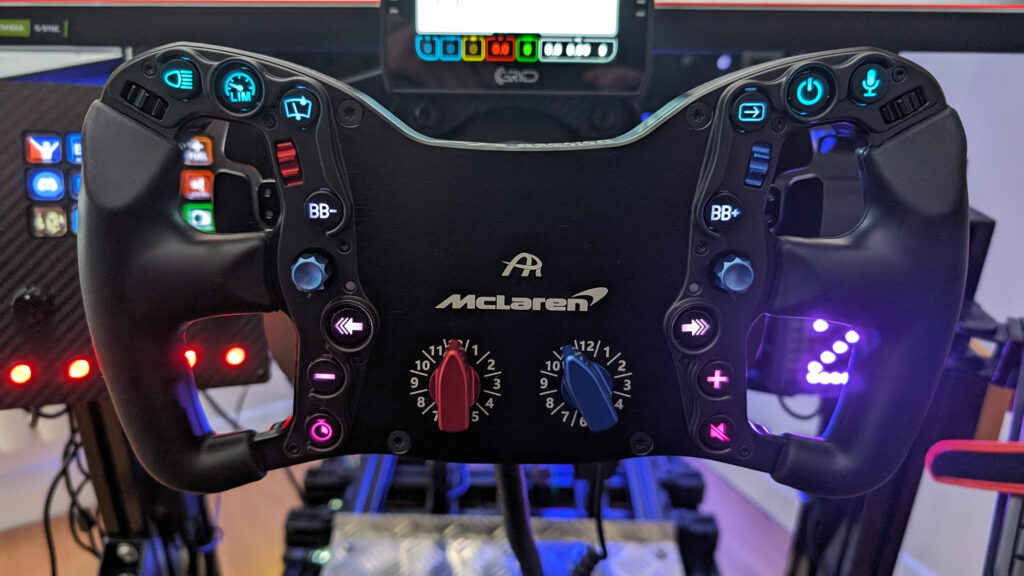
There are lots of sim racing wheels that are compatible with the Simucube 2 Pro, take a look at my sim racing wheels buyer’s guide here and my guide to direct drive wheels here.
When it comes to Simucube, I’ve been a fan of their direct-drive wheelbase for a long time. The software that runs the Simucube 2 series of wheelbase is called “Truedrive Paddock”. In Truedrive you can adjust various FFB profile settings, or use a shared profile in the Paddock section.
My favourite FFB profile was created by Dan Suzuki. Using a shared FFB profile saves days of fiddling around with settings!
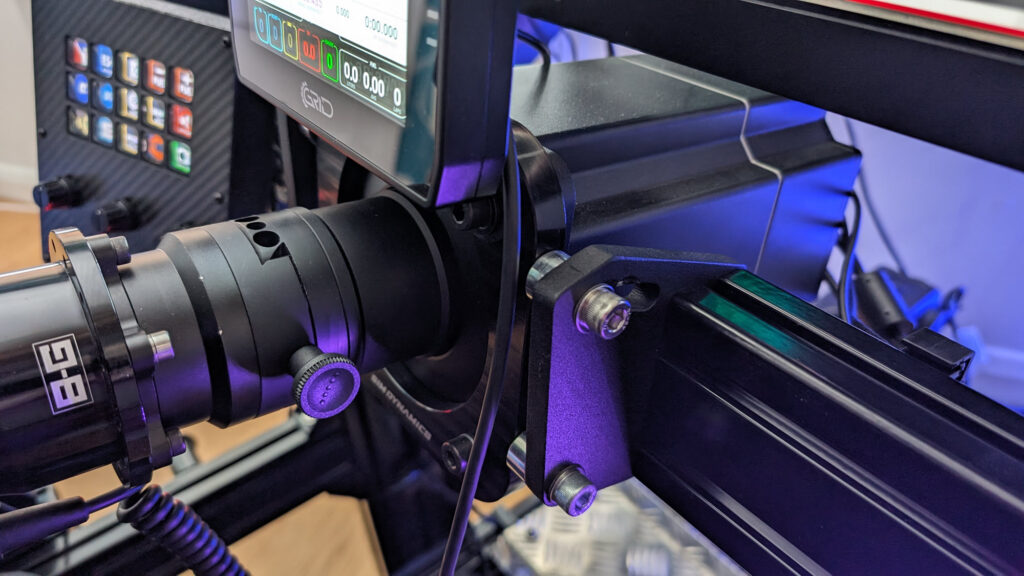
I enjoy a novel, useful accessory. My latest acquisition is the iFlag from Reaperware:
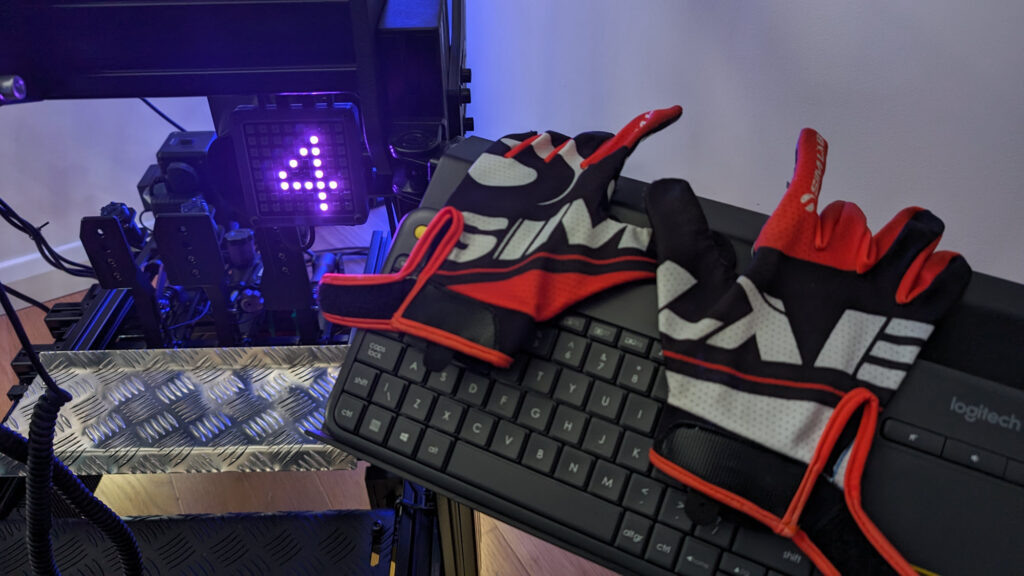
Note also the classic Logitech wireless keyboard and my trusty F33L sim racing gloves.
Building your own simulator is a hugely rewarding process, and one that (you’ll find) is easier than you thought. That’s thanks to the way manufacturers have refined their products, made FFB setup far easier and embraced SimHub as the centrepoint for all of your devices.
Get started by choosing a cockpit (here), or read my buyer’s guides here. Good luck!


