Featured image: Vario Vesa mount on our main rig
I’ve recently moved back from my Samsung G9 (which now makes an excellent work PC monitor!) to triple monitors. 3 UltraGear 32GP850-B.BEK Quad HD 32″ Nano IPS LCD Gaming Monitors to be precise. Why? I wanted a bit more screen real estate, immersion and critically, to upgrade my entire sim rig with bits I think should be on your rig too. We’ll come to accessories in a different article, today we’re specifically looking at a method to set up your monitor alignment with Sim-Lab’s Vario-Vesa Mounts
What are Vario Vesa mounts?
For an absolute age, we’ve been mounting monitors with nothing more than a thick, powder-coated aluminium bracket that hangs our monitors on their monitor stands. The near-total lack of adjustability and general messing around with alignment issues is what put me off from using triple monitors in the first place. I simply didn’t have the time or inclination to put so much time into monitor alignment, which is why I ended up with my G9 for so long.
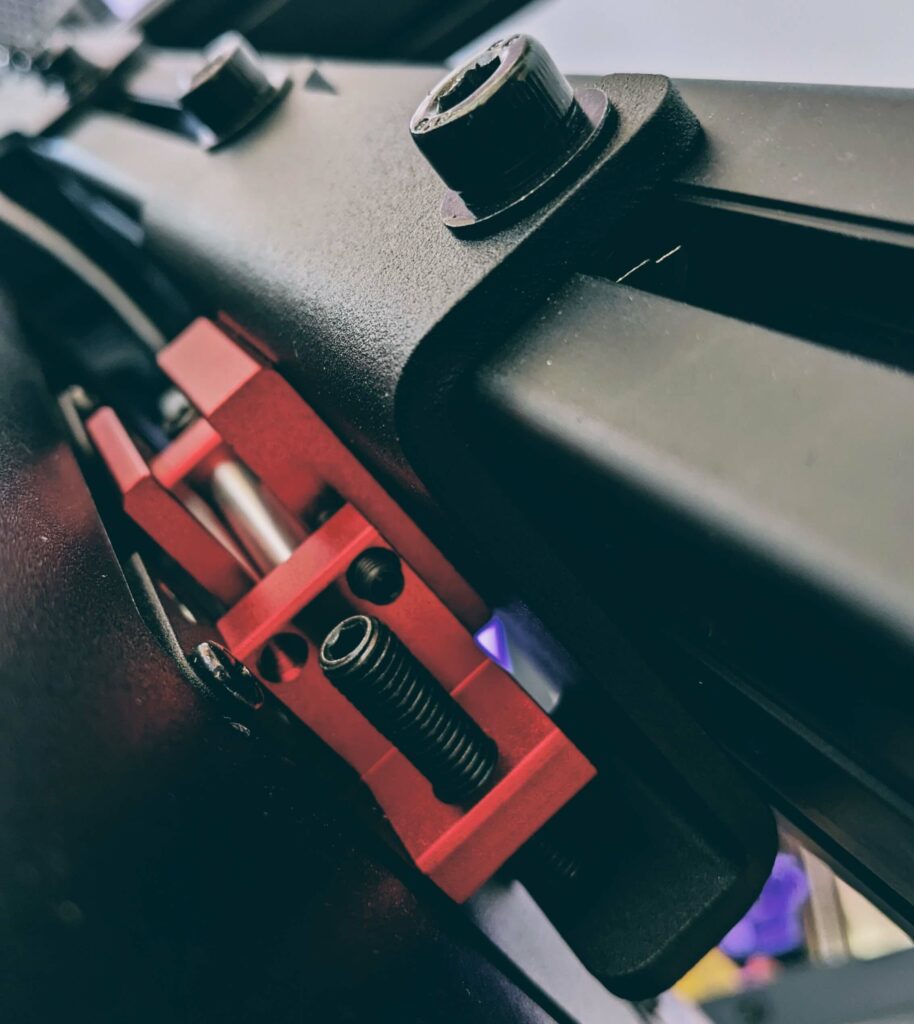
The Vario Vesa mount(s) solve this problem by using set screws (like grub screws but much longer) to give you lateral (left-right) and longitudinal adjustment (up and down) and an angle adjustment that adjusts lean (is the monitor angled in your direction or away from you). I’ve wanted to get more out of my RTX 4090 for some time, so these mounts really do solve a lot of time related problems when it comes to sim setup!
Assuming that you know the basics – what your FOV settings should be and what your triple screen angle configuration should be, how do we finish the job “the easy way” to get the best monitor alignment you can.
I should add that I have created this article with the intention of adding a bezel-free kit, although this guide assumes no bezel-free kit. OK?
Vario Vesa mount assembly
The Vario mounts come completely disassembled but are supplied with the fixings and tools you need to put them together. There are two aluminium plates. One is the Vesa mount (and attaches to the monitor), and the other mounts to your display stand. These are the plates that (once assembled) attach to the back of your monitors:
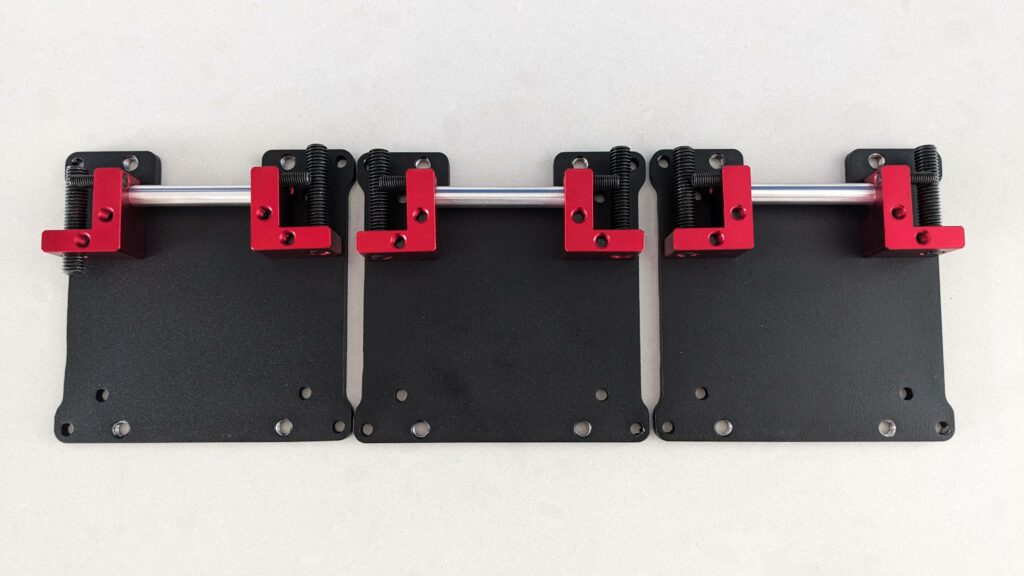
You can see each plate has a red aluminium attachment. These are screwed in from the back of the plate with counter-sunk screws. The idea is that the monitors are hung via the pin that is inserted between the two aluminium attachments on the monitor side. So as you assemble this side of the mount, you have to position the brackets by screwing one in first. then insert the pin, then slide the second bracket onto the plate and screw that down, too.
You should be able to make out the “set screws” in the image above, too – but here’s the schematic so that you can see them more clearly:
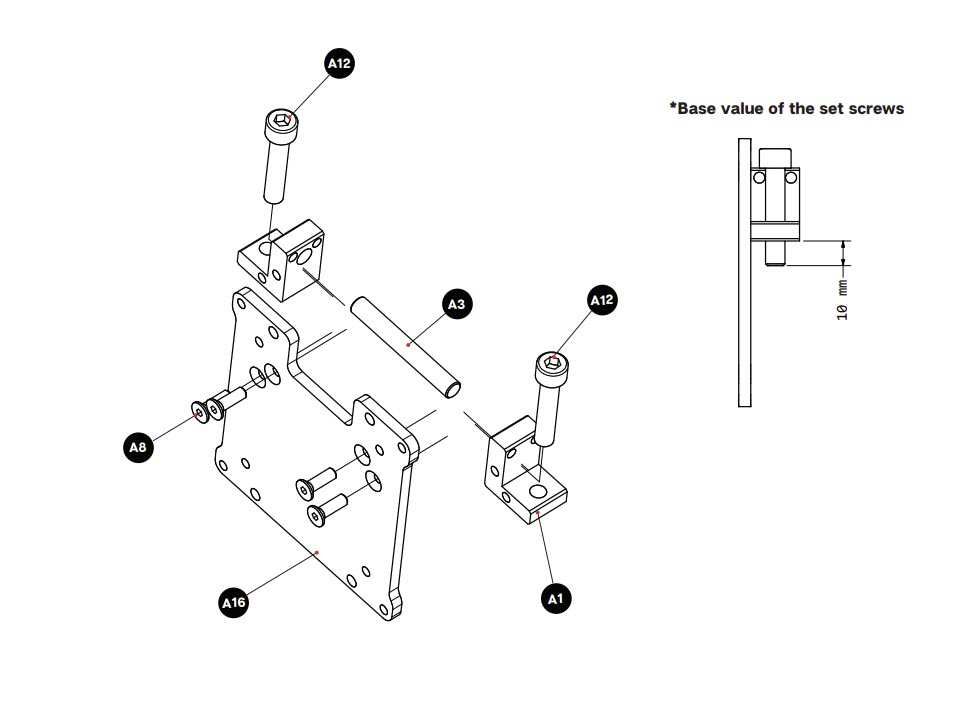
The manual advocates for you to insert the (side) adjusting screws after you’ve hung the monitor. That would be really fiddly – so put those on, even if they’re quite loose before you hang the monitor.
Here’s the simpler, stand side part of the Vario Vesa:
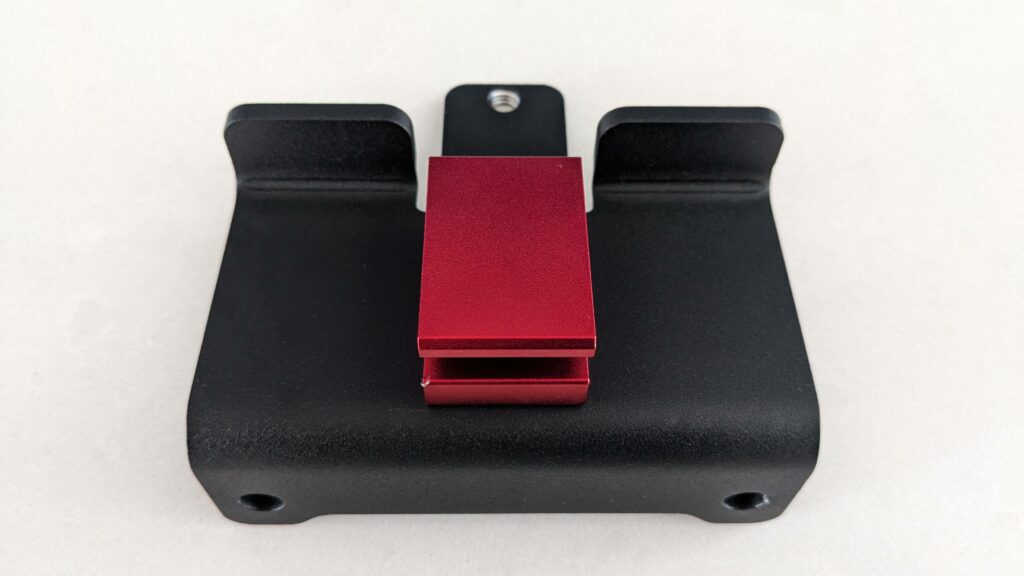
The monitor stand bracket side of the mount is very simple – we’re looking at it from the top in the photo above. The pin from the Vesa mount plate hangs in the U-shaped, red bracket. Note the threaded hole at the top of the image – that’s for a set screw that controls the angle of the screen – or “lean” as I’ve been calling it.
So with all the screws in place, you can hang your monitors:
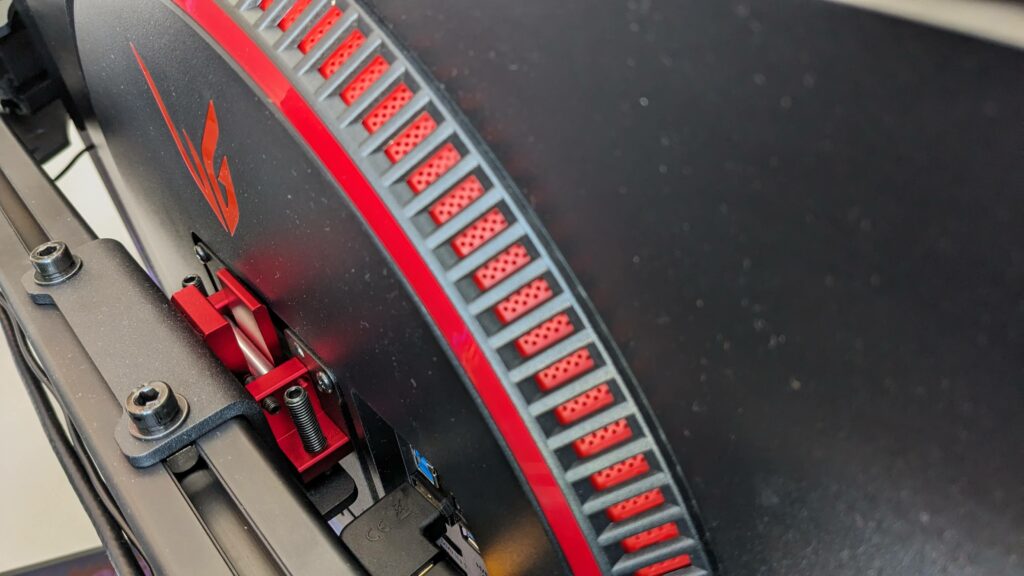
You can see from the photo above the set screws are inserted – the larger ones control the lateral angle and the smaller ones control the lateral position. There’s quite a lot of scope for adjustment, with some +/- 5° horizontal/vertical rotation available from the large set screws. The smaller ones can move the monitor in either direction by around 10mm.
Setting up your Monitors with Vario Vesa
Like everything, it’s a process. As we all already know it takes time and patience to adjust anything perfectly in the sim. That’s no different here, although as you’ll see, these monitor mounts make things an awful lot easier
How to mount your Monitors with Sim-Lab Vario Vesa mounts
Mounting monitors is quite easy; this is the process I came up with. The key, in my opinion, is making sure that each monitor is level.
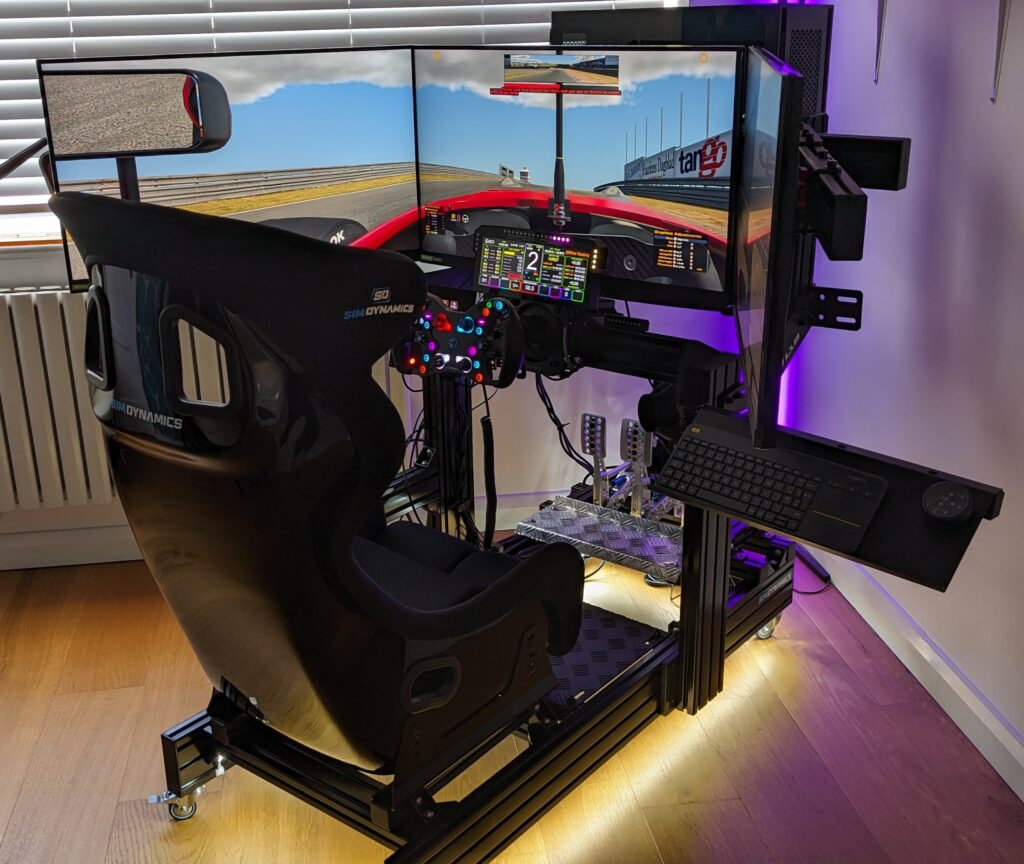
On that note, I recommend using a spirit level throughout this process.
Make sure your centre monitor is centre aligned, level and is stood at 90° to the floor
Firstly, make sure the centre monitor is perfectly in the centre of your monitor stand. If the centre is out of alignment, you don’t stand a chance of getting the left and right screen correctly aligned. Measure the length of the aluminium profile and calculate the monitor’s correct position.
The image of the spirit level (below) is slightly blurred, so you’ll have to take my word for it, the monitor is hung perfectly in the centre and it’s level!
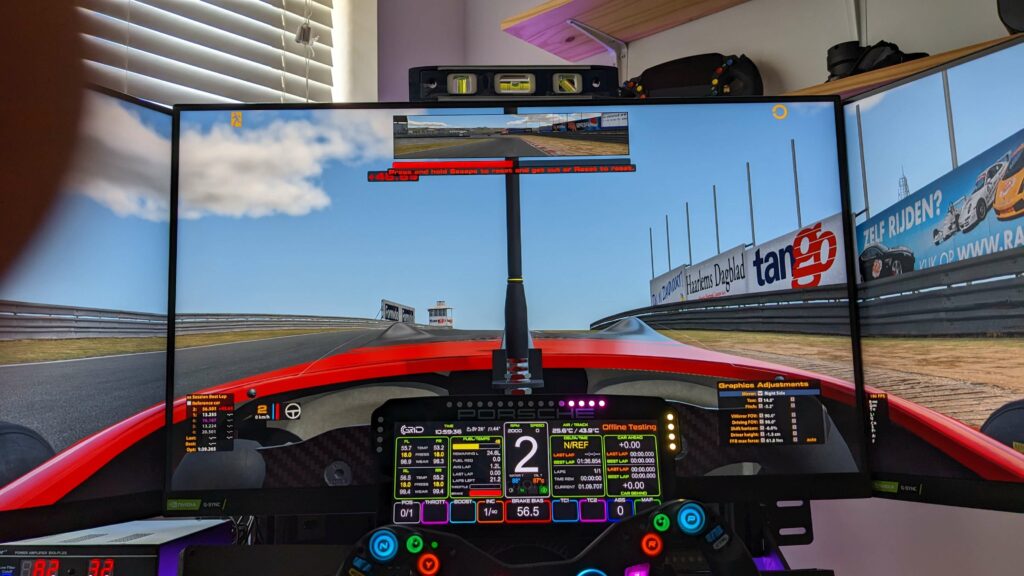
To align the monitor to be level, adjust the two larger set screws (see image below). Tightening one will raise the monitor on one side, and drop the monitor on the other – so this takes some time and practice to get used to.
I recommend tightening the side adjustment screws so that the monitor can’t slide from side to side once you’ve completed this step.
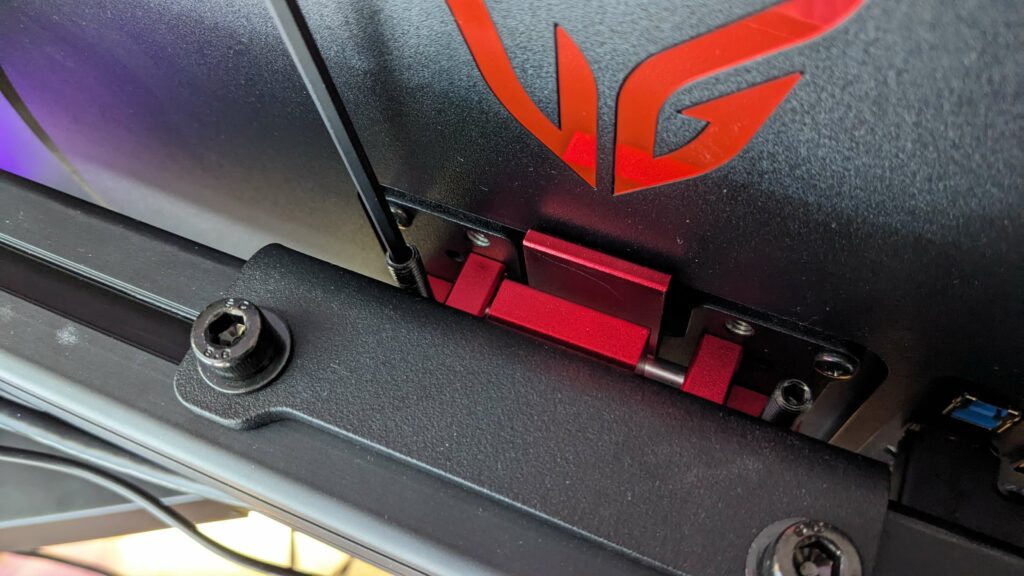
For every monitor, you also have to deal with the angle that it’s mounted. What angle to the floor is my monitor? You can see from the image below that this right-hand monitor is leaning forward:
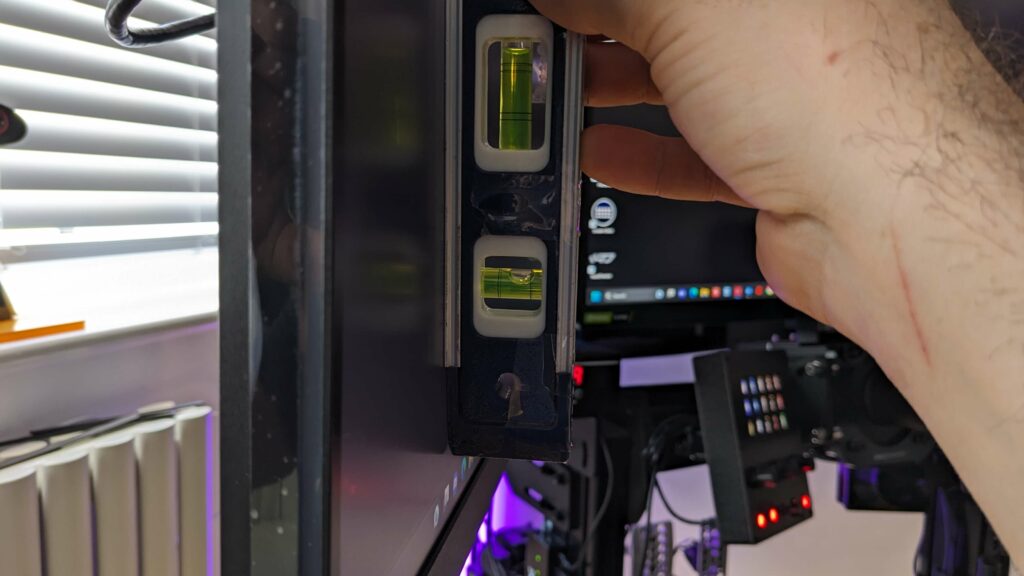
This is adjusted with the set screw at the bottom of the monitor stand side bracket:
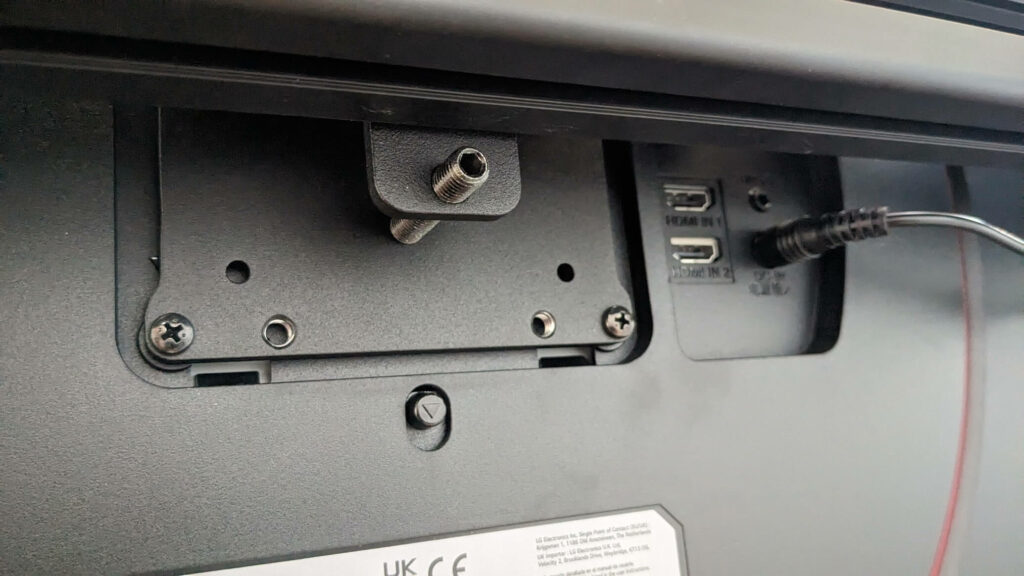
So with the centre monitor level, and perpendicular to the floor, you’re ready for the left and right monitors.
Align your left and right monitors
I’m assuming you have the correct angle for your monitor arms, and that you’ve already hung the monitors. Don’t tighten the mounting bracket bolts, so that the monitors can slide along the aluminium profile – it’s easier to set up your right and left monitors with a gap to the centre monitor.
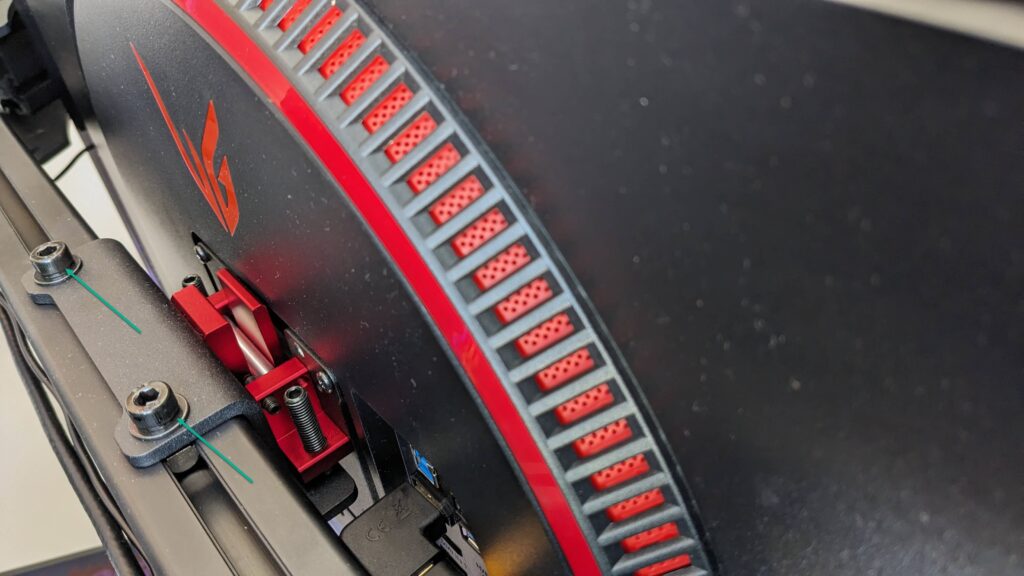
Just like the centre monitor, we need good horizontal alignment. The large bracket bolts are loose, so for now the monitor has plenty of space while I adjust it. Get the monitor level and flush with the centre monitor – there shouldn’t be a step or any difference between the mounted height of the screens. Use your spirit level across the two screens to make sure it’s level.

If the screen is level you’ve adjusted the bottom set screw so that it is perpendicular (at an angle of 90°) to the floor, you’re ready to slide the monitor into position next to the centre monitor.
I recommend locking the left/right adjust set screws before you move the entire mount.
As you push the monitors together (so that there is now no longer a gap between them) you should be very close to perfect.
Open your simulator, set the horizon to your eye level and make final, small adjustments
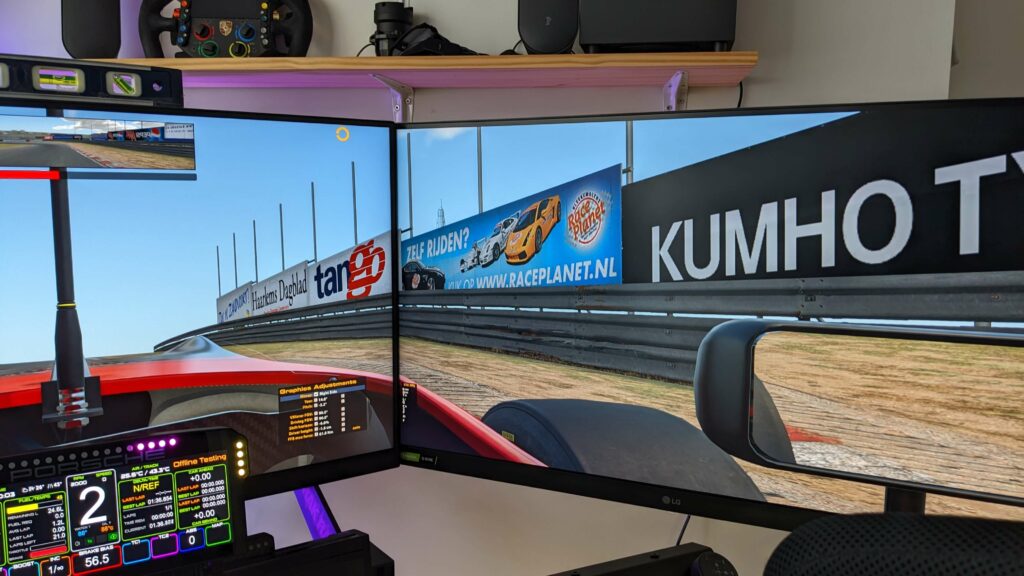
Open your simulator, and set the horizon to your eye level. Now you should be able to make fine adjustments. Have a drive around, stop somewhere (perhaps on a straight) and check the alignment of the monitors. You can make very fine adjustments to the Vario Vesa set screws. In my case, it’s just about possible to reach the Allen key behind the monitor. I recommend changes at about a quarter of a turn at the most.
Small adjustments make a big difference!
And that’s it for the Vario Vesa setup process – your approach might be different to mine but this seemed to work very effectively: get the monitors level, get them flat to the floor (90° angle), slide the monitors together and finally, make small adjustments to complete the job. Done!
5 thoughts on “How to Setup Vario Vesa Mounts from Sim-Lab”
Comments are closed.


Thanks for the update. I’m currently a triple screen owner that’s heavily leaning towards a G9. My rig is in the front room so space is limited and the wife isn’t best pleased at the room I’ve started to take up!
Was the change from G9 to triple vastly noticeable for you?
Yes it was definitely noticeable – it has doubled the screen “real estate”. However, the messing around is significant – the G9 works so well and it’s so convenient. There’s a review of the G9 on this site 🙏
Thanks. i had seen your g9 review and I think it’s where I’m continuing to lean towards. I believe it means I effectively lose 1 monitor (running x3 27” @1080p) but makes better use of the room available
Visually the G9 gets so much right without any settings changes – I agree it’s a brilliant purchase. Don’t rush though – there’s a new G9 at 59″ just entered the market. This may reduce the price of the current one.
I’ve just seen it! 57 inches releasing this month too. I may have a new target depending on its price.
Thanks!