

Sim racing and esports journalist. Occasional Motorsport photographer, eSports competitor and distinctly average cyclist.
Even if you’ve only had a cursory glance at YouTube, Facebook or Instagram, you will have undoubtedly seen some kind of BeamNG.drive video content. If you’re playing catch up, here’s our complete guide to BeamNG.drive, our career mode guide, and how to download and install all of the mods you’ll need to get the most out of the simulator.
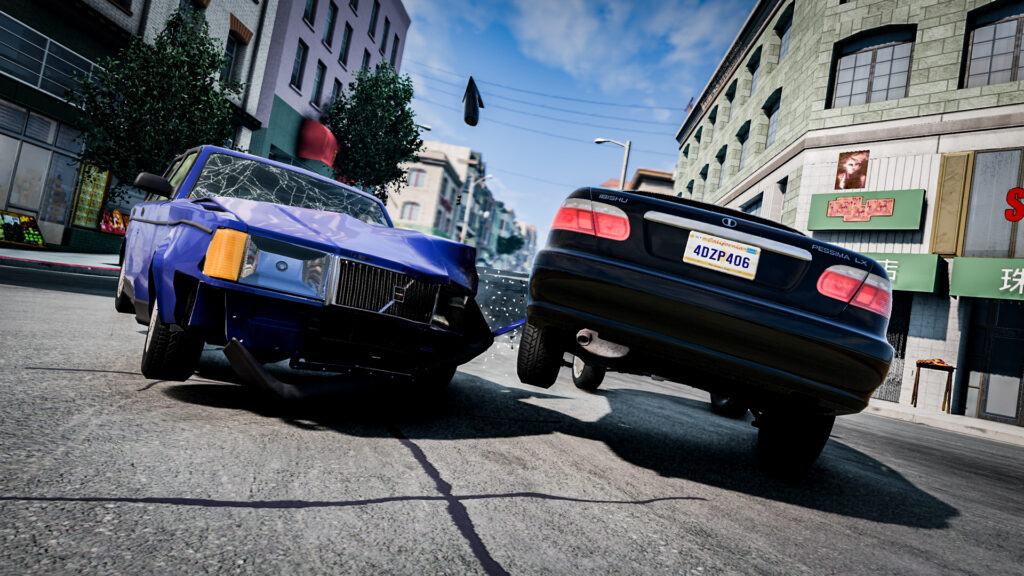
The popular driving sandbox title – first released as a tech demo way back in 2013 – allows players to create detailed and spectacular vehicular set pieces thanks to its superb damage model and its plethora of powerful editing and building tools.
If you’ve ever wondered how to create one of these entertainingly crashy videos we’ve collated a quick guide covering the main points.
Be warned, though, it’s easy to go overboard with your preparations, creating more and more elaborate scenarios with the addition of AI traffic and extra props. However, we’ll cover the basics here to get you on your cinematic BeamNG journey.
Quick Navigation:
Setting Up · Mapping Controls · Camera Controls · Replay Controls · Slow Motion · Adding Furniture · Final Flourish · More Tips
Setting up
The first port of call is to decide what you want to do. Do you want to film an epic display of drifting, for example, or even a dramatic stunt scenario? Or how about an epic mini-movie, replete with plot, voice acting and high production values?
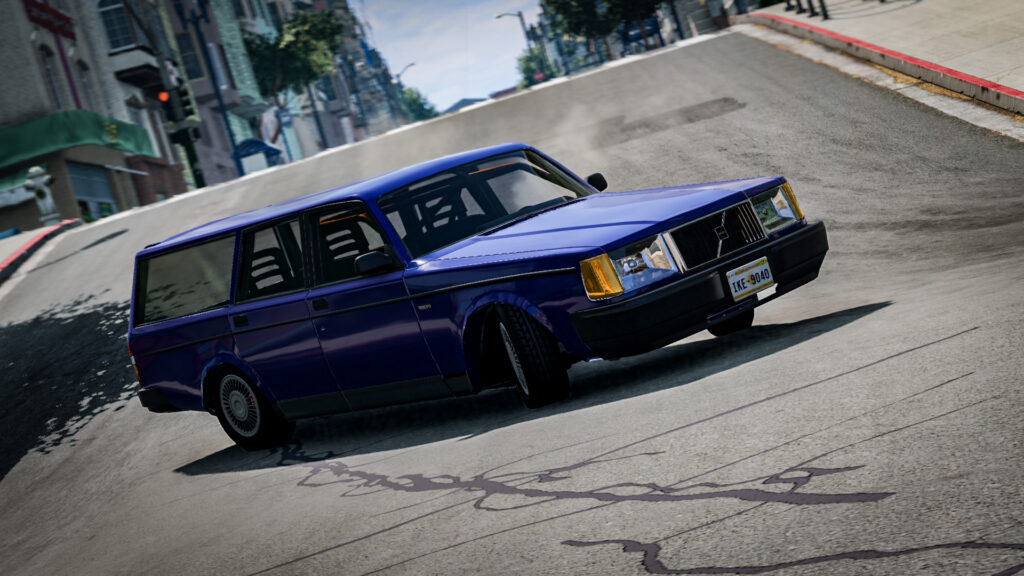
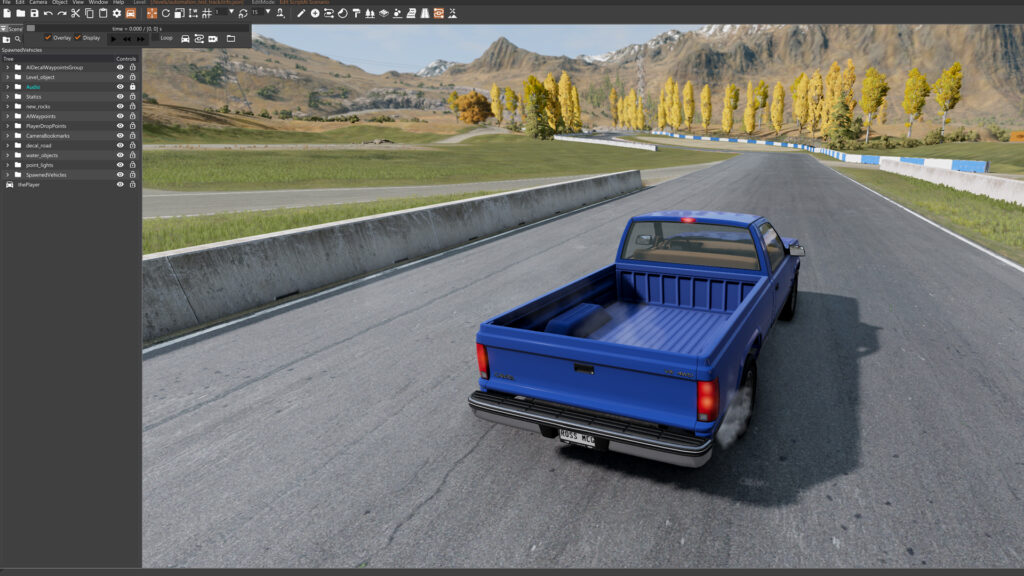
Well, for this example I’m setting up a basic stunt with the ‘gorgeous’ Volvo 240 estate (which can be downloaded for free here). The hilly confines of downtown West Coast USA is our stage, and to achieve extra drama We’ve souped up our sleeper Swedish wagon with a bit more power, nitrous oxide and a welded diff… (you can download our custom spec here.
Simply drop the file into C:\Users\username\AppData\Local\BeamNG.drive\game version xxx\vehicles and it’ll appear in the default vehicle selection screen).
Naturally, you’ll want to maximise your graphics if you’re trying to create a pleasant-looking video, so experiment with bumping up as much of the display and graphics sliders as possible. Motion blur will help the action look fluid while turning down shadow detail and grass density will increase FPS.
Head into gameplay options and enable AI traffic too, as this will liven up your chosen environment with randomly generated traffic. They will react benignly in most situations but can create a little bit of intrigue while you’re hooning around.
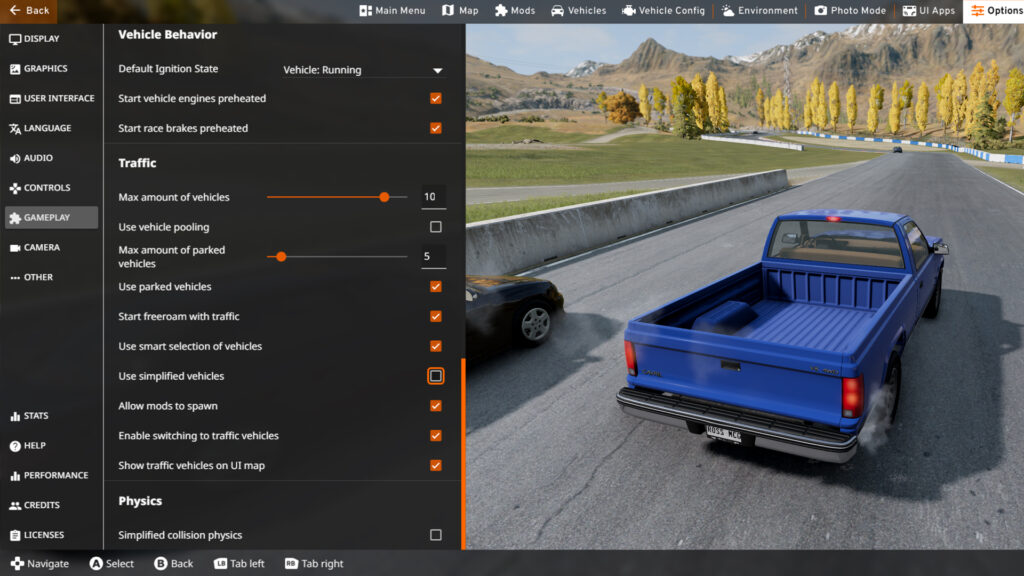
To make things more interesting on this front, you can access the game’s World Builder by hitting F11 and meddling with custom paths for computer-controlled cars, something we’ll touch on later. Remember, adding more AI cars will affect your FPS depending on how beefy your system is.
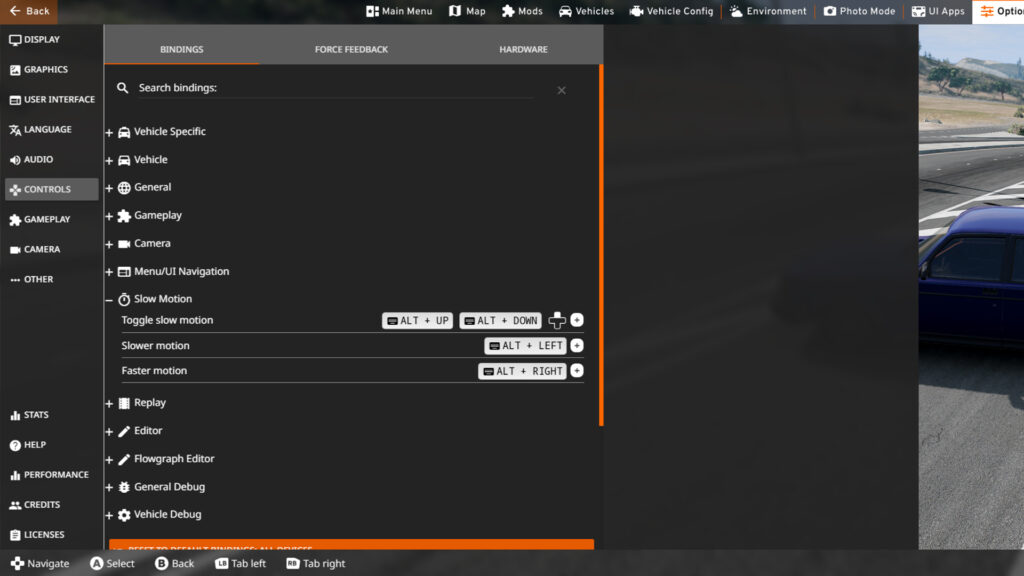
Mapping controls
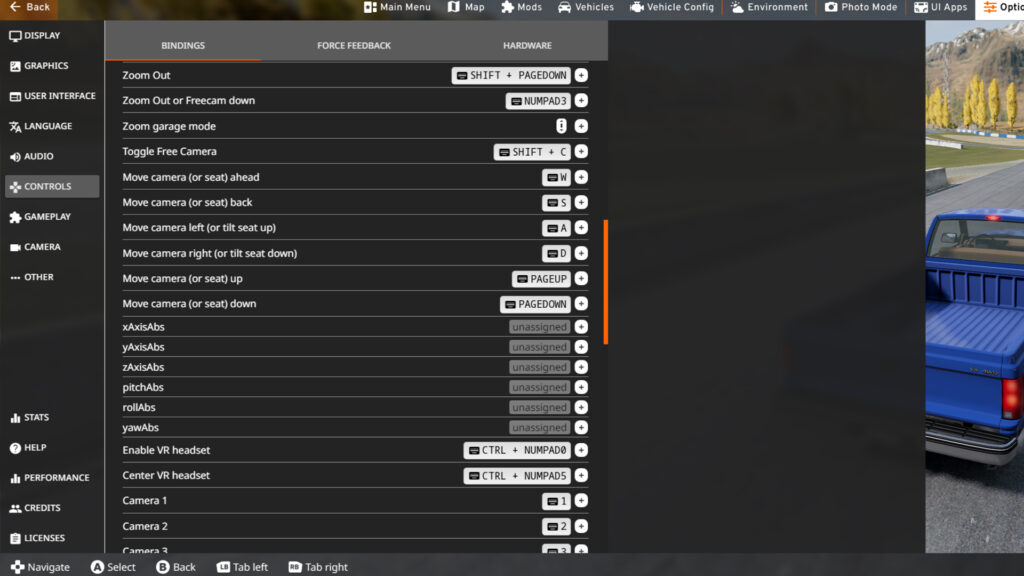
One of the bugbears of BeamNG is its huge array of controls, which can take a chunk of time to map correctly. For simplicity, We use a gamepad when recording videos or taking screenshots, making it much easier to switch to a keyboard when dealing with the game’s rather clunky interface.
Mapping the most important controls for video creation should be your first port of call in-game, with camera controls, replay controls and slow-motion controls as our initial focus.
Visit Our Sponsors
Camera controls
The most important action you’ll need when creating your own BeamNG masterpiece is the free camera, which we’ve set as CTRL+C. With this, you’ll be able to move the camera – we’ve set the movement keys to the classic first-person shooter-style W, A, S and D – around to help find the most dramatic angle of the on-screen action, with players also able to adjust the field-of-view (FOV) to get a more zoomed-in look and an enhanced depth of field.
You can use the game’s bespoke photo mode for the same purpose, which also allows you to change other factors such as the time of day, as well as advanced features like background blur and aperture. You can access BeamNG’s photo mode on the top right of the screen after hitting the Escape key mid-gameplay.
Replay controls
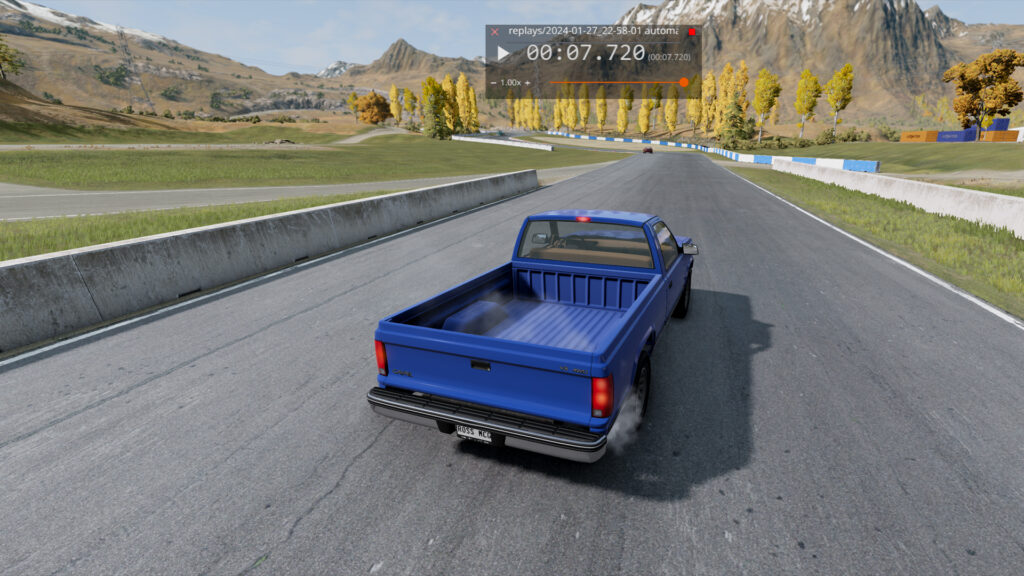
To create BeamNG videos you’ll need to record your driving in-game and save it as a replay file. Map the main replay controls shown below – we use the F2 key as our replay on/off button.
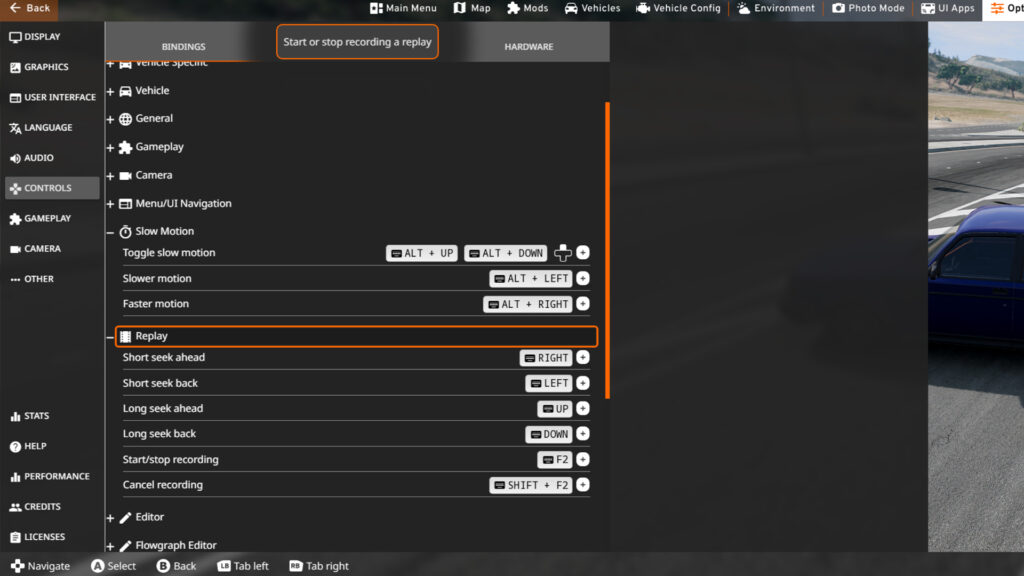
Make sure to also map the ‘seek ahead’ and ‘seek back’ functions so you can quickly navigate the action in your replay.
Handily, BeamNG also has a replay app that can be added to the UI. It gives you a visual prompt showing when the game is recording a replay (a prompt will appear even without the replay app activated) and also allows you to jump to a certain point in the action instantly.
Slow motion controls
This is where the BeamNG magic happens – nothing beats seeing simulated metal contort, twist and snap in slow motion, and BeamNG produces the most visceral and hilarious crashes in gaming.
By default, slow motion is activated by pressing Alt and the Up or Down keys, with the speed of the slo-mo effect controlled by pressing Alt and the Left or Right arrows.
Adding furniture
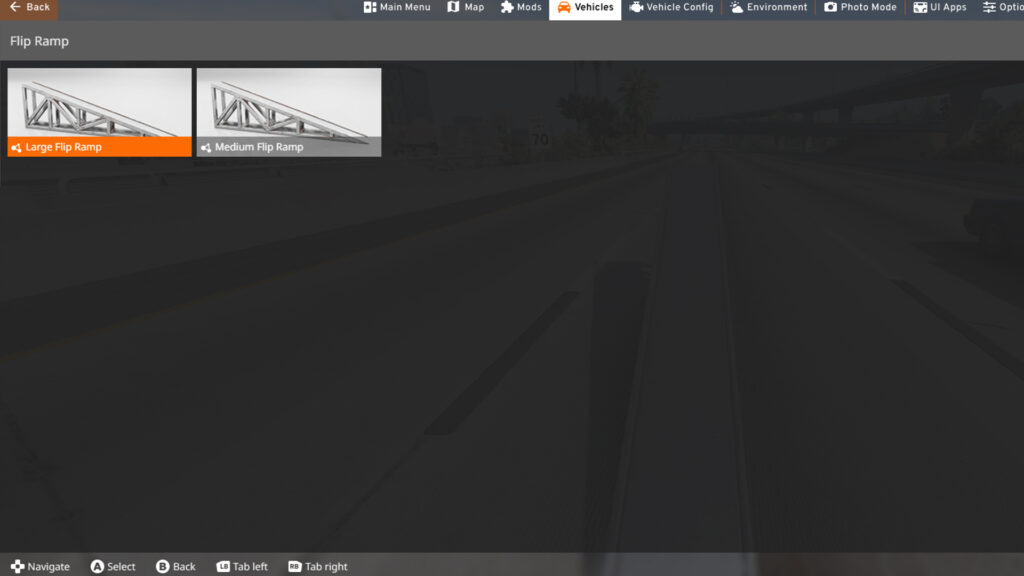
This is where more fun stuff happens; as well as cars, trucks and other eclectic vehicles, players can also select traffic cones, ramps, couches and portaloos in the vehicle selection screen, either placing them on the map in your last location.

You can then quickly switch between vehicles and objects using the radial menu which can be accessed by hitting Escape. It’s also possible to move objects by using BeamNG’s ‘nodegrabber’. Every car or object is made up of nodes which can be highlighted by holding Ctrl. Hover your mouse over a node to ‘grab’ the object and manipulate it.
It’s fiddly but functional. Alternatively, you can use the World Builder to move objects manually, with way more options available for those looking for a more detailed experience. Hit F11 to enter BeamNG’s World Builder mode.
Here, I’ve picked the ‘Large Flip Ramp’ and placed it on the brow of a hill, planning to launch the boxy Volvo off the precipice and into a series of brick-shaped rolls.
Final flourish
So, you’ve mapped your controls, set up some props, added AI traffic and have a good idea of camera angles. All you have to do now is get behind the wheel and give your best performance (and record replays from multiple camera angles, of course).
To record the footage, use video recording software such as OBS or GeForce Gaming Experience, then lump the files into a video editing program such as Vegas Pro or Adobe Premiere Pro.
Upload the finished clip to YouTube and you’ll join the thousands upon thousands of creators who have already mined the rich vein of BeamNG content.
Our Volvo disasterpiece is shown below.
More helpful tips
In terms of keyboard shortcuts, the most important one for recording BeamNG footage is Alt + U. This removes the entirety of the UI, meaning the whole screen is devoted to your crash-tacular action.
If you want a more complicated and involved set piece to record, you can venture into BeamNG’s powerful World Editor, as already mentioned earlier.
Hitting F11 at any point allows you to change so many aspects of the game, including the ability to ‘train’ multiple AI cars to follow a designated path, giving you more opportunity to create a complicated crashing scenario.
It’s a Pandora’s Box of goodies, requiring patience and experience to get the most out of it, but the results speak for themselves.
Related Posts
Best Pimax VR Settings for F1 25 in 2026: A Damage-Control Guide
Best Pimax VR Settings for Le Mans Ultimate in 2026
Best Pimax VR Settings for Automobilista 2 in 2026
Best Pimax VR Settings for Assetto Corsa in 2026
Best Pimax VR Settings for Assetto Corsa Evo (v0.6, May 2026)
Sol for Assetto Corsa in 2026: Still Worth Installing, or Switch to Pure?
Topic: BeamNG Drive