About a month ago I had a strange period of unreliability with the HMD of my Valve Index cutting out leaving a black or occasionally grey screen that I was unable to recover from. It could happen at startup or mid-game. Very frustrating. Other issues included unreliable sound and a starry effect (individual pixels lighting up like stars in the sky), or a completely unresponsive HMD with a blue light constantly on.
The issue, I suspected was this:
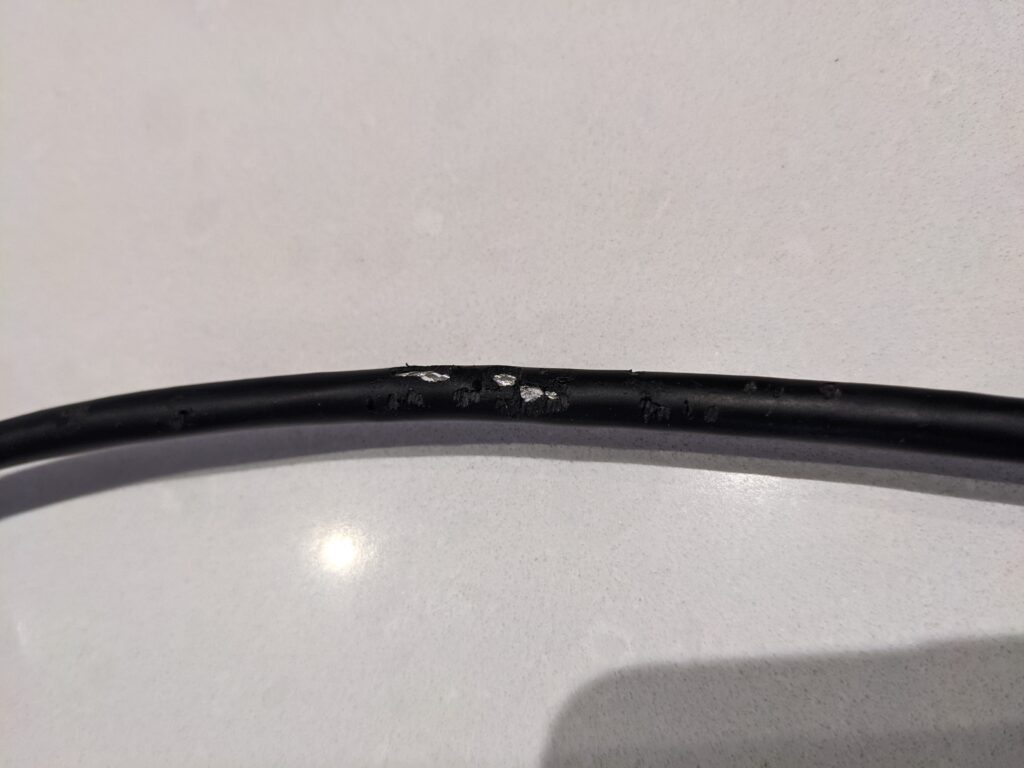
I had moved my rig and the chassis feet caught and ran over the cable, leaving the braid exposed. For safe measure, I ordered a new cable.
Here’s how to install a new Valve Index cable:
- Remove face gasket
- Detach top cable guide
- Pull the headset plug out of the HMD socket
- Remove the cable guide on the back of the headset
- Attach the new cable
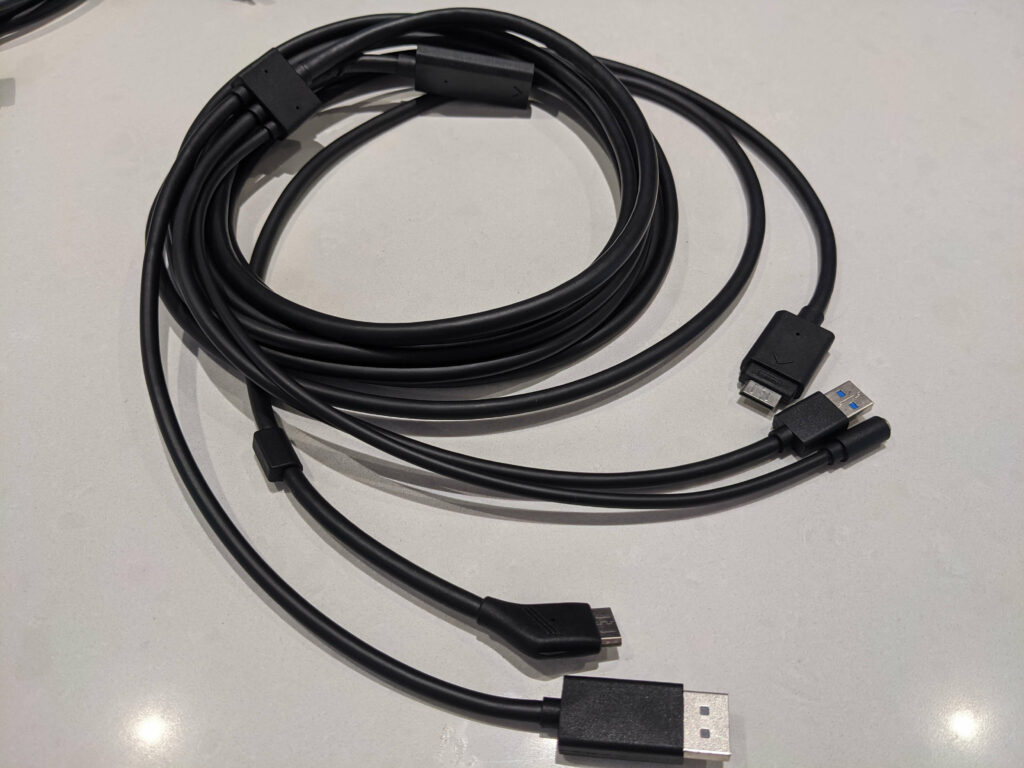
For our job, I’ve chosen this replacement Valve Index cable on Amazon. It brings everything you need to make the index work, and it’s pretty much a perfect replica if not slightly better than the original cable that the index comes with.
It almost certainly came from the same factory:
Getting started: removing the face gasket
As a Valve Index owner, you’ll already know how easily the face gasket comes off. I would caution you not to pull the velcro head adjuster out though, only because it’s a terrible pain to thread back in!
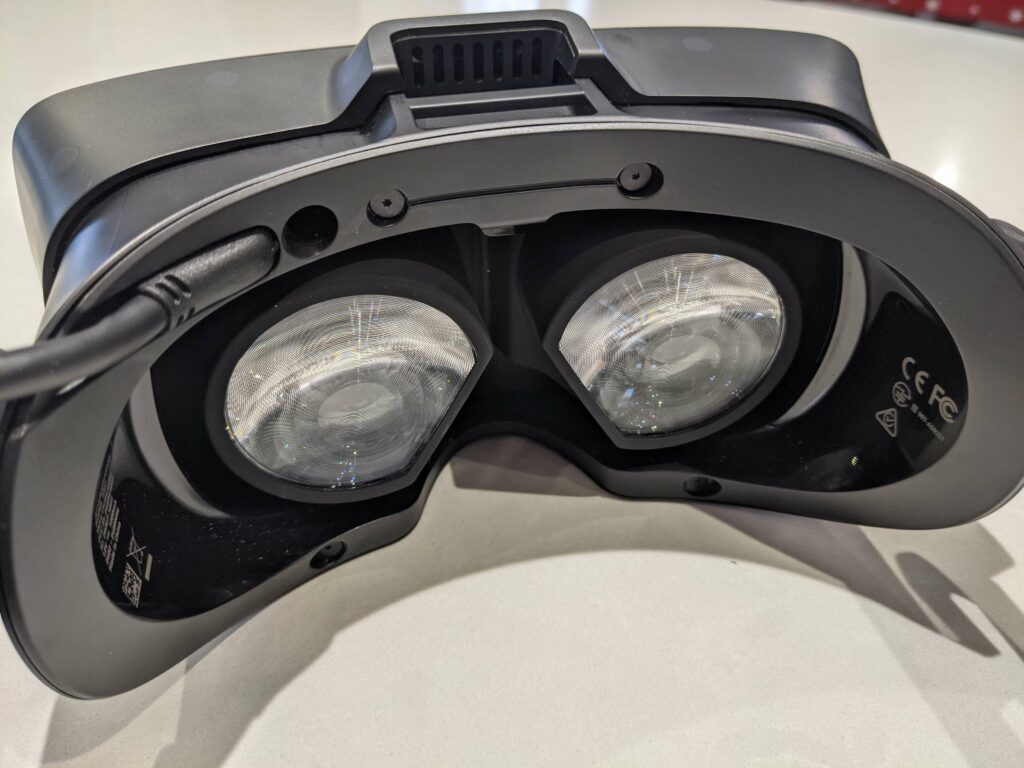
While all of these bits are dismantled from the main body, it pays to have a lint-free polishing cloth handy just to dust the thing off. Although, for a 1-year-old device I think mine has aged well.
Detaching the top cable guide
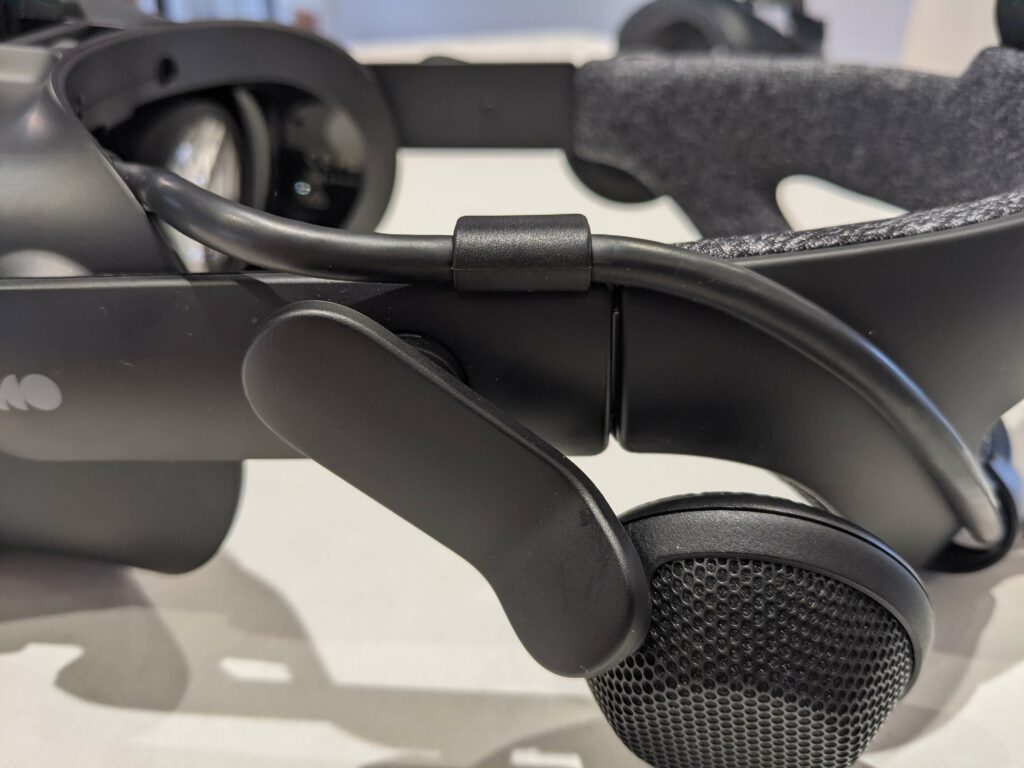
The top cable guide can be removed by pulling it up. It’s a little plastic surround mounted to the cable itself, held to the chassis of the HMD with a single plastic lug. Just pull up firmly, and gently. You can use the cable for a bit of leverage:
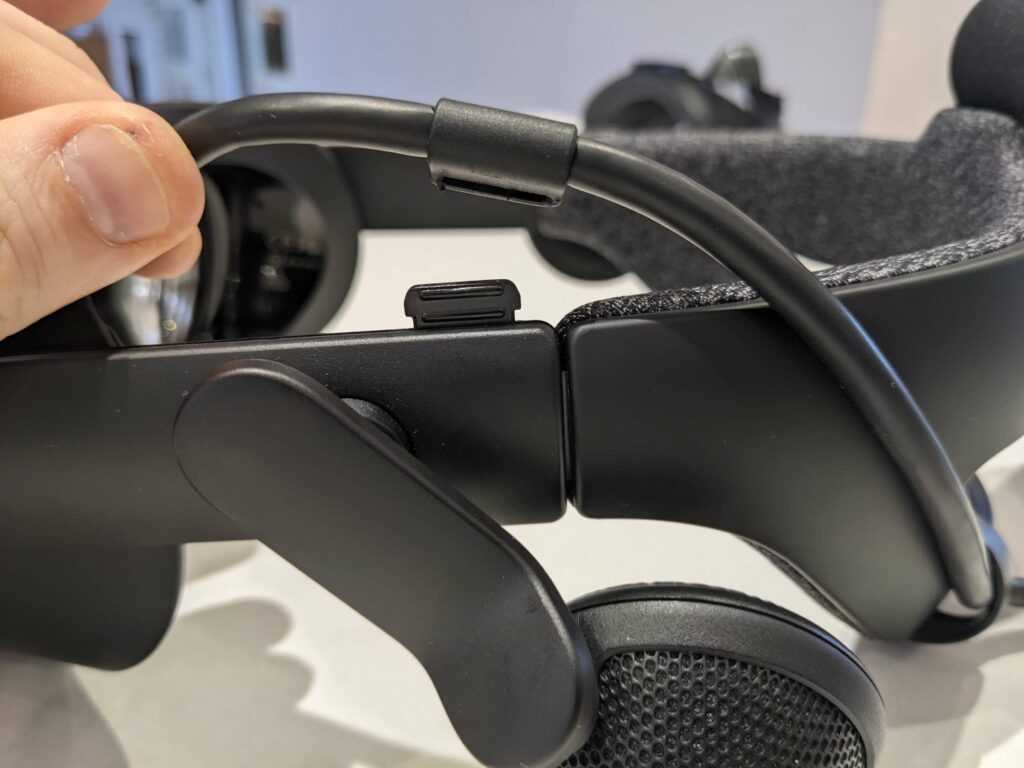
I’ve read that some people cut the plastic lug away – don’t do that! The replacement cable comes with precisely the right fitment for you to re-attach the new cable easily.
Pull the headset plug out of the HMD socket
The plug itself is about an inch deep into the HMD chassis. As you can see it’s a little digital display connector, not unlike a small DP display connector. Although it’s small, it’s easy to remove with some carefully applied pressure:
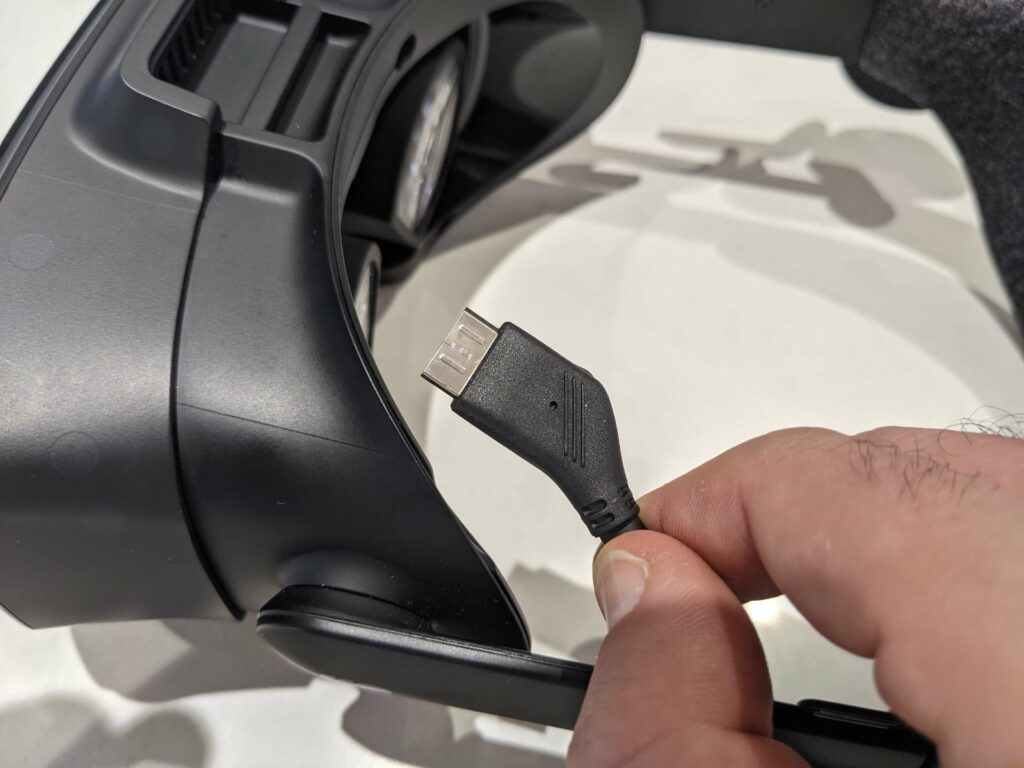
You’ll see from the way I’m holding the cable that I’ve used the end of the cable as a firm place to get a grip. Just give it a firm tug, holding the wire as close to the plug body as you can get with your thumb and forefinger. The aim is to pull the plug straight out, although you can give it a small wiggle at the same time to get it to loosen.
Remove the cable guide on the back of the headset
The cable guide on the rear of the headset is a half loop of plastic with little lugs on each end to keep it fixed in place. Here it is removed so you can see what it looks like:
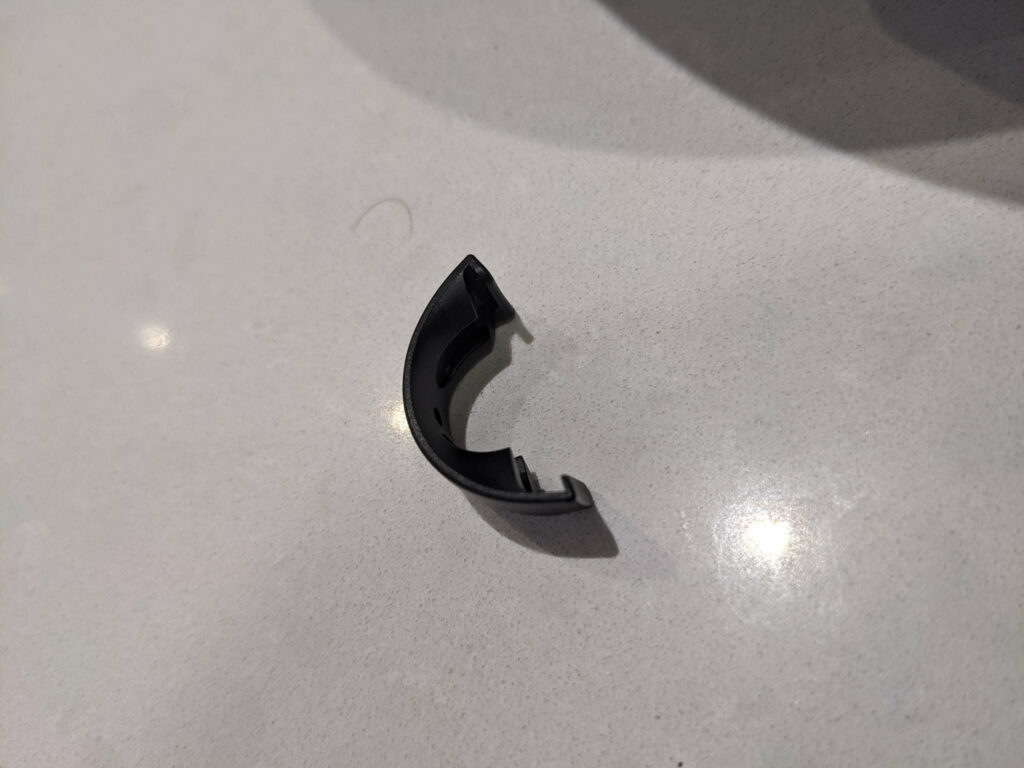
So the trick to removing it is by gently prizing it off. Note which way round it is when it comes off because it will only re-attach in one way!
Attaching the new cable
Start by inserting the new plug into the socket. It pays to have a good look inside the socket so you know how to orientate the plug when you’re inserting it:
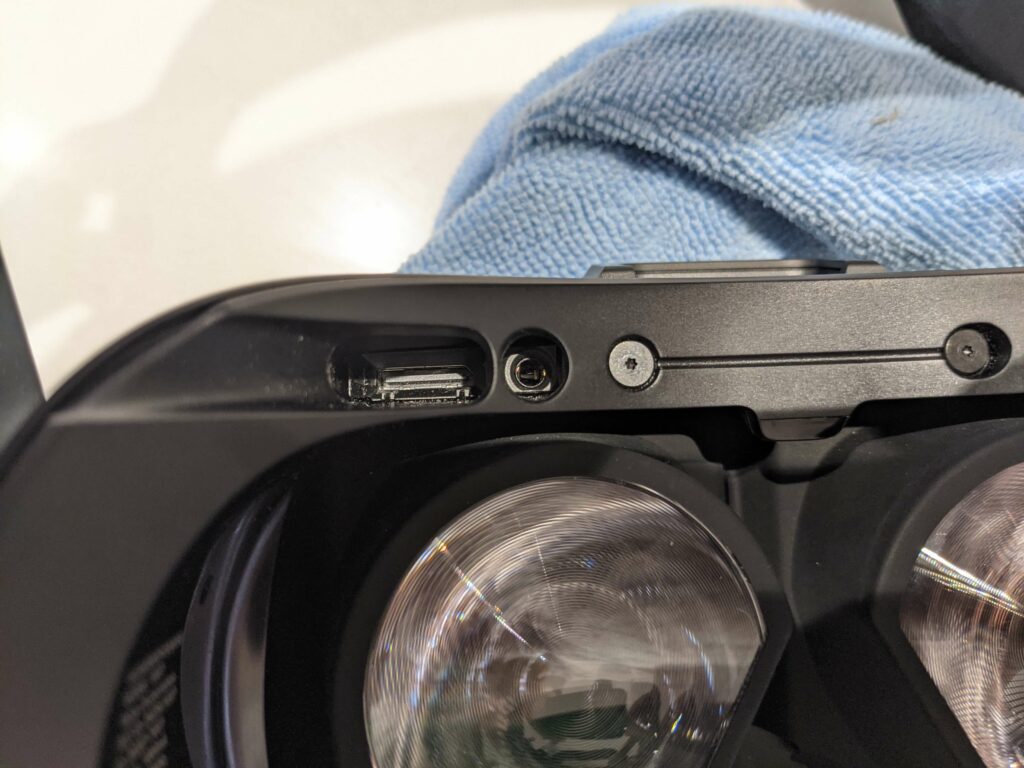
Best I could I blew into the socket to try and remove any of that dust. You can see the orientation of the socket. Fortunately, the depth of the hole acts as a good guide for the plug which means with some care it’s easy to seat the plug correctly before applying a medium amount of pressure for the plug to insert.
I used my thumb to guide it into place and as soon as it felt like it was seated correctly, push it in:
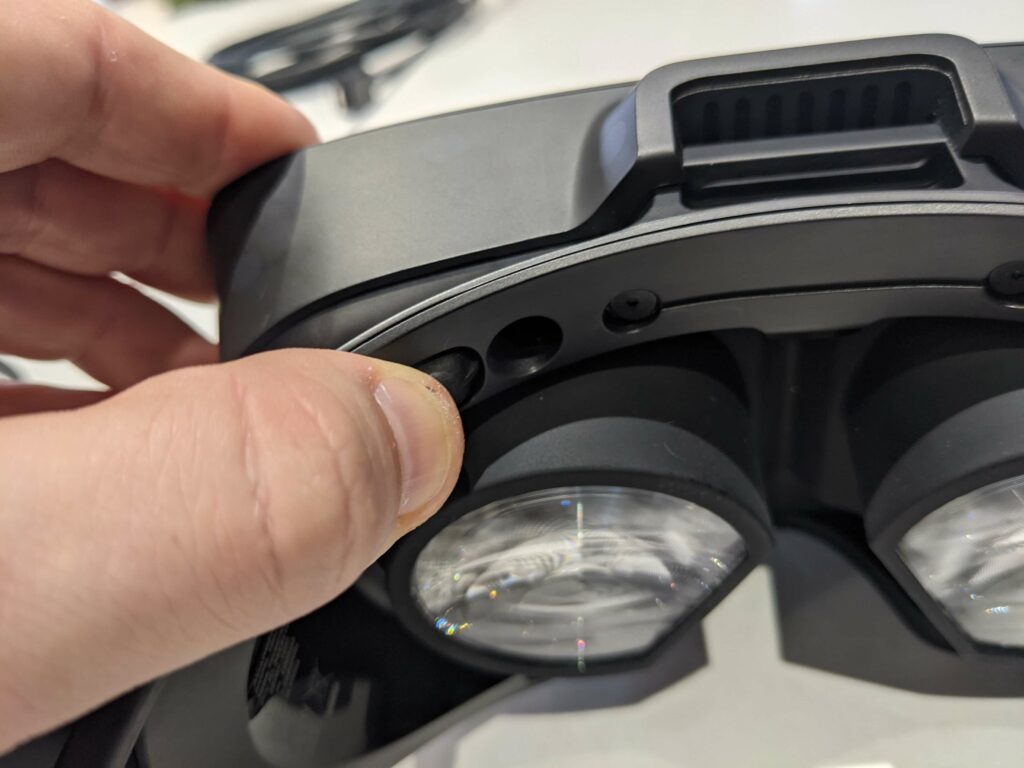
Following this, reinsert the top cable guide and rear guide. Reattach your face gasket and you’re ready to go!
Valve’s Grey / Black screen problem
I had, at the same time as ordering the cable, submitted a support ticket with Steam to help me sort out the grey screen / black screen problem. If you can’t see any damage to the cable but still find the HMD won’t power, or you get a grey screen with no tracking with blue lights on the headset, try this:
Firstly, remove all of your non-essential USB input devices, including any USB hubs, adapters, or extensions. Only your mouse, keyboard, and VR headset should be connected while troubleshooting.
Make sure you also check the connection at the headset. To ensure the connection is properly secure, please completely remove the tether cable from the headset, and reconnect it.
Then, try resetting and re-installing SteamVR USB devices:
– From SteamVR, choose “developer” then select the “developer settings” tab.
– Then, choose “Remove all SteamVR USB devices.” Unplug your headset from your PC, then restart your computer.
Once rebooted, reconnect the headset to your PC. USB devices will begin to install. Please be patient, it may take several minutes.
If the issue continues, follow these steps to disable Windows Enhanced Power Management for SteamVR devices:
– Launch SteamVR, then from the settings menu, choose “Developer” > “Developer Settings”
– Scroll down until you see a button marked “Disable Power Management”
– Click this, and then shut down SteamVR
– Disconnect the headset from your PC and reboot your PC. Once your system restarts, proceed to reconnect the headset
– Start SteamVR again and re-test the issue.
One last thing: devices that produce RF interference
Devices that produce RF interference can interfere with your Index, through the cable If you have a cellphone nearby, turn it off or move it far away from your sim rig. If your Index cable runs near a mains extension outlet, try to rearrange your cables. Ideally. loop the unused length of your index cable and/or put a ferrite ring on the cable.
Hopefully, some of the advice in this article works and you’ll be back in the game!


