Featured Image: Reaperware iFlag (Purple)
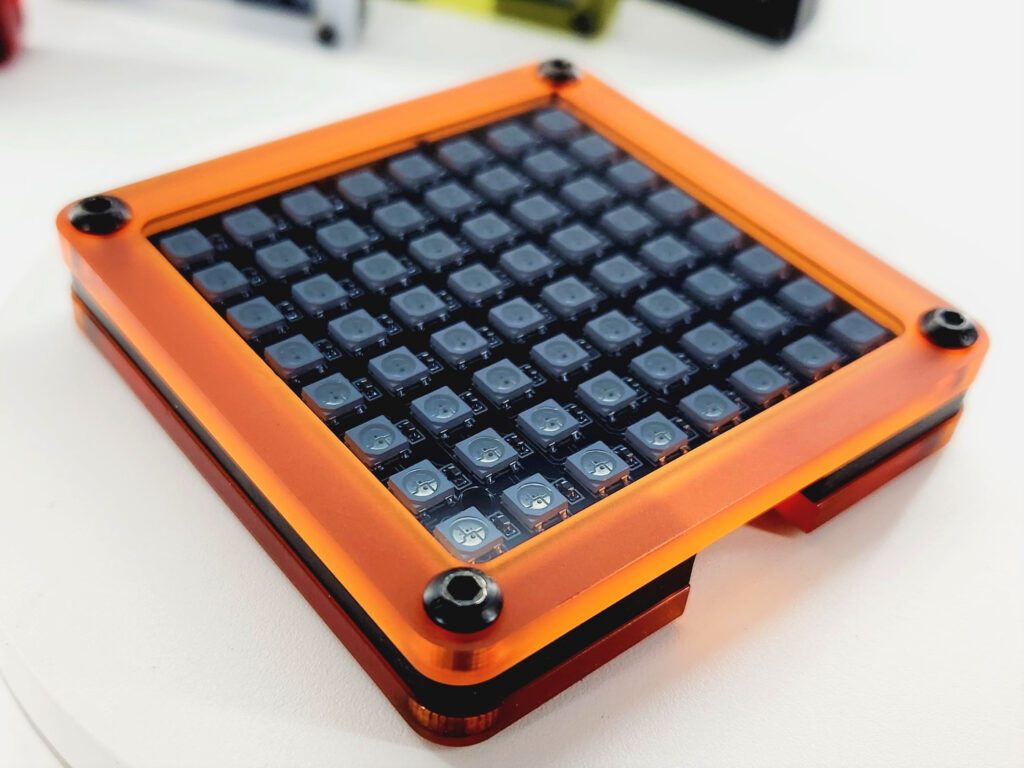
I came across ReaperWare on Facebook very recently. They’re a UK-based company making RGB matrix flag and gear indicators, button boxes and DDUs. The post I caught featured the iFlag, which really caught my eye. It’s a neat little 8×8 RGB LED matrix display, housed in a cast acrylic enclosure, ideal for displaying the gear you’re currently in, spotter alerts, shift warnings and proximity alerts.
It’s inexpensive at £37.49 and to be quite honest I couldn’t resist it; so I bought it from their site and then dropped their Founder, Andy a line to let him know I’d cover it here if I liked it. And, here we are:
What’s in the Box?
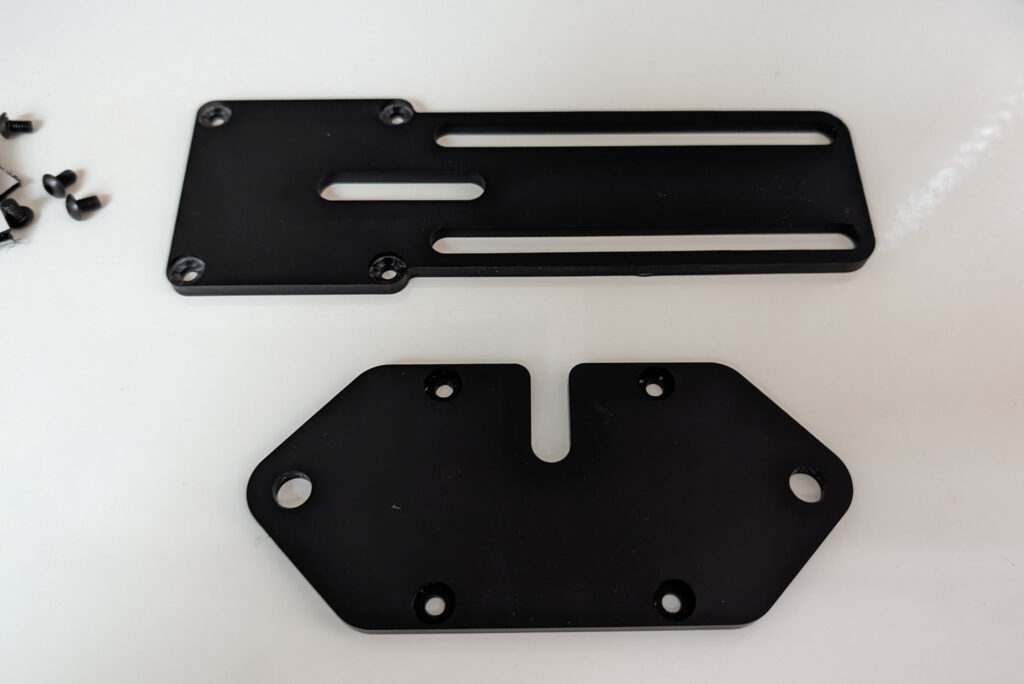
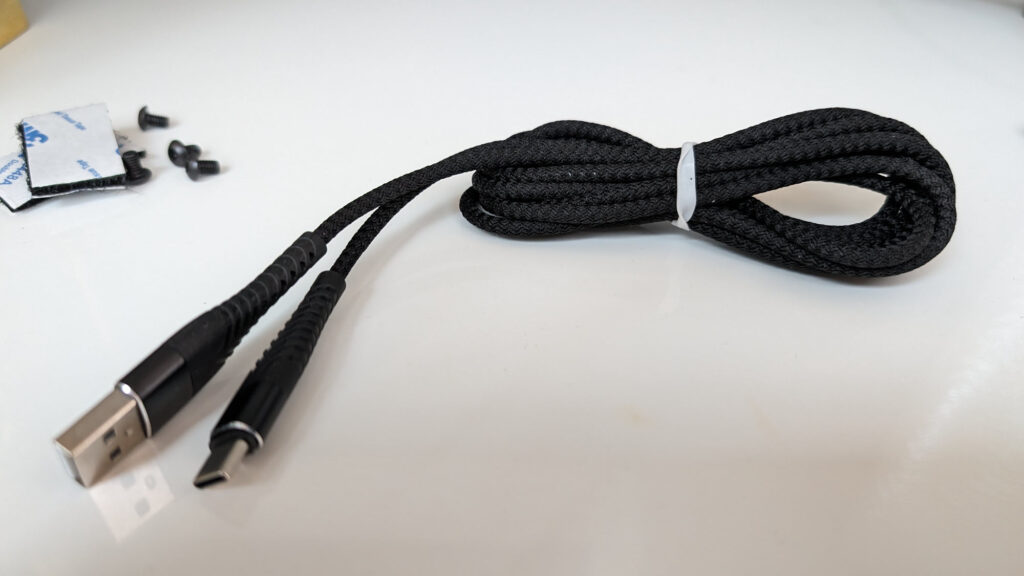
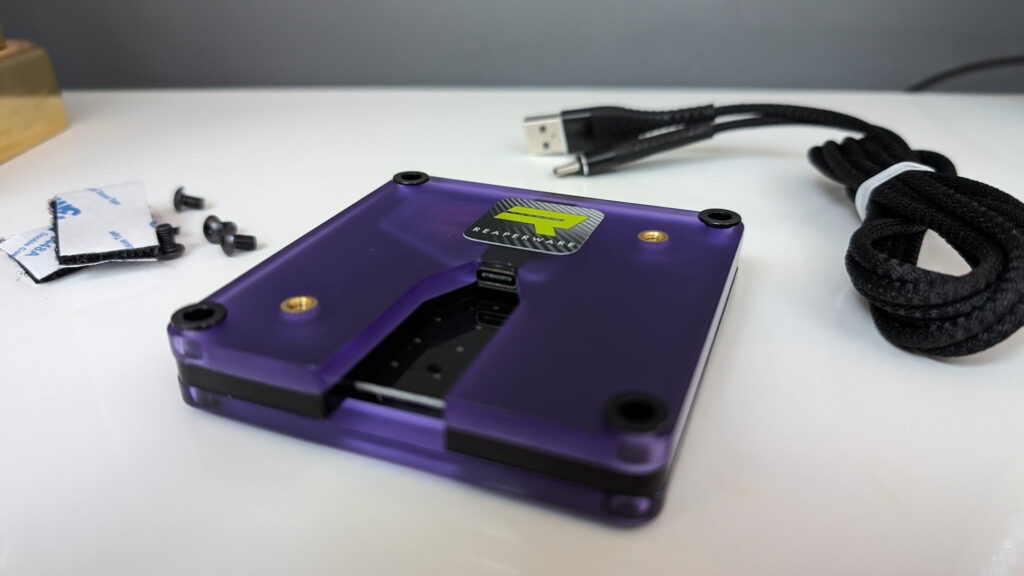
Firstly I’ll point out that my iFlag arrived the following morning. I liked this a lot. The package is small and unassuming, contained inside were some M4 screws, velcros and the two mounts I ordered:
A (very) nice, braided USB-C cable:
And of course, the iFlag itself:
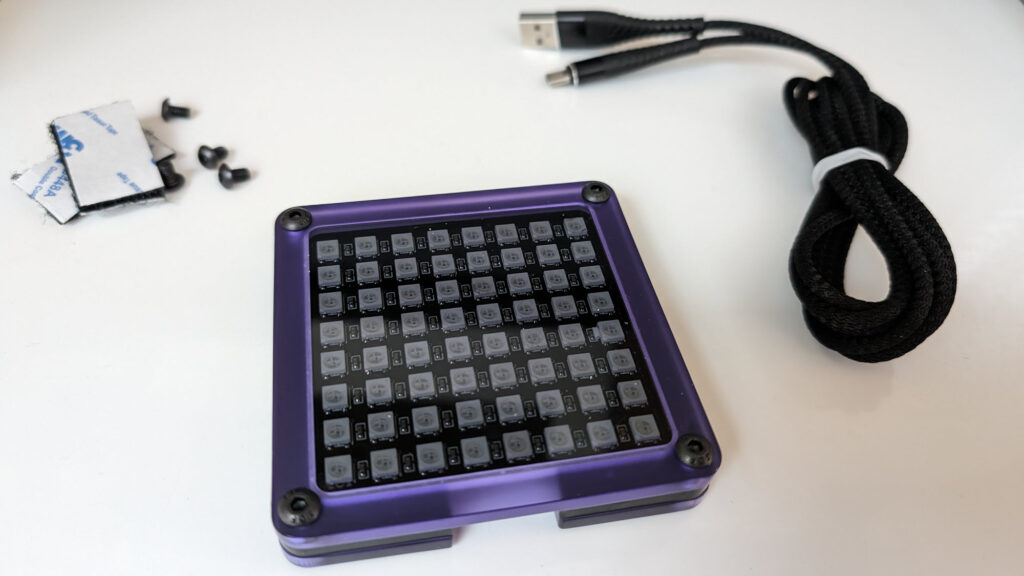
It’s a very nicely made item, with the perspex case being a welcome relief from purely 3D-printed items. There’s a USB-C socket in the rear of the casing:
Installation
Installation is easy, and there’s guidance on Reaperware’s site, too. The key thing is to download the LED profile here, as you’ll need that for Simhub in a moment.
Small tip: when you’re installing the iFlag, pre-install the USB-C cable, as inserting it after installation is quite tricky (yes I learned this the hard way).
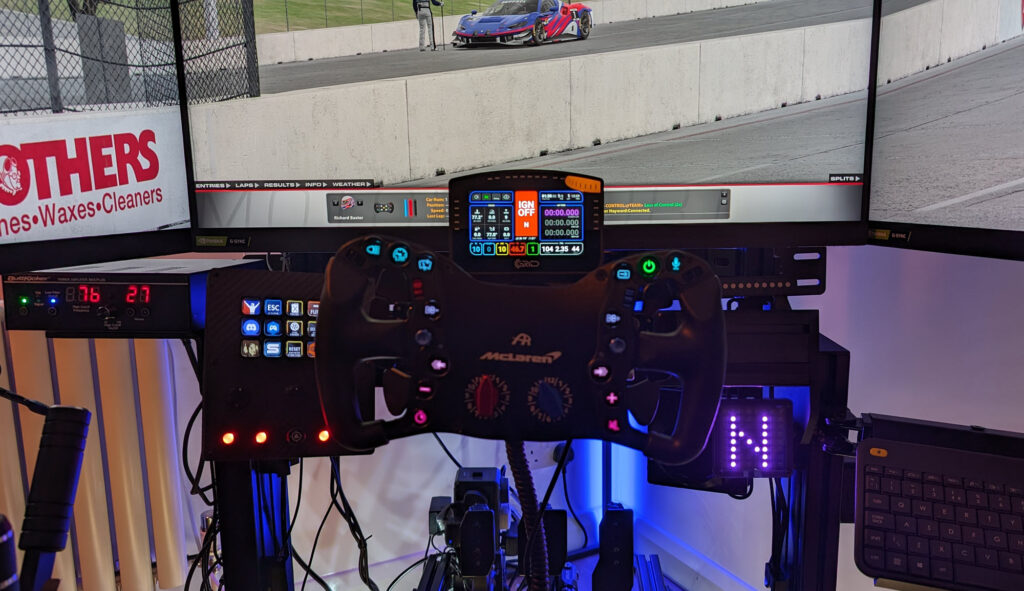
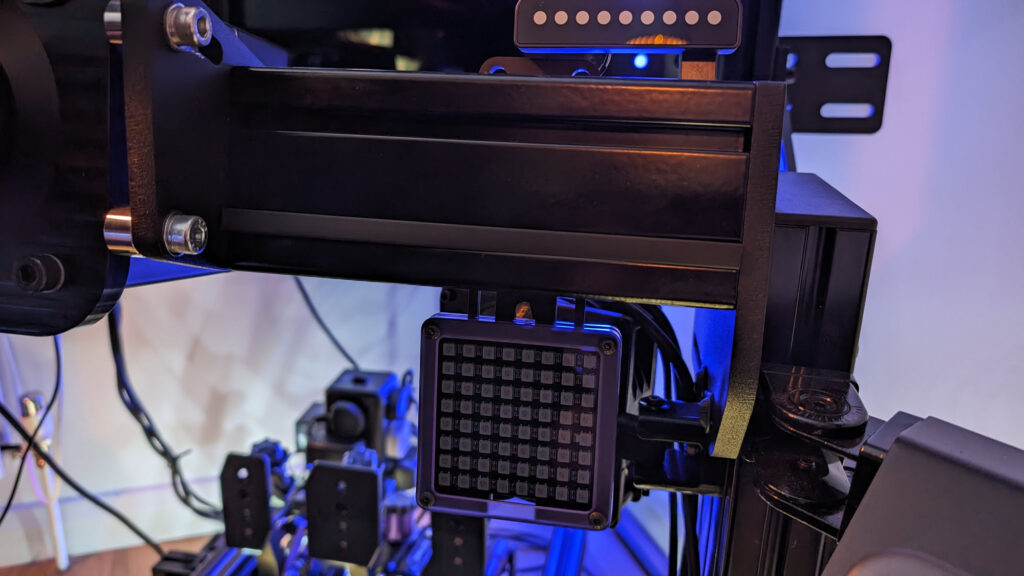
I bought both mount extensions because I wasn’t sure how I’d fit the display. The standard mount is designed on the assumption that you want to bolt the display directly onto a section of 8020 profile. The extended mount allows you to mount the iFlag on an extended arm, above or below a section of profile:
SimHub Installation
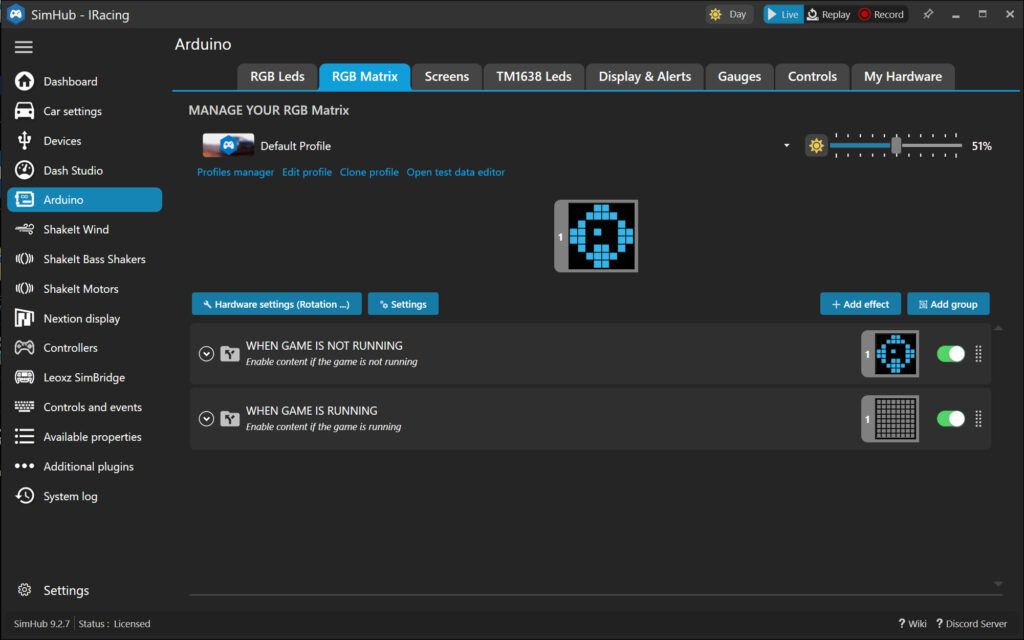
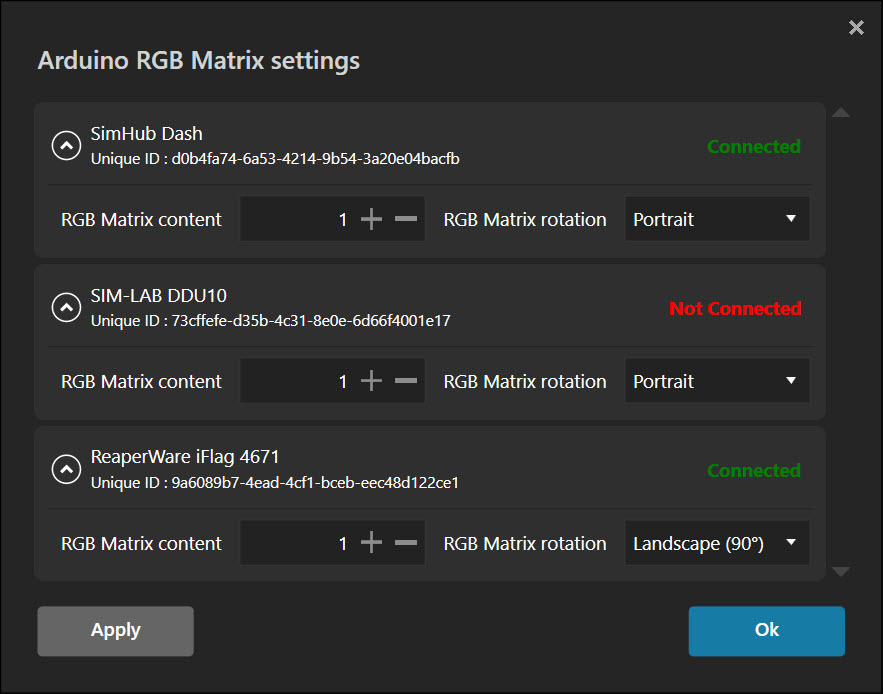
With the downloaded LED profile to hand, make sure the iFlag is connected to your PC. Simhub should detect this in the Arduino > RGB Matrix tab:
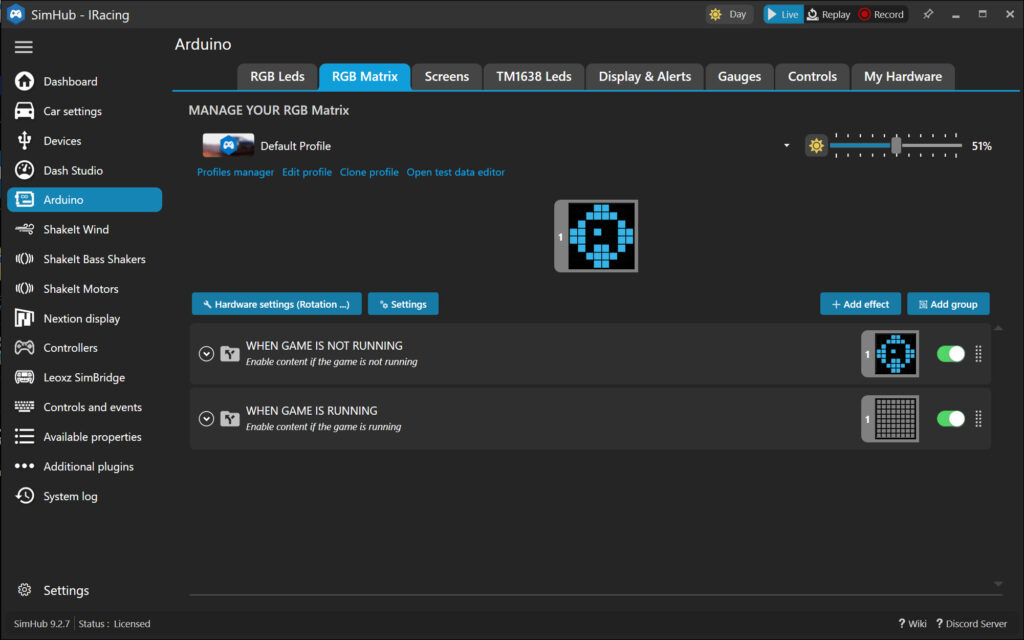
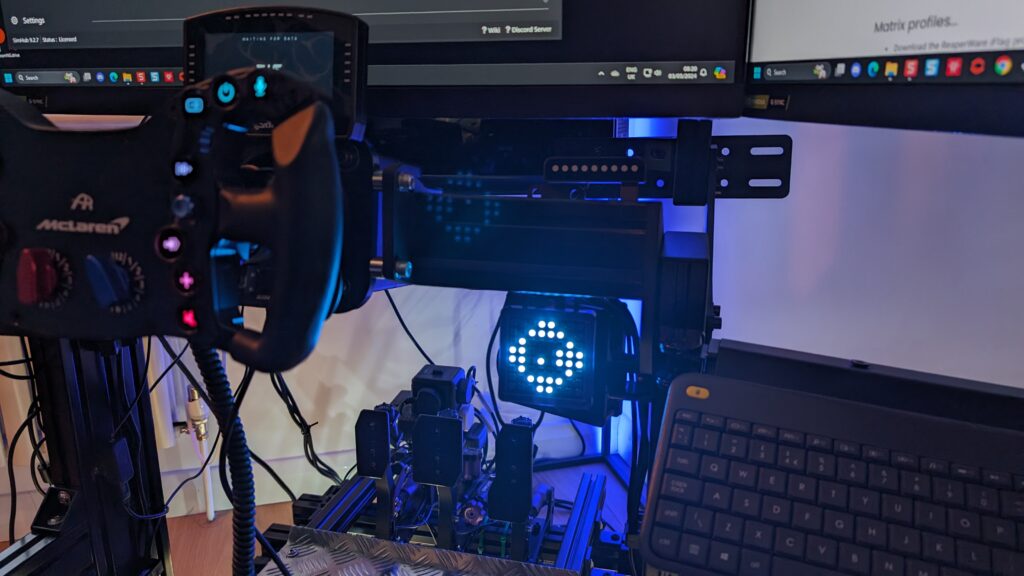
You’ll know all is working as intended if the iFlag is displaying this symbol:
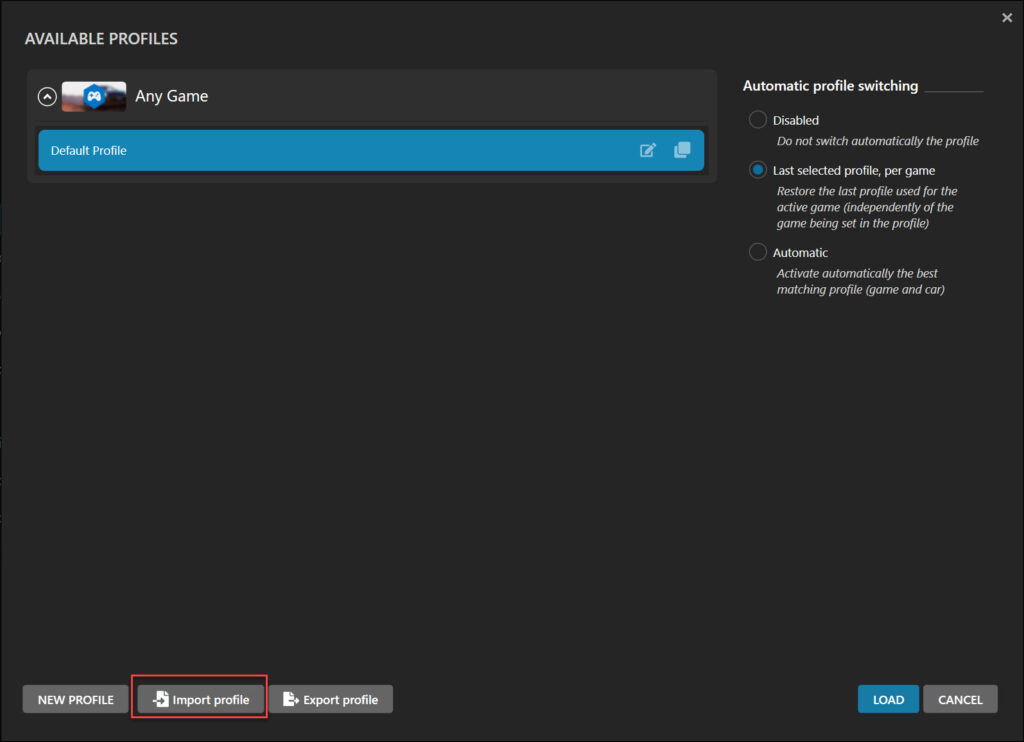
To upload the Reaperware profile, click “Profiles Manager” and “Import Profile” (highlighted).
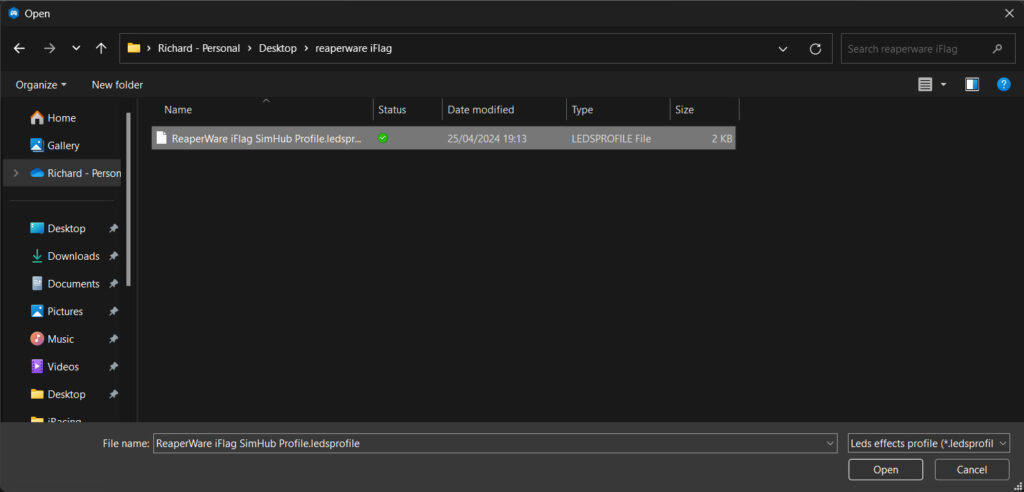
Navigate to wherever you saved the LED profile download and install:
From here you can apply the effects you want to use, for me that’s the gear and flags effects:
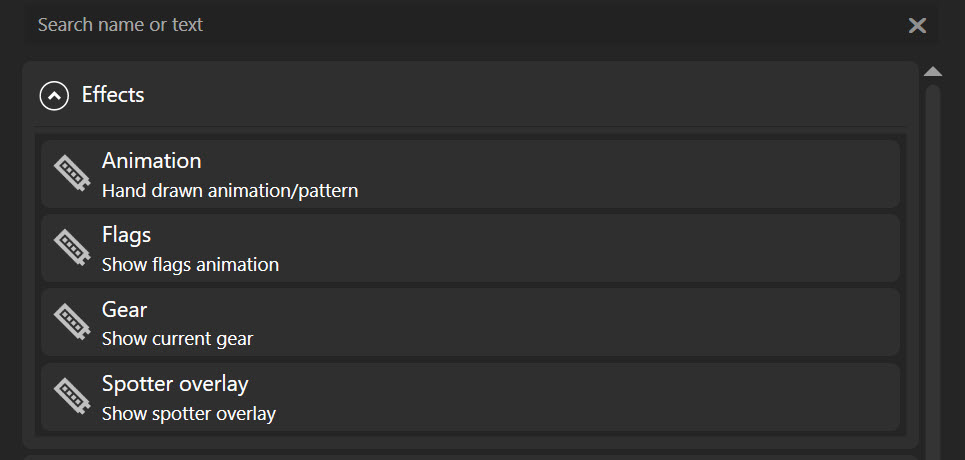
Click “Add Effect” and you’ll get a list of manufacturer presets:
Once the effects have been installed, the Test Data Editor should work. I needed to add the effects before Test Data Editor would work (obviously). The installation instructions advise that you may need to restart SimHub, which I did. Everything sprang to life after this and I was ready to go racing!
Conclusion
The iFlag is a compact, bright and clever little LED flag accessory for a thoroughly reasonable price. It’s very nicely made, easy to install and extremely visually present in your peripheral vision. It’s staying put on my simulator for sure.
During installation and setup, I had to rotate the screen in Simhub’s settings to Landscape 90° (see below):
There were no problems in installation, and the brackets are solid, so it’s mounted on my simulator very nicely. The only extra you’ll need to find is a few T-Nuts and bolts to install the brackets, or use the velcro provided. Thanks, Reaperware!


