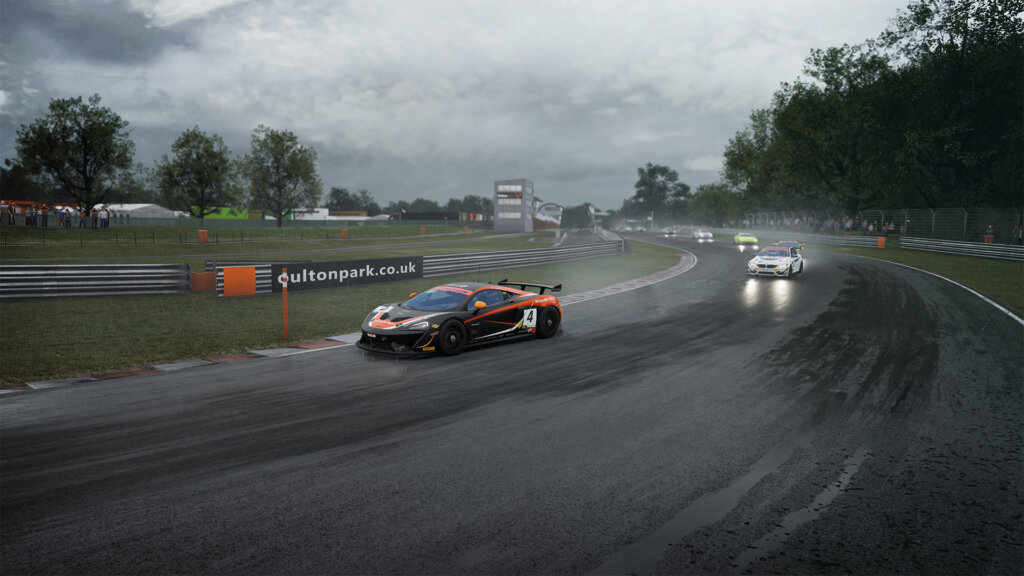
Featuring in my list of the top 5 best simulators, Assetto Corsa Competizione (ACC) is undoubtedly one of the most excellent racing titles currently available and is possibly one of, if not the best game to start with when first entering the sim racing domain.
This is due to two crucial factors: Firstly, ACC focuses entirely on GT4 and GT3 championships, which are, in my opinion, two of the best car classes to begin your sim racing career, as you can learn the necessary skills involved in motorsports without too much difficulty. GT4 cars have between 350-450 horsepower (hp), making them quite drivable and easy to control, while GT3 are slightly more powerful with 500-600 hp.
Secondly, ACC evaluates your skills like car control, track knowledge and pace which helps you see how you’re progressing. The AI is highly customisable in terms of aggression and speed; plus, you can disable the car damage for a safe learning environment.
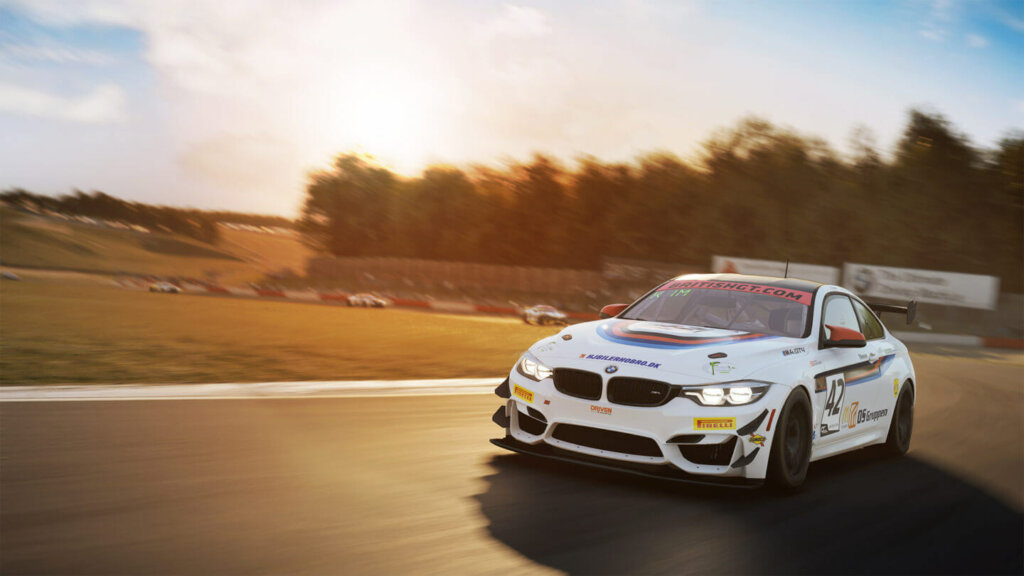
The way I see it, ACC is currently the game with the best ratio between graphics and realism. That is to say, realism in terms of physics. Additionally, its community is continuing to grow well, and there’s plenty of opportunities to join in online multiplayer races.
Assetto Corsa Competizione: Beginner’s setup guide contents
With all this in mind, I decided it would be helpful for anyone interested in this game to provide a complete, in-depth guide on how to get started with ACC and allow new players to gain familiarity with the basics of the game and how to set things up for your first few laps around a track.
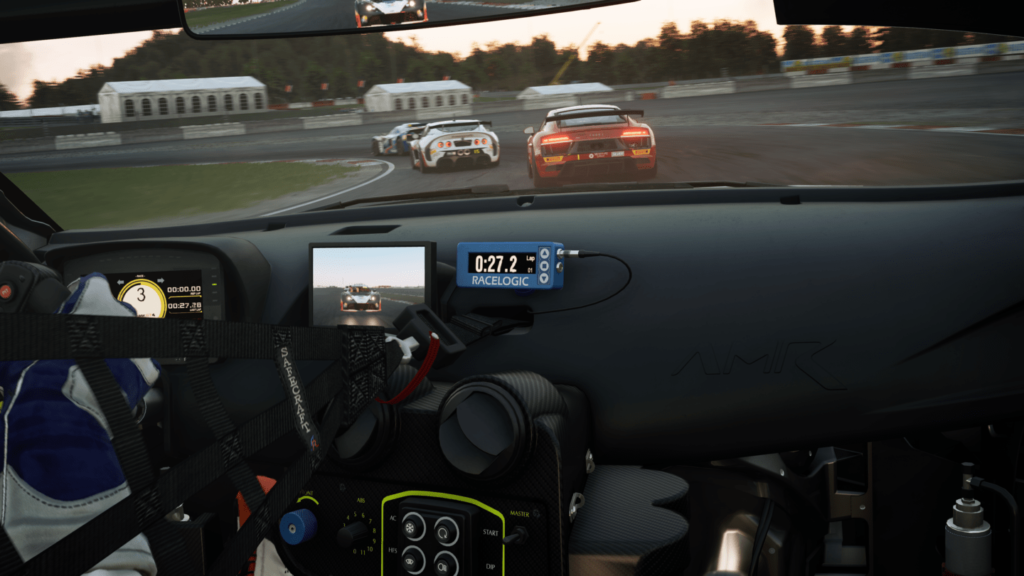
This guide to Assetto Corsa Competizione will include everything you need to know about in-game settings and how to tweak your force feedback (FFB) to provide a better sensation of realism in your gameplay. Just a quick note before we get started; ACC is available to play on PC, PS4, and Xbox One, but I’ll only be focusing on the PC version of the game for this post.
Essential Sim Racing Kit
Before we get into the ACC guide, there are a few housekeeping items I’d like to mention. I would highly recommend anyone, whether using ACC as your simulator or indeed any other game, to first and foremost invest in a wheel/wheelbase and a set of pedals.
These two pieces of kit are essential to enjoying sim racing and help to immerse you into the gameplay.
Of course, there are thousands of hardware options from many manufacturers, and I don’t want to suggest any particular brands over others. I’ve already covered a lot of kit in my buyers’ guides, so head there to take a look.
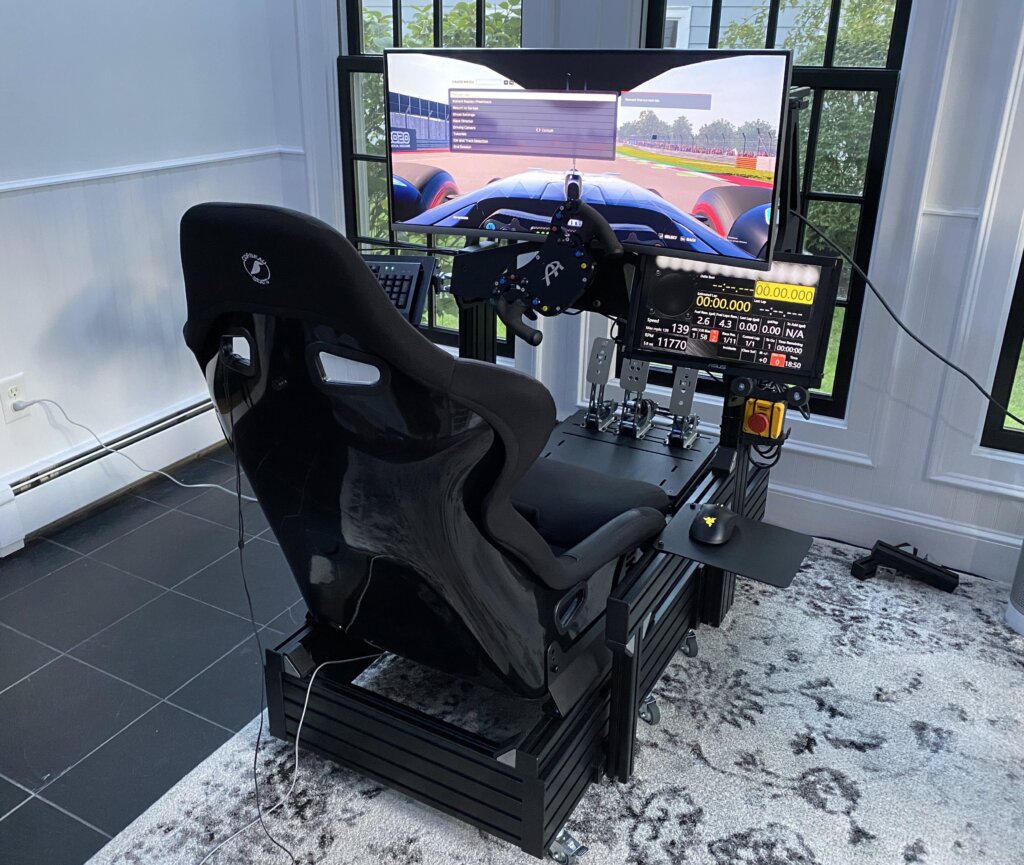
Remember that sim racing is all about creating a rig that’s as true-to-life as you can manage, so I recommend investing for the future and buying the best products you can afford to get the most fun out of your simulator. Based on my experience, you will also need a proper racing seat that is fixed into place so that it won’t move around when you press the pedals and probably a frame (rig) that allows you to attach all your sim racing products. Don’t worry if you can’t afford all of this at once. You can always start with a wheel and some pedals and build up from there.
So, with those items out of the way, let’s open up the game and learn how to get started with Assetto Corsa Competizione.
Starting the game and creating a Driver Profile
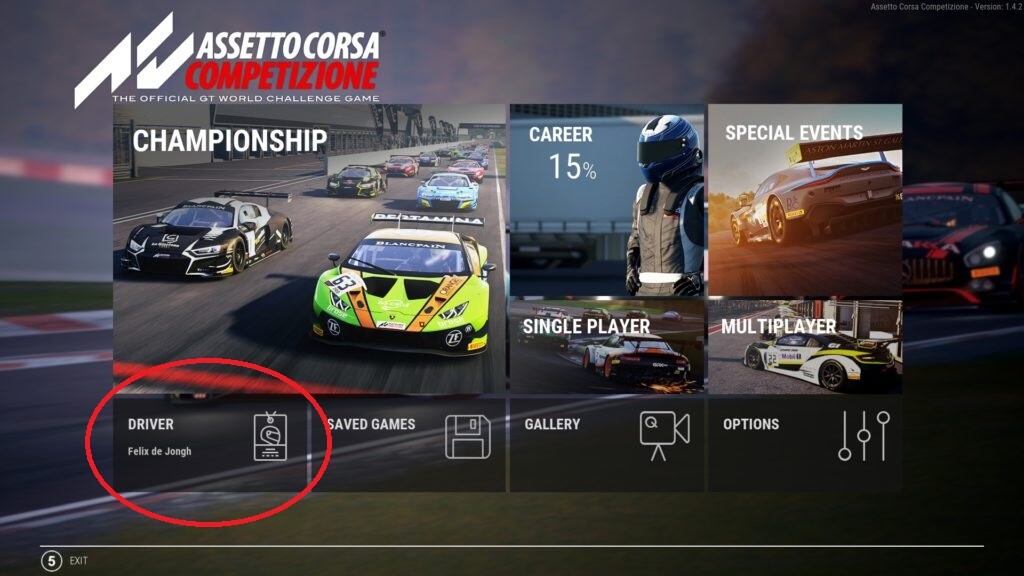
When we open the game, we land in the main menu, so the first thing you want to do here is set up your profile which means you need to click on DRIVER.
Put in your name and abbreviation, and if you wish, you can customise your driver’s helmet and racing suit with different colours.
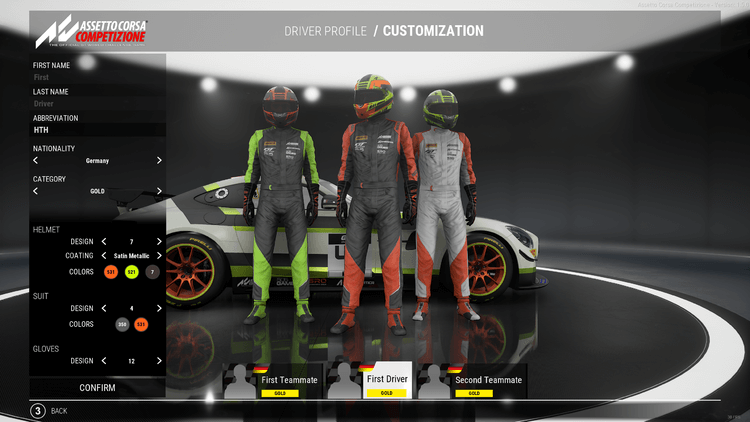
You will use this profile for tracking your in-game rating and your stats, so it’s good practice to get all this set up first. Once this is complete, we can move on and make sure your driving hardware is set up correctly.
Display Settings
First, head back into the main menu and go to OPTIONS.
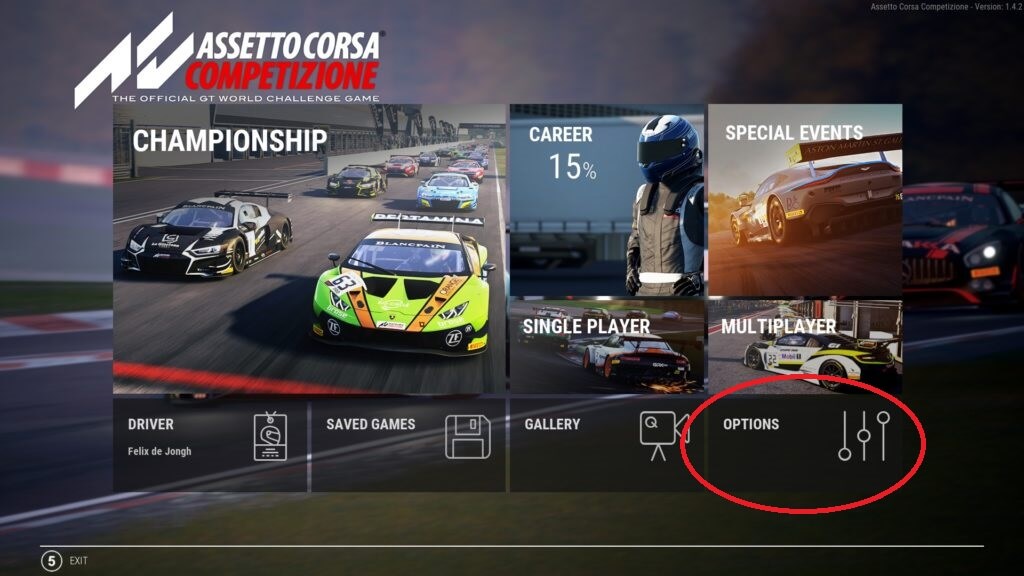
You will want to set up the graphic video settings according to what your hardware can handle. ACC has exceptional graphics, but that comes at the cost of intensive processing and memory usage. So, if you are not using an ultimate gaming PC, you should tone down the graphics slightly.
Once you’re in the OPTIONS menu, select VIDEO and adjust the settings to match your PC’s abilities.
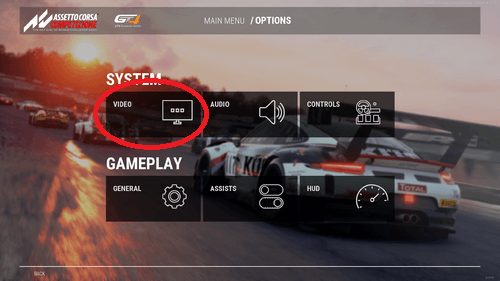
You don’t need to run the game on epic settings for it to look great; by using high or medium settings, the game will still look outstanding. Whatever mode you select, if you want to have a smooth experience select the appropriate settings for your hardware.
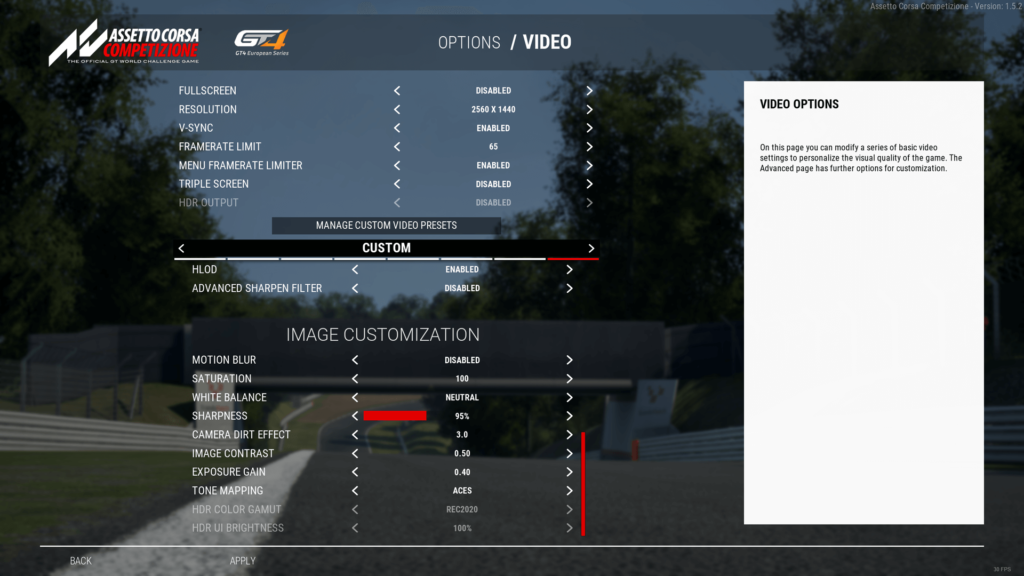
For more technical detail, check out this forum guide to graphics settings and performance in ACC.
Wheel, Pedal and Force Feedback Settings
The next thing we will set up is the CONTROLS, which you’ll also find in the OPTIONS menu. This is where you will make sure that everything is operating correctly regarding your wheel, pedals, and any other peripherals, should you have any.
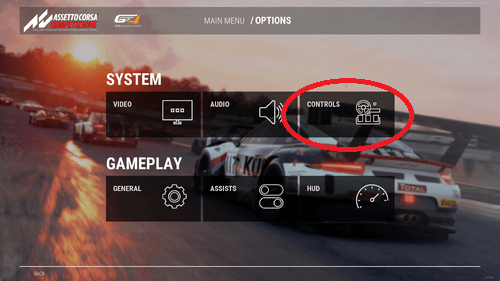
You will want to test everything and make sure it’s all working, so push the throttle, push the brake, push the clutch, shift up and down, etc. Basically, you want to check that the game is picking up a signal from each of your devices. If all your hardware drivers are up to date and everything is recognised, then you’re all set.
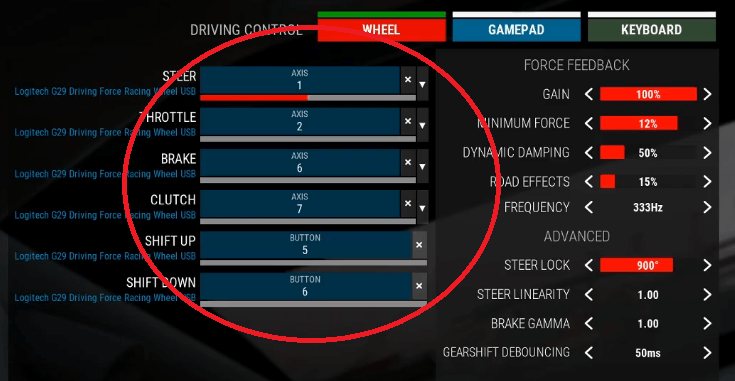
After that, you’re going to move over to the FORCE FEEDBACK settings. Getting this right is crucial as the wheel is your primary and, in many cases, your only connection to the car and the game. Unless you’re using a racing seat with motion actuators or bass shakers, you won’t have any other way to feel what the car is doing other than what is coming through the wheel. So, we want to have this set up to allow us to react to what the car is doing.
While the perfect FFB settings are certainly up for debate, I would recommend anyone new to ACC to use these recommended settings as laid out by Aristotelis Vasilakos, a developer for Kunos Simulazioni, the producers of ACC.
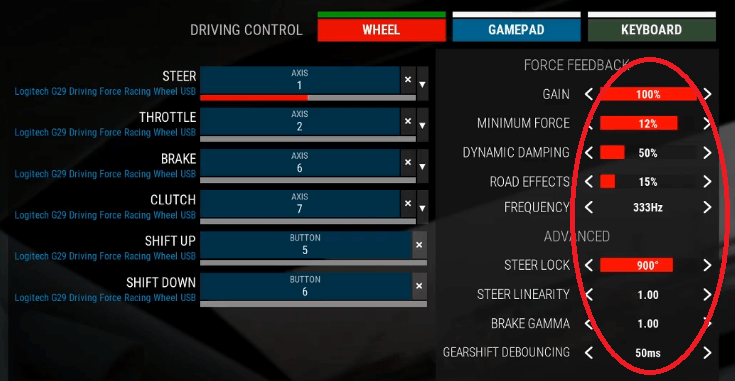
In this example, the FFB has been set up for use with a Logitech G29 Driving Force Wheel. However, please refer to Aristotelis’ instructions below and adjust the setting according to the hardware you are using.
FFB Settings for Assetto Corsa Competizione
GAIN: as per user taste, on commercial wheels 70-100%, on high-end or DD wheels 15-60%, but it also depends on your wheel driver gain settings. Some users also prefer 100% in-game at all times and adjust FBB strength in their wheel driver settings instead.
MINIMUM FORCE: only recommended for low-mid-range wheels, but only use up to 15-20%, again taste plays a role here.
DYNAMIC DAMPING: recommended at least 50%. For DD wheels, I recommend 100%. This is the equivalent of the Gyroscopic (gyro) setting in the original Assetto Corsa sim.
ROAD EFFECTS: this amplifies road surface signals, recommended to be left at 0% or low values.
FREQUENCY: mid to high-range wheels should have it set to 333Hz. Certain low-end wheels need it to be reduced.
STEER LOCK: whatever your wheel driver rotation is set to. This is the only way to keep linearity. Even if the in-game car has a lower rotation, the game will keep it 1:1 to your wheel.
STEER LINEARITY: you want to keep this at 1.00.
BRAKE GAMMA: 1.00 for load cell or high-end pedals, higher values (1.5-2.0+) for low-end pedals without load cell (same principle as in other sims).
I suggest that you try these settings as a base, and from there, you can make fine adjustments as you become more accustomed to the game. You can then save these settings as a preset so that it never gets lost.
Practice and Track Selection
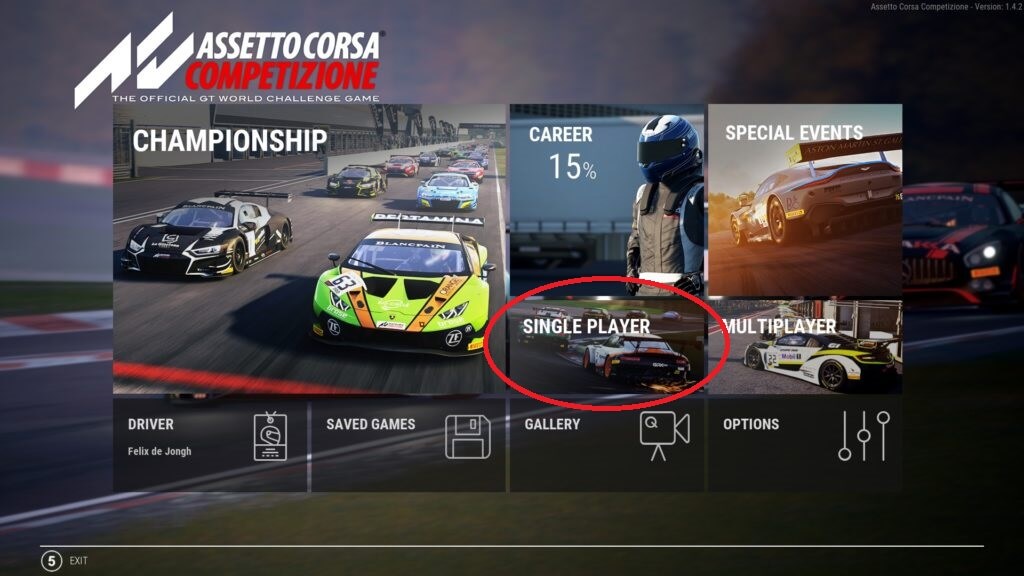
Depending on which version of the game you bought and whether you purchased DLC packages, there will be some different SINGLE PLAYER mode options. However, it doesn’t matter what year or challenge you decide to choose; just be sure that you select PRACTICE in the game mode, and I recommend setting the time to midday for the best lighting.
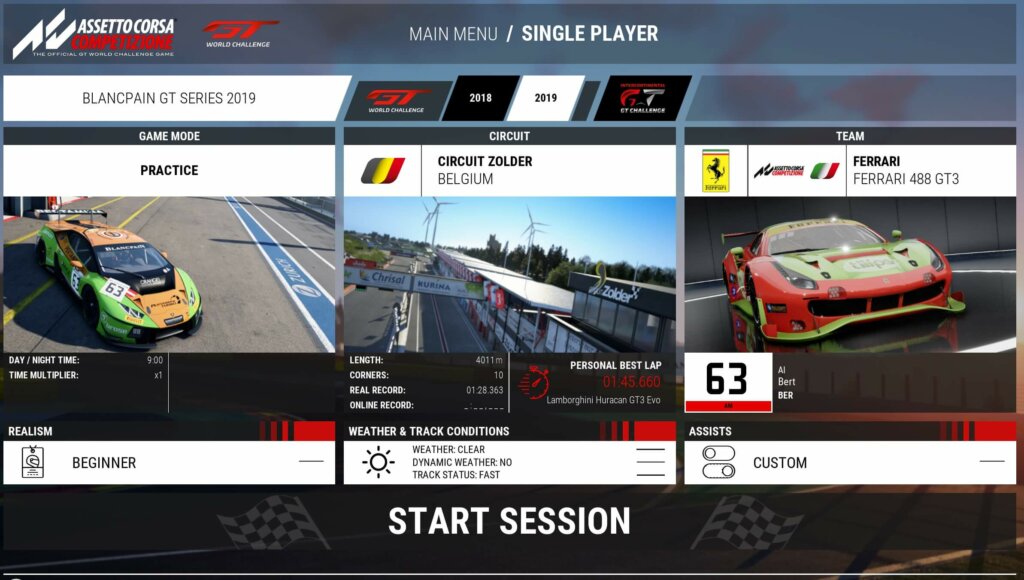
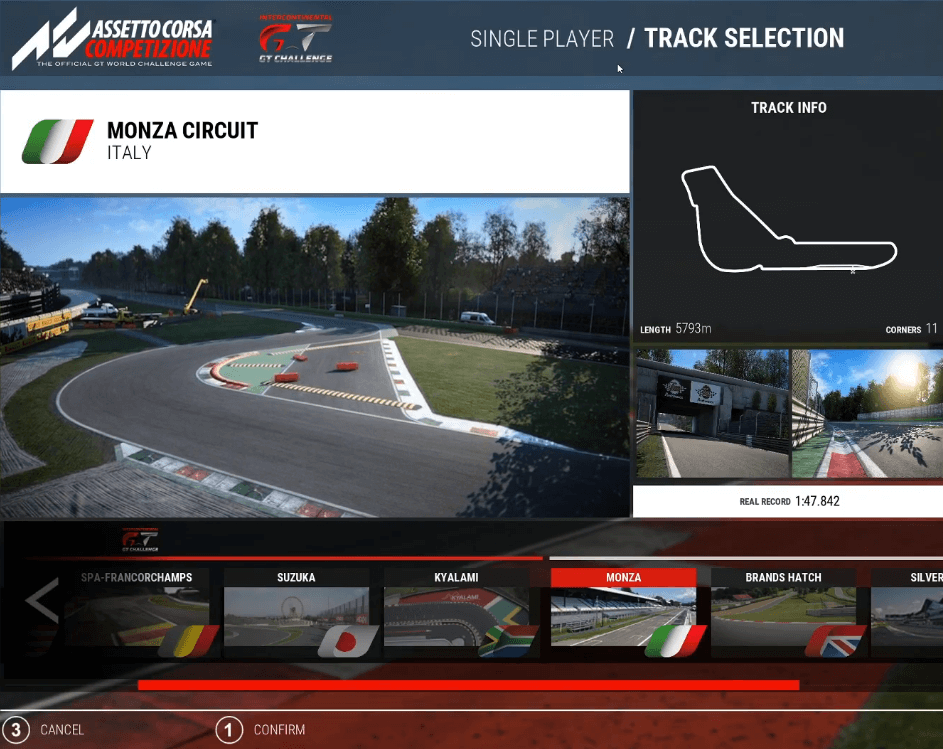
Have a look through the different tracks and choose one that you like. A personal favourite of mine is Zolder, which is short but menacing. However, I would recommend that beginners start with something a bit less technical, meaning fewer tricky corners.
A great example would be something like Monza.
Then most importantly, the car. There are so many amazing cars in this game, and everyone has a preference, so there is really no car I could suggest over another. Just pick the one you like or whatever stands out to you. If you ever thought to yourself, “I wish I could drive that car”, then now is your chance.
Each car in this game is incredibly well balanced, but they do drive differently. One car might feel more natural to you than others, but on your first attempt, you should simply pick a car that you like, and if you start to notice after a few laps or after a few hours of racing that it doesn’t feel suitable for you, then you can select something different next time.
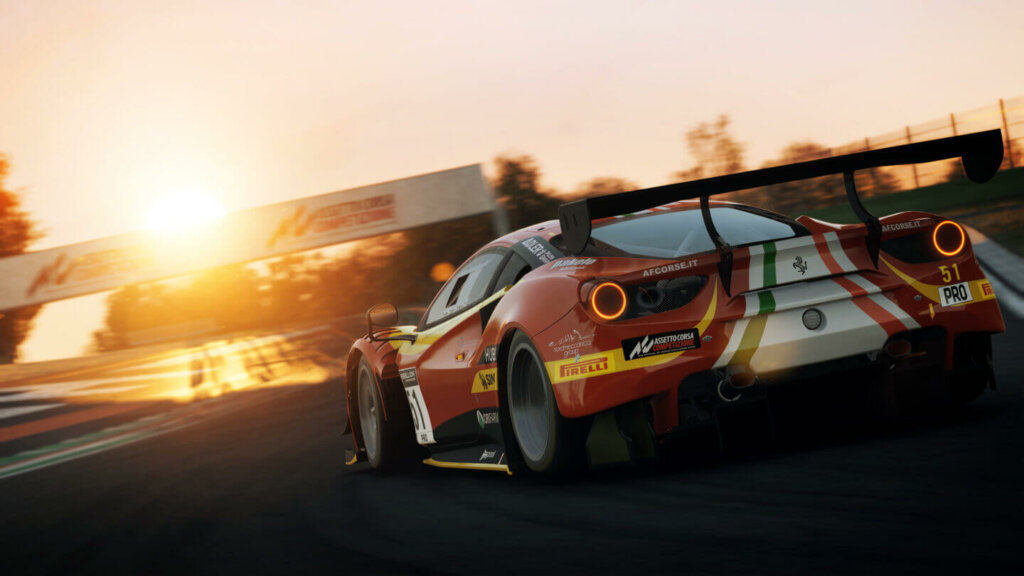
would even go as far as to say that you should pick the car you like first and then try every other car in the game just to test them all and see how they feel. You will immediately notice after a few turns or a few laps if a car is not for you. I guarantee it.
For our first race, we don’t need to touch anything in the car customisation; we will get into that in my next article on Car Setups. Right now, we basically just want to drive.
Realism
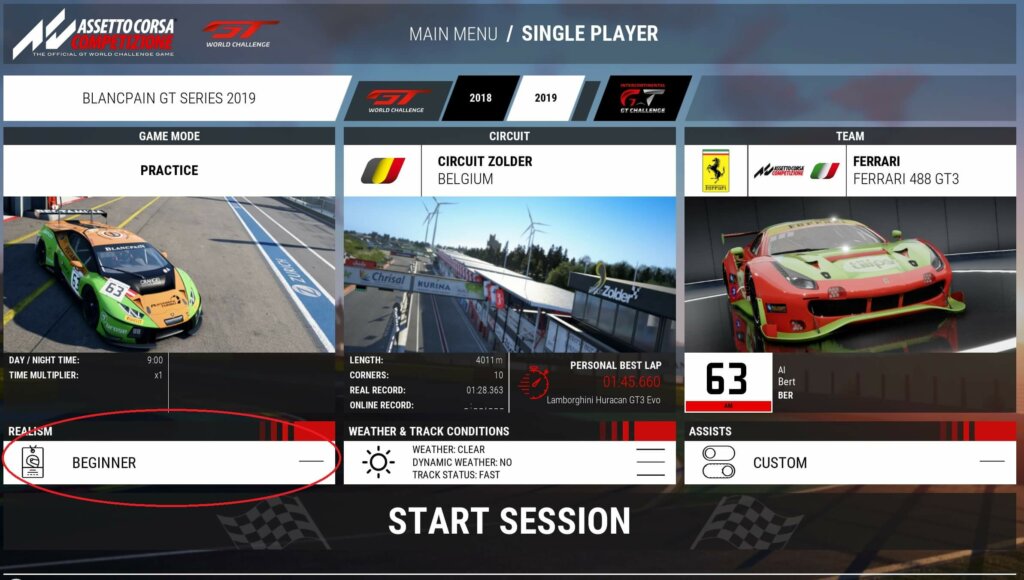
As a rookie, you will want to make things as smooth as possible so that you can focus on driving and getting to know the car.
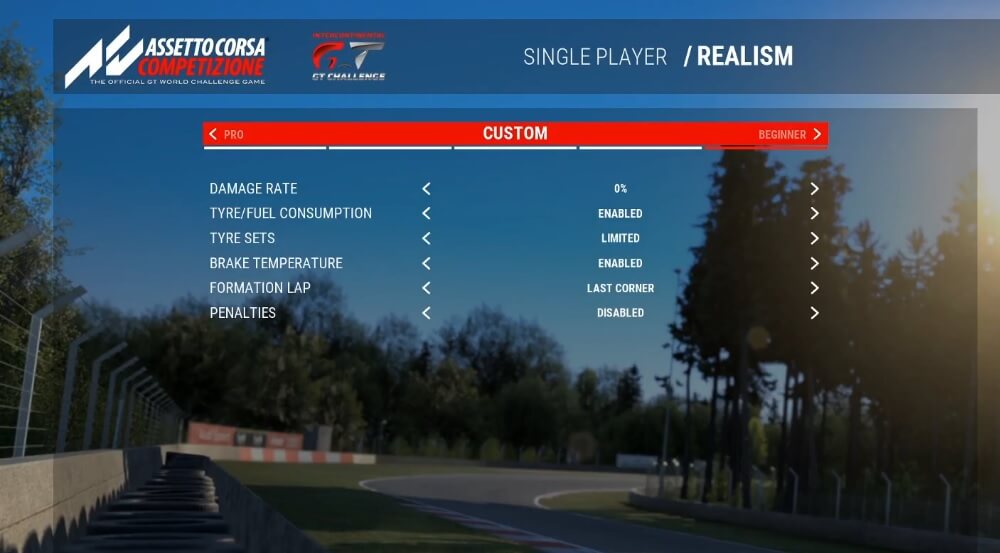
I recommend setting the damage to zero and then set everything else as above.
Weather Conditions
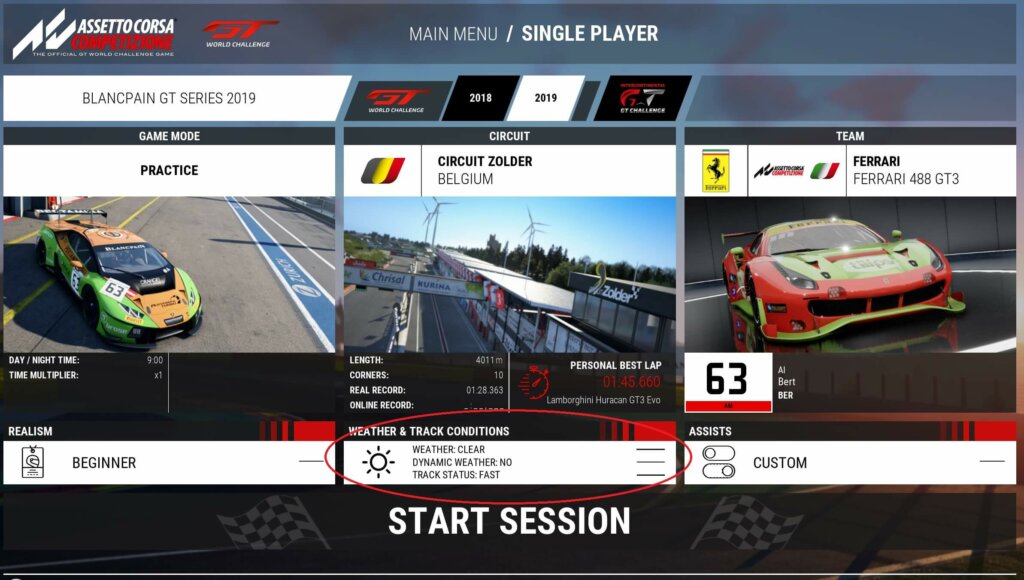
This game has fantastic WEATHER CONDITIONS, but for your first few runs out on the track, you will want to keep it clear and with no dynamic weather so that you don’t run into any trouble.
Assists
There’s one last thing before we head out onto the track, and that’s the ASSISTS.
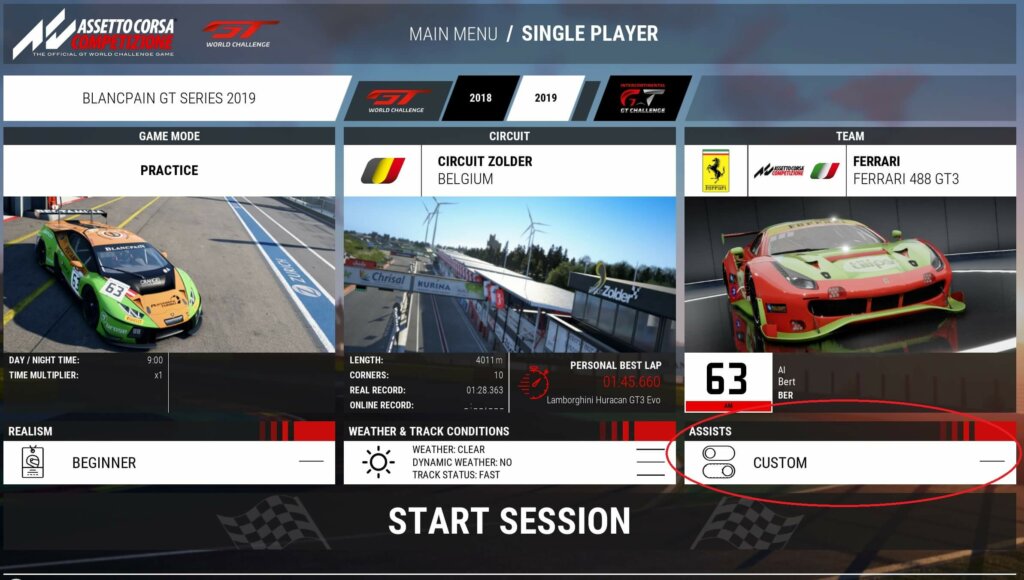
As a beginner, you want to make sure that you have the gearbox set on manual as this allows you to learn about shifting. However, for now, you will want to set everything else on automatic and keep the stability control off so that the game doesn’t mess with your driving.
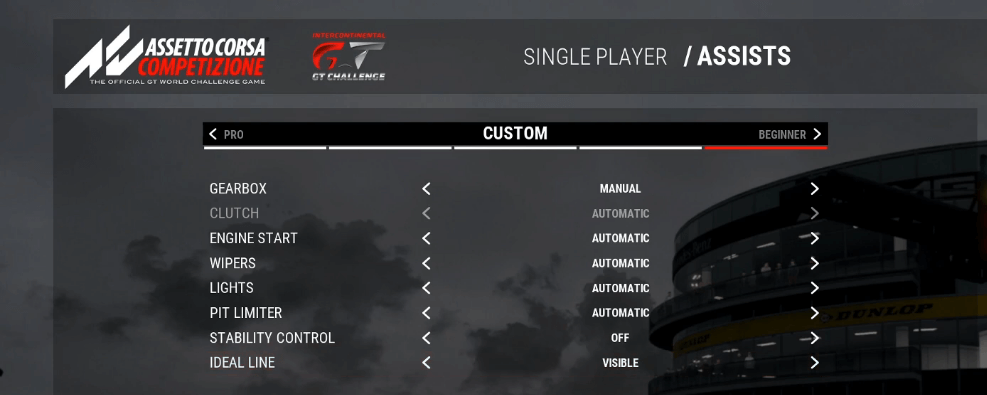
As for the ideal racing line, if you have never raced on a track or don’t know how it feels, or if you want to learn a track from scratch, I recommend setting the IDEAL LINE as visible. When the line is visible, the game indicates which racing line you should stick to. It doesn’t mean to say that this is always the quickest line, but just like everything else we’ve discussed so far, it’s a good baseline to begin with when you’re starting out.
In your first few hours with the game, I would suggest turning it on anyway, even if you think you’re not a beginner, especially if you’re trying a track you’ve never driven on before. If it’s too irritating, you can always turn it off.
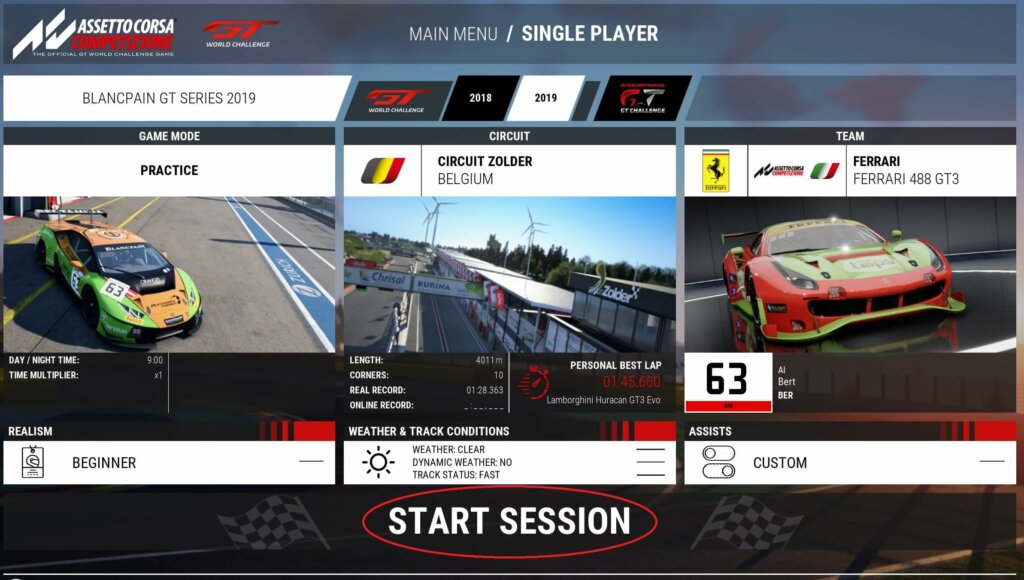
Now we’ve got everything set up, and we’re ready to get out there, so you can select START SESSION.
Remember, the most important rule is to have fun. The second most important rule is not to compare yourself to other drivers. There’re so many drivers out there that are faster than you that in the beginning, it’s pointless even to consider this as an issue. In fact, there’s pretty much always someone faster than you even when you become a pro.
Car Setup – Safe Mode
Before you head out onto the track, click on SETUP.
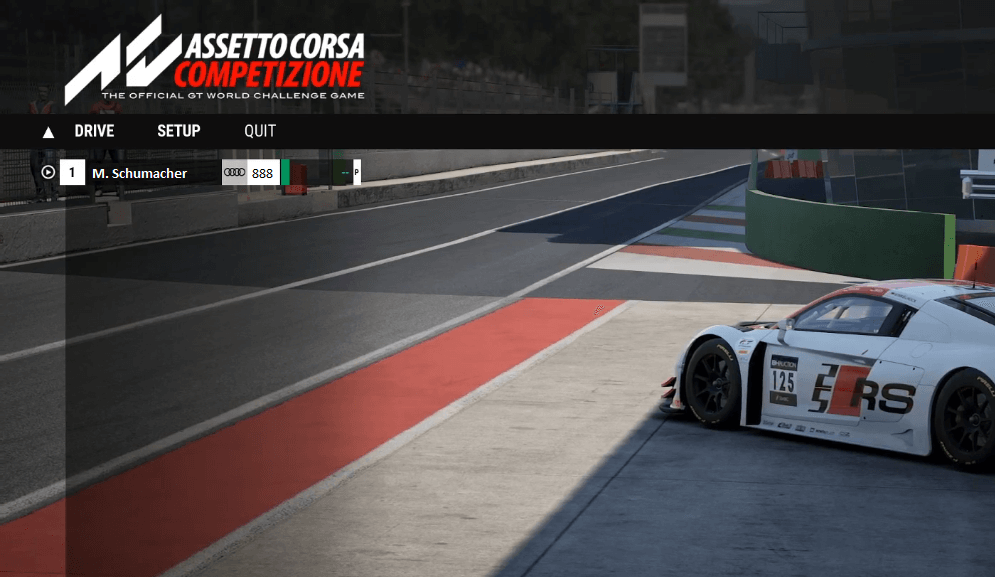
As I mentioned above, we are not interested in customising the setup at this point in time, so the only thing you need to do is click on the SAFE PRESET SETUP and immediately go back.
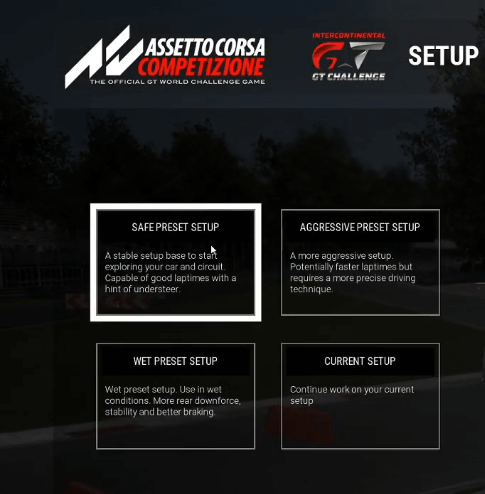
Essentially, this is a safe mode that will set the car up in a way that makes it easy for you to drive during your first laps without worrying too much about losing the rear and spinning out of control. It’ll give you smooth handling and overall make the car as easy to control as possible.
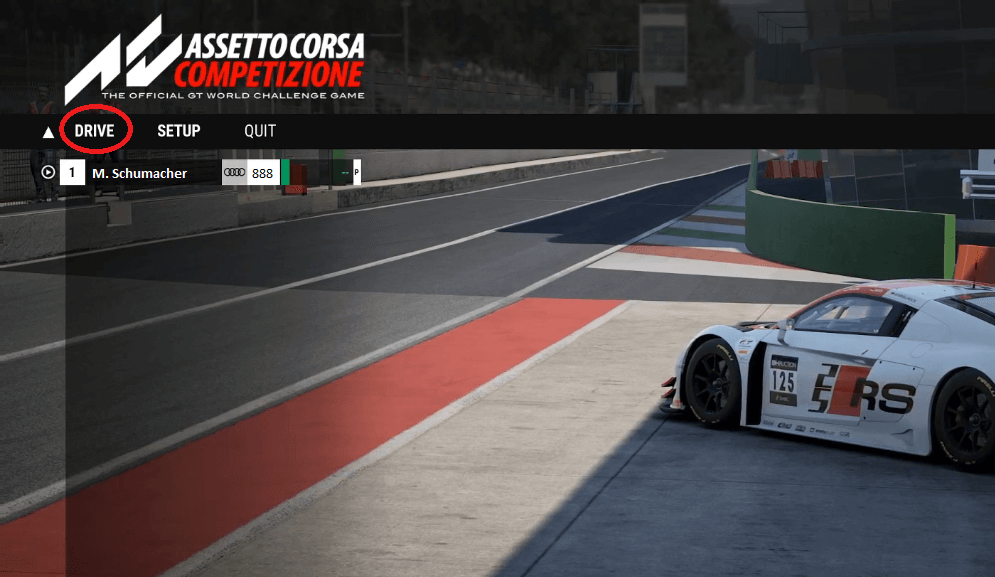
Once that’s done, click DRIVE, and you will land in the car, which will be sitting in the pit lane.
HUD Explained
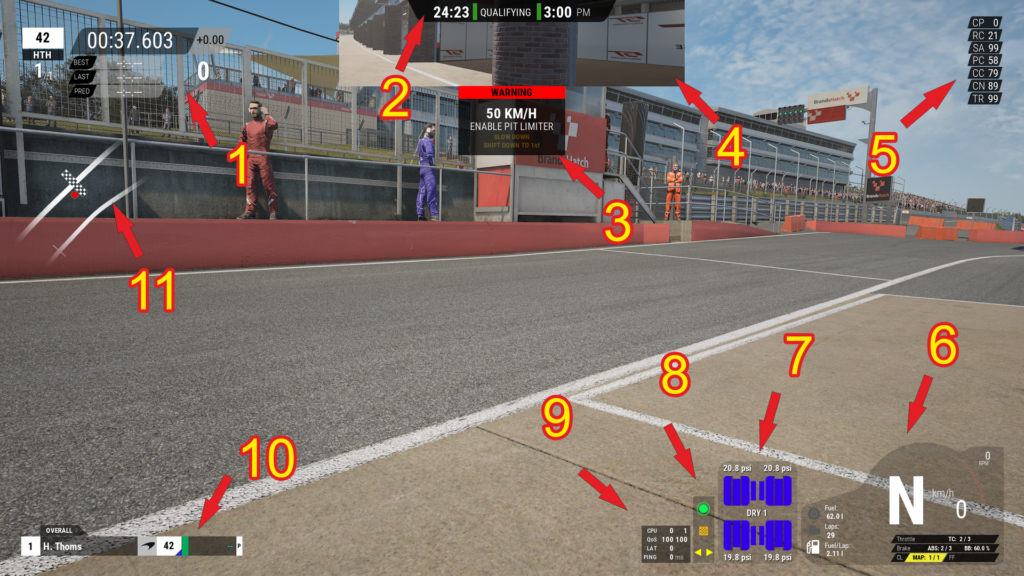
At this point, you will notice that apart from what you can see out of the front window, many other pieces of information also appear on the screen. This is known as the head-up display or HUD.
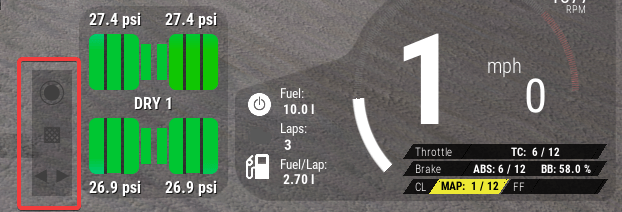
What you see on the top in the middle is what mode you’re on and what the time is, and in the top left corner is your lap time. You will see four green icons that represent your tyres in the bottom right corner, and these will change colour depending on their temperature. You will also notice it displays your tyres psi; this will become more important later when we look at more advanced setups. You will also see four blue icons which indicate your brake discs in the front and rear. Again, these will change colour depending on temperature. Once you start driving and get some temperature in the tyres and the brake discs, they will become a healthy green. If you are running too hot, they will become yellow or red.
Next to this, you have the fuel and lap indicators, showing the amount of fuel you still have, plus you have the fuel per lap that you consume. Next to that is, of course, the RPMs, and you will see the throttle response when you push the throttle, and you will see the brake response when you push the brakes. The two large numbers represent your speed and what gear you are in. Finally, you also have indicators for the traction control, ABS, and brake balance which we don’t need to worry about for now.
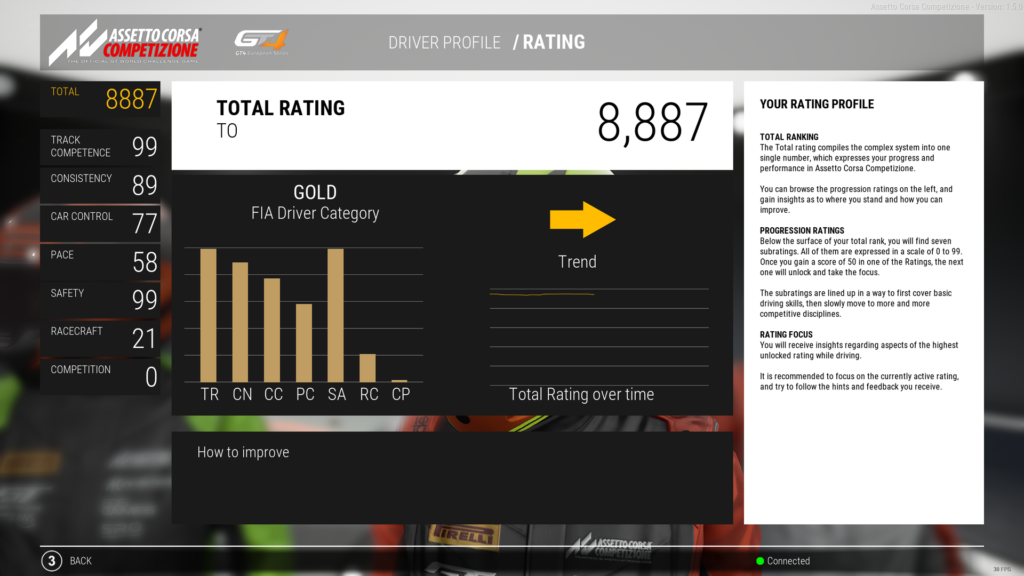
In the top right corner, you will see a collection of different numbers representing your driver ratings. ACC has ratings for various things like safety, car control, track medals, etc., which are important for the multiplayer mode. This makes sure the game can sort drivers based on their skill and match them to opponents at a similar level.
One of the first things you want to do in ACC is improving your ratings and collect as many track medals as possible, allowing you to drive in multiplayer mode.
That about wraps things up in terms of explaining and setting everything up for our first lap. All that’s left to do is put the car in first gear, pull out of the pit lane, and head onto the track.
Related articles:
Le Mans Ultimate: How to Drive the LMGT3 and Hypercar
mBooster Review: Moza’s New Active Pedal
Is Moza about to Completely Disrupt the Sim Racing Pedal game?
Mustang GT3 Sim Racing Wheel from VPG – Close Look
Five of the best Gran Turismo 7 track and car combinations
MOZA Racing FSR2 Formula Wheel and CM2 Dash Review
Topic: Assetto Corsa


