I’m a sim racer and amateur racer with a passion for Motorsport, good racecraft and the technical and setup aspect of sim racing.
Featured Image: Apex Racing League
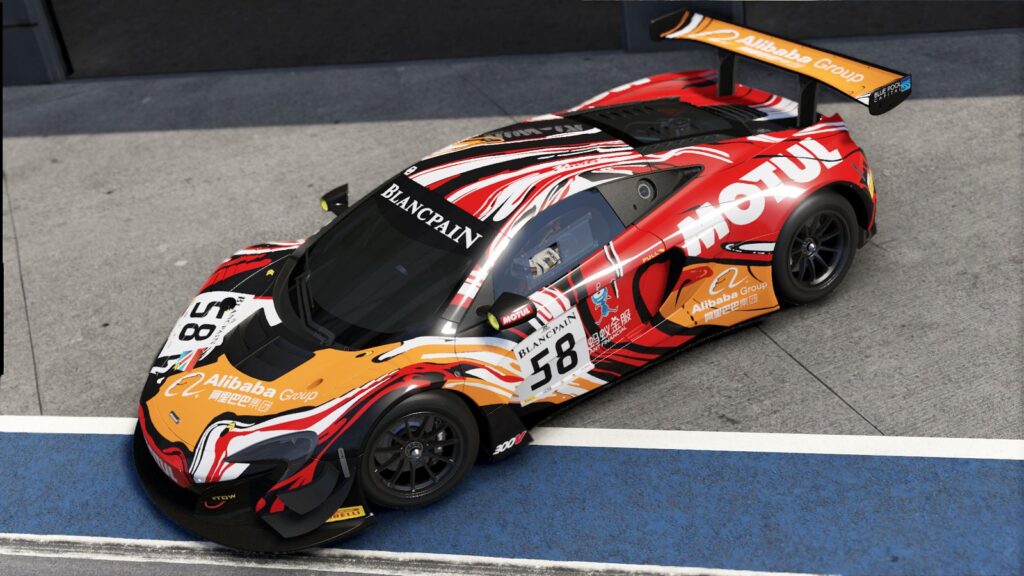
I saw this thread on Reddit earlier and thought it well worth a discussion. A McLaren 720S GT3 driver at Suzuka ran some proper scientific tests on tyre warming methods, and the results are really useful to know, especially if you’re looking for that bit of extra laptime.
Everyone’s got their own tyre warming ritual – some swear by aggressive weaving, others prefer hard braking, and plenty just wing it hoping for the best. But what actually works?
I’ve spent years experimenting with different techniques, and like everyone – I’ve wasted plenty of formation laps doing things that barely move the needle. With a methodical approach, combined with insights from professional sim racers, let’s try to paint a clearer picture of what actually makes a difference when you hit the throttle and go for that first lap.
Quick Navigation
Hard Data That Settles the Tyre Warming Debate
Why Braking Works – The Physics Behind It
Pro Techniques
Beyond Warming: Complete Tyre Management
Tyre Warming Practice
The Complete Setup
Hard Data That Settles the Tyre Warming Debate
The testing was straightforward but thorough – McLaren 720S GT3 at Suzuka, measuring tyre temps at the starting line after different warming techniques. Starting temperature: 123°F across all tests. Here’s what happened.
Behind the Pace Car Results
When you’re stuck behind the pace car with limited options, these numbers tell you everything:
- Control (steady driving): 127°F (52.8°C) – +4°F (+2.2°C)
- Weaving only: (54.4°C) – +7°F (+3.9°C)
- Hard gas to hard braking: 141°F (60.6°C) – +18°F (+10°C)
- Brake dragging: 137°F (58.3°C) – +14°F (+7.8°C)
- Weaving plus hard braking: 134.5°F (56.9°C) – +11°F (+6.1°C)
The right tyre warming technique becomes obvious. Hard braking delivered more than double the temperature gain compared to weaving. Even brake dragging – which feels less dramatic – beat weaving by a significant margin. Combining weaving with braking actually gave worse results than braking alone, probably because you’re spending time weaving instead of focusing on proper brake applications.
I have actual Motorsport experience with the most relevant being my time in the Radical SR3. With the Hankook slicks, the most impactful way to warm tyres was (starting gently on the throttle – cold slicks are like driving on ice!) throttle to hard, long brake in a straight line. This would bring heat into the core of the tyre but not the edges – so some slight braking to the left and then to the right, so the tyre was loaded for as long as possible, would distrinbute the heat around the whole tyre.
Qualifying Out Lap Results
When you’ve got freedom to push on your out lap, the results get even more interesting:
Starting temp: 123°F (50.6°C)
- Flat-out push lap: 158°F (70°C) – +35°F (+19.4°C) – but the car was difficult to control
- Hard braking into turns, fast between: 165°F (73.9°C) – +42°F (+23.3°C)
- Hard braking with constant stop/go: 164°F (73.3°C) – +41°F (+22.8°C) – lap takes forever
- Weaving throughout: 162°F (72.2°C) – +39°F (+21.7°C)
Again, braking wins. The technique of hard braking into each corner whilst maintaining speed between them delivered the best results. You’re working the tyres through maximum load transfer without sacrificing too much lap time. The constant stop/go method matched it for temperature but wasted precious seconds you don’t have on an out lap.
Why Braking Works – The Physics Behind It
The reason braking dominates isn’t complicated, it’s science! When you brake hard, you’re converting kinetic energy directly into heat through friction. The contact patch between your tyre and the track surface experiences massive shear forces, generating heat precisely where you need it. Your brakes generate heat too which should conduct (and convect with a bit of warm air).
Weaving, by contrast, creates relatively small slip angles. You’re asking the tyre to work laterally, which does generate some heat, but nowhere near the amount you get from heavy longitudinal loading during braking. The contact patch isn’t working nearly as hard, and the heat generation reflects that.
Here’s the sweet spot: hard braking without locking up. You want maximum load transfer to the front tyres, creating that friction and heat, but not so much that you overwhelm grip and slide. That sliding wastes energy and doesn’t put heat where you need it – into the tyre compound itself.
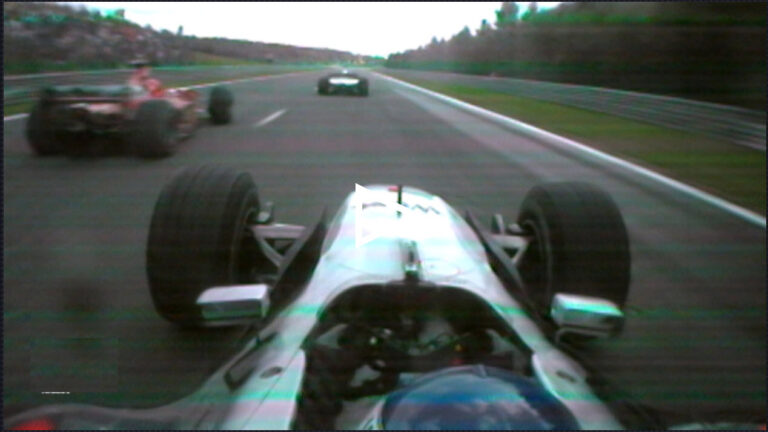
Professional sim racers understand this instinctively. I’ve watched countless onboards where drivers use the out lap to practice their brake points, hitting them hard and consistently. They’re not just warming tyres – they’re getting feel for the day whilst building temperature efficiently.
Pro Techniques
Tyre warming is just one piece of the performance puzzle. I came across some brilliant “sweaty” techniques that competitive iRacers use but rarely talk about. These are the details that add up over a race distance.
Visit Our Sponsors
The Pit Speed Limiter Trick
Most drivers set the pit limiter and forget about it. But in iRacing, you can run 1-2 km/h over the limit without penalty. At Fuji, for example, running at 61 km/h instead of 60 km/h saved noticeable time through the pit lane. It’s marginal – maybe a tenth or two – but it’s free time for no extra risk.
Some cars’ pit limiters flicker between 59-60 km/h when you use the button. Manual throttle control at 61-62 km/h is more consistent and faster. Just don’t take the mick – 63+ km/h and you’re asking for a penalty.
LMP2 Clutch Launch Technique
If you race LMP2, this one’s crucial. Map a second clutch paddle and use it for pit box launches. Hold about 60-70% clutch, full throttle, and as the car drops off the jacks, release smoothly. The difference is dramatic – you’re away cleanly whilst others are still crawling out of their boxes.
Testing showed this technique is significantly quicker than just selecting first gear and pulling away normally. In longer races where pit stops decide positions, every second counts.
The Formation Lap Fuel Burn
Here’s a properly cheeky one: in GT3 fixed races, you start with way more fuel than you need. On the formation lap, enable your pit limiter and go full throttle constantly. The pit limiter prevents you speeding, but the throttle position burns fuel like mad. One test showed burning an extra 5 litres this way – that’s meaningful weight savings for the race.
I don’t know if this is technically against sporting code, but people do it. The lighter your car at race start, the better your initial pace. Whether iRacing will patch this out eventually, who knows.
Fuel Strategy Overlays
Having proper fuel telemetry on screen matters enormously in endurance races. You need to see fuel remaining, average consumption, and crucially – how much fuel to add that matches your tyre change time.
For the Porsche 911 GT3, changing all four tyres takes about 46 litres worth of time. If you’re putting in 100 litres, your final stop only needs 36 litres – you’ll be sat there waiting for tyres whilst everyone who split their strategy is already back out. Split it: 70 litres first stop, 66 litres second stop. Both stops are tyre-limited, both are efficient.
Beyond Warming: Complete Tyre Management
Getting your tyres up to temperature is the start, not the finish. Keeping them in their optimal window throughout a stint requires understanding pressures, camber, and driving style.
Pressure Optimisation
For GT3 cars in iRacing, you’re generally targeting 22-24 psi hot. Start with minimum cold pressures, run a few flying laps, then check your hot readings. The goal is consistent pressure rise across all tyres, especially the outside pair during cornering.
Monitor your tyre temperature distribution across the contact patch. If the centre’s hotter than the edges, you’re overinflated. If the edges are cooking, you need more pressure. Optimal operating temperature sits around 85-105°C for most compounds, though this varies by car.
Track-specific adjustments matter too. Long straights might benefit from slightly higher pressures to reduce rolling resistance. Corner-heavy circuits want maximum mechanical grip, which sometimes means accepting slightly lower pressures.
Camber Effects
Camber changes how your contact patch works through corners. Too much negative camber and you’re murdering the inside edge whilst getting brilliant mid-corner grip. Not enough and the outside edge overheats whilst the inside stays cool.
Use telemetry to monitor inner, middle, and outer tyre temperatures. You want even distribution across the width when the tyre’s at operating temperature. If your inside edge is significantly hotter, dial back the negative camber. If the outside’s cooking, add more.
Remember that camber changes dynamically as your suspension works. Your static setting needs to account for body roll and suspension compression during cornering. It’s a balance between outright grip and even wear over a stint.
Driving Style Impact
Your inputs matter more than any setup change. Smooth steering keeps the fronts happy. Progressive throttle application prevents rear wheelspin and temperature spikes. Clean braking without locks preserves the rears and avoids flat spots.
Big slides and oversteer moments scrub the surface, building heat quickly but destroying the compound. Same with prolonged understeer – you’re asking the fronts to do impossible things, and they respond by overheating and giving up.
In longer races, strategic driving pays dividends. Being gentle early preserves tyre condition for later. Pushing hard immediately can cause thermal shock – rapid overheating that spikes pressures and accelerates degradation. Once tyres go above their optimal window, the rubber physically changes and performance drops off a cliff.
Tyre Warming Practice:
For Rolling Starts Behind Pace Car
- Identify 2-3 heavy braking opportunities during the pace lap
- Accelerate smoothly to build speed, then brake firmly (not locked) at each zone
- Use brake dragging between opportunities if space is tight
- Skip the weaving – it’s not worth the minimal gains
- Focus on getting heat into all four tyres evenly
For Qualifying and Sprint Race Out Laps
- Brake aggressively into every corner approach
- Maintain good speed between braking zones
- Don’t waste time with constant stop/go cycles – it’s slow
- Get your brake points dialled whilst building temperature
- By the time you cross the line, tyres should be in the window
Monitoring Your Progress
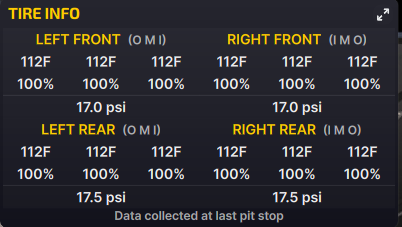
iRacing’s (use F9) black box shows tyre temperatures. Check it regularly during practice to understand your baseline. Set up overlays that display:
- Current tyre temperature (all four corners)
- Optimal temperature range for your compound
- Pressure readings (cold and hot)
- Temperature distribution across contact patch
Different car classes have different targets. GT3s typically want 85-105°C. LMP2 might run slightly hotter. GTP cars with their downforce can handle different ranges. Learn your car’s preferences through testing.
The Complete Setup
Tyre warming doesn’t exist in isolation. It’s part of your complete race preparation. Before you roll out:
- Set cold pressures based on your target hot pressures
- Check camber settings align with your driving style and track characteristics
- Have your fuel strategy mapped out for the race distance
- Know your tyre change times and plan pit stops accordingly
- Set up overlays that give you the information you need at a glance
During the race, adapt. If tyres are overheating, back off slightly and focus on smooth inputs. If they’re not coming up to temperature, push harder initially until they’re in the window. Monitor degradation and adjust your driving to make them last.
The difference between drivers who manage tyres well and those who don’t becomes obvious over race distance. One’s consistently quick, the other’s complaining about no grip by mid-stint.
Complete tyre management requires understanding pressures, camber effects, and how your driving style impacts compound degradation. Get all these elements working together and you’ll find consistency you didn’t know was possible.
I’d encourage you to test these techniques with your specific car and track combination. The principles remain constant, but the exact application varies. And if you discover something that works particularly well, share it – that’s how we all improve. Enjoy!

The Science of Tyre Warming in iRacing: Testing Shows Braking Beats Weaving
Le Mans Ultimate: How to Drive the LMGT3 and Hypercar
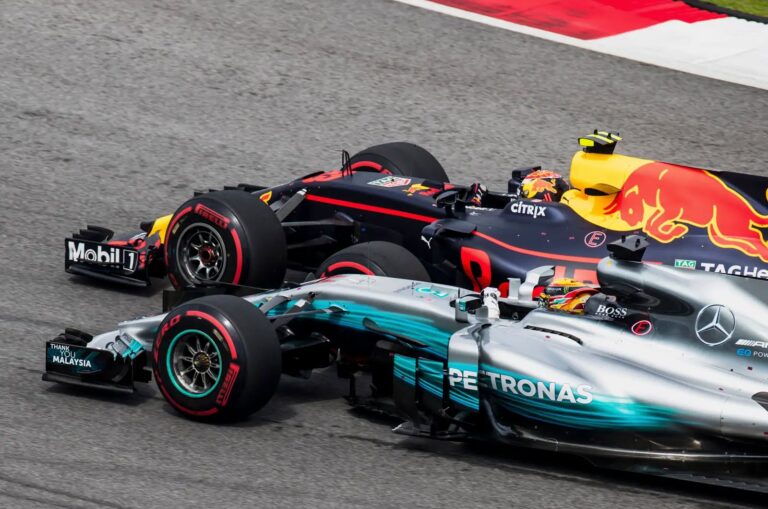
How to Pull off the Perfect Overtake / Pass in Sim Racing
How To Defend In Sim Racing
How to Overtake, and How not to.