Getting your braking right in the simulator is a huge win for lap times. With too much brake pressure, you lock and go straight on. Too little and you lose time. In some cars in iRacing, braking is relatively easy and can be learned by feel. A few small adjustments to the brake bias are all that is necessary.
For the ABS limited cars, such as the Porsche 911 RSR, brake technique and your technical sim setup (your brake pedals and calibration) can find you seconds in the lap.
What is Threshold Braking?
Braking at the threshold is all about using the maximum available grip from your tyres. Past the limit of available grip, your tyres lock. But just before that point, they begin to under-rotate. Under-rotation is the point where the tyres are on the threshold of a lock. They’re working at maximum efficiency.
Brake “feel” is hard in the simulator. If you’re driving an open-wheel car, you can see the front tyres lock. In a closed-wheel car, it tends to be more about what you can hear.
But most sim racers already know this, and if you’re like me, you’re focused on consistency. You know when the car will lock up, you find it frustrating but can’t seem to get to a point where you’re hitting the threshold every time, without going further into a lock.
Avoid locking up with a better brake setup
With some attention to the setup of your pedal calibration, you can avoid locking up almost entirely. For sensitive cars like the Porsche, Ferrari or the F3 cars with little or no ABS this setup is an absolute gamechanger in terms of quick win improvements.
How to get better brake performance with Heusinkveld Sprints, Smartcontrol and iRacing
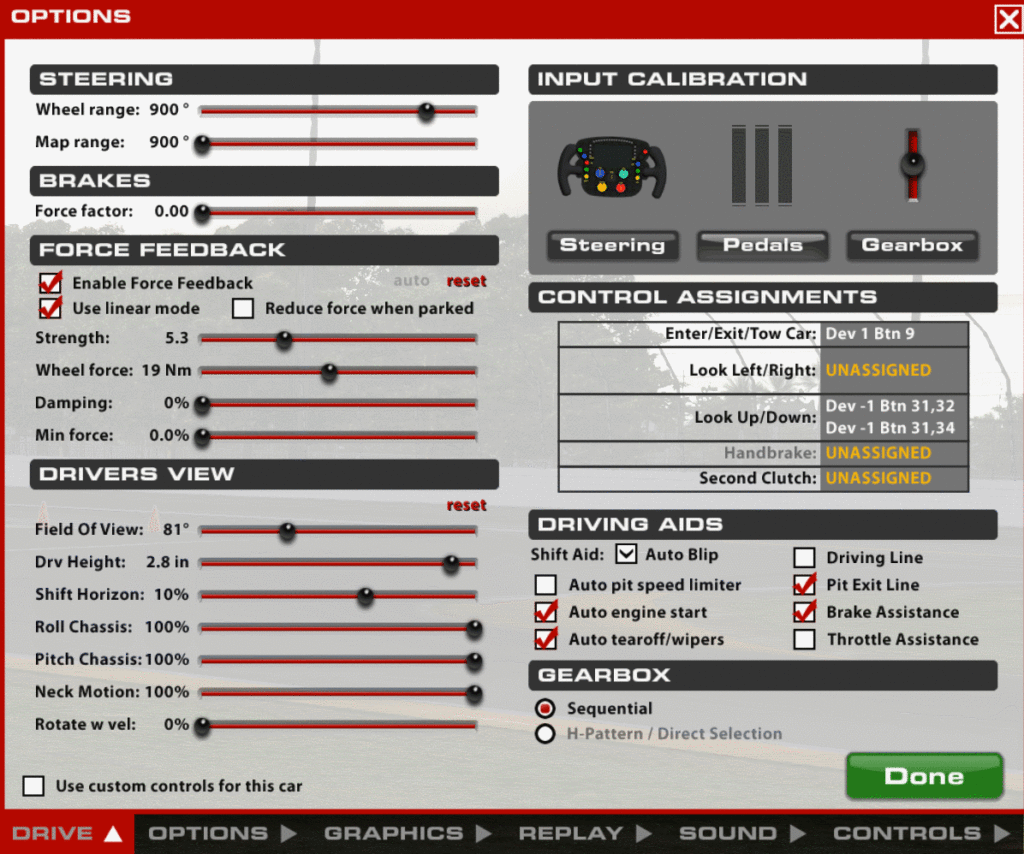
Here’s the theory. iRacing calibration will take you to 100% brake pressure. There is no way to map different pressure levels unless, during calibration, you don’t press the pedal fully! But this is not ideal.
Instead, we’re going to calibrate iRacing in the usual way, and then reduce the maximum pressure through Smartcontrol. Then, we’ll head out onto the track and try to lock up.
If the car does lock up, we’ll reduce the maximum pedal force a bit more until we’re somewhere close to the maximum threshold. Firstly, open Smartcontrol and check that you have the linear, standard profile loaded.
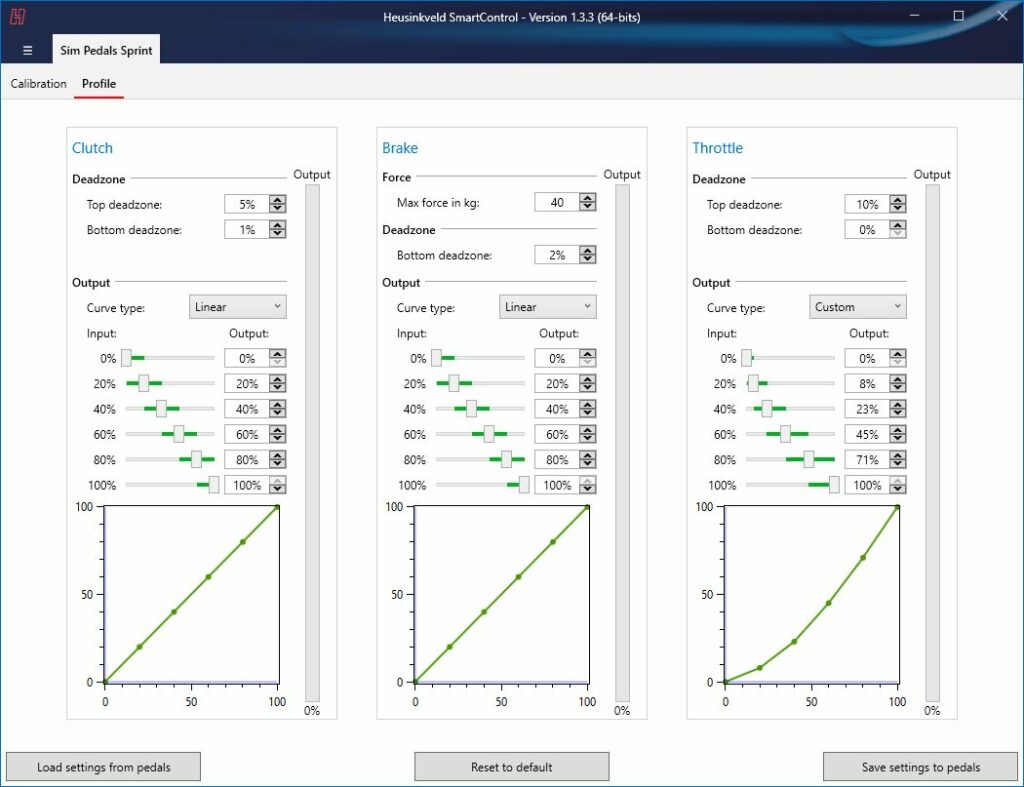
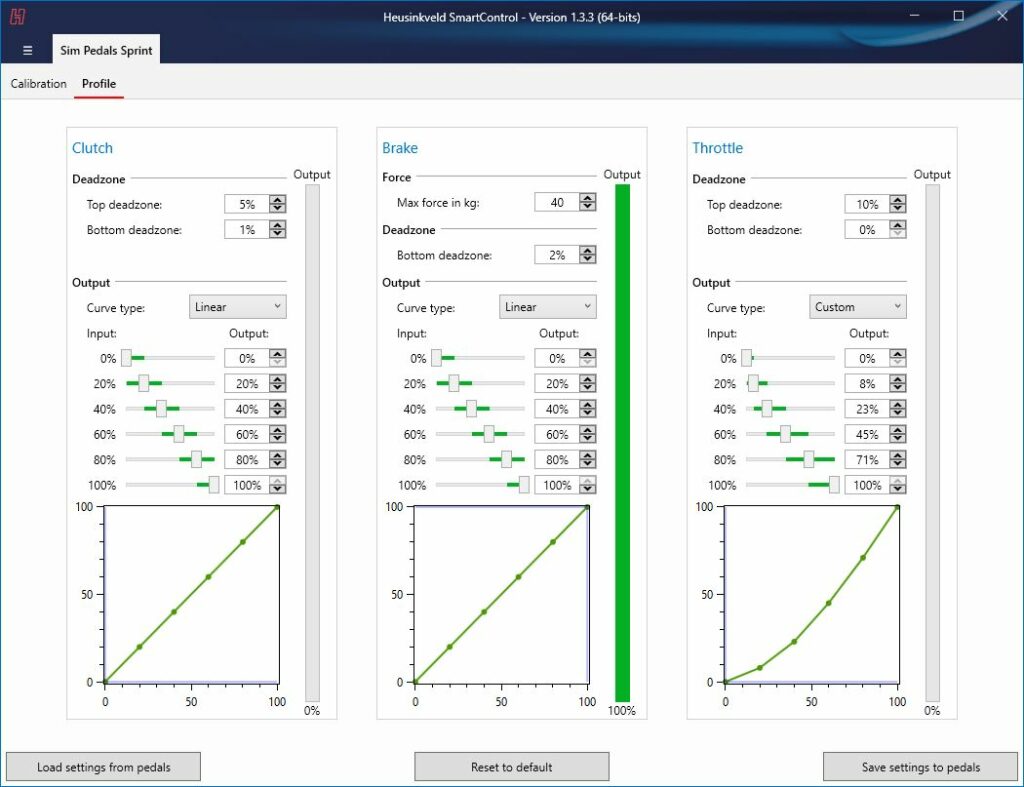
Go through the usual calibration procedure, ensuring that you’re pressing the brake pedal with your maximum pressure:
Now, open iRacing and go through the usual pedal calibration procedure:
Head out onto the circuit and test the car. At maximum brake pressure, of course, you will lock up. So, alt-tab out of iRacing and head to smartcontrol.
Reduce the maximum threshold from 100% to something lower – try 75%. Head back out onto the circuit to see if you lock.
This procedure will take some repetition, you need to get up to speed every time, and spend the session braking heavily. Make sure that the brake bias is as far forward as you can get too; there’s some performance to be gained from getting maximum brake pressure to the point where it feels like you might lock, but don’t!
Remember to use your ears; iRacing is very good at letting you know when your tyres are at the limit.
Very usefully; the Porsche 911 RSR in iRacing will let you know when the front tyres are close to locking:
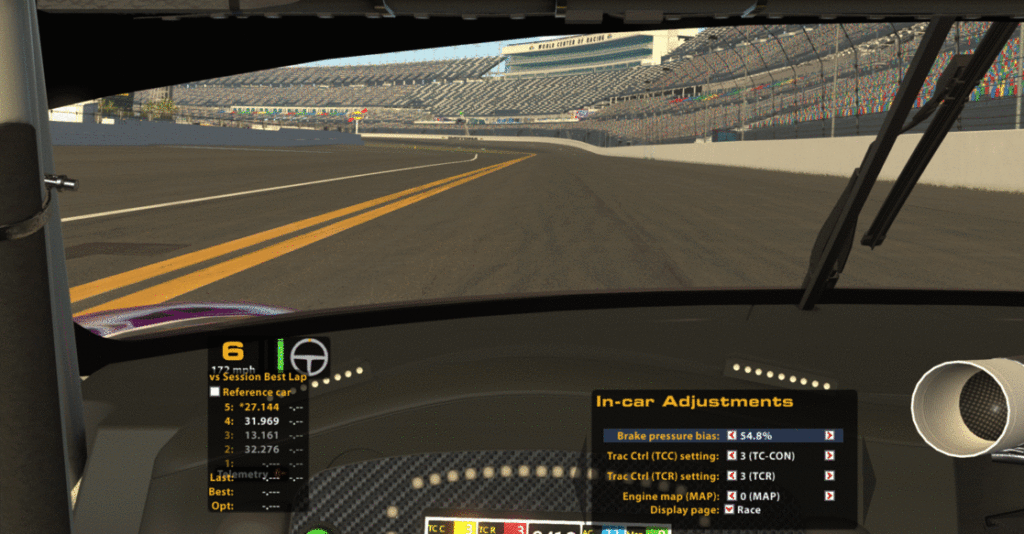
To truly test the benefit of this process, you need to brake much later to find the lap time. You should be able to confidently hit the brakes and trail off getting a stable and effective slowing phase.
This is roughly where I have my Heusinkveld Sprints set in Smartcontrol for the Porsche 911 RSR currently testing at Daytona:
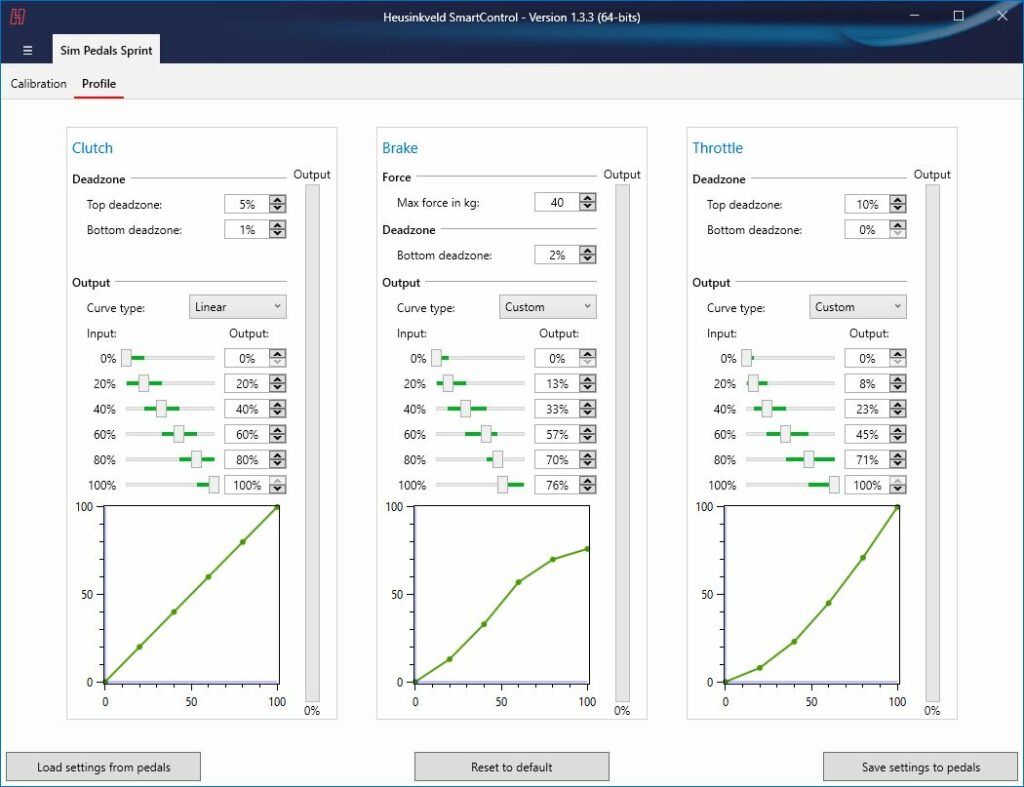
I have a much gentler initial pressure, followed by a steep curve, followed by a gentler curve. This gives me the ability to hit the brakes hard but allows a good window for trail braking at high pressures. Found me 1s of laptime!
I don’t have Heusinkveld Sprints!
JoyCalib.yaml in iRacing allows you to configure “CalibMax” – the total maximum brake pressure exerted by a fully depressed pedal. You exert the same pressure on the pedal, but the max setting calibrates a maximum pressure. It’s not quite as nice as using the Smartcontrol procedure, but it delivers the same result:
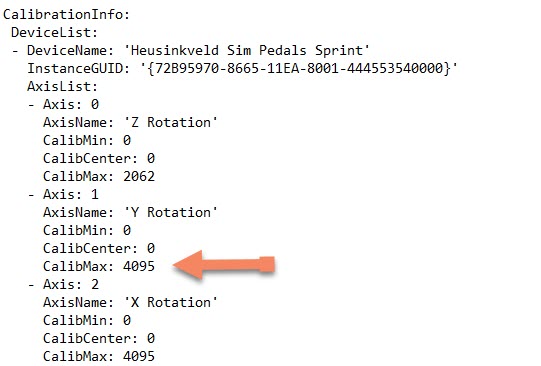
Dan Suzuki shows you how to edit the joyCalib.yaml (pronounced “yammul”) file and setup your braking here:
