
Sim racing and esports journalist. Occasional Motorsport photographer, eSports competitor and distinctly average cyclist.
Images credit: Ross McGregor
Essentially, the Custom Shaders Patch allows your copy of Assetto Corsa to do things it was never supposed to, like adding advanced shader effects, inserting AI traffic and introducing advanced driving mechanics like brake migration.
If Content Manager is the administrative backbone of AC, the Custom Shaders Patch is its engine room, and it’s vital to enhancing the overall look of the sim.
Quick Navigation
Where to download the Custom Shaders Patch
How to install the Custom Shaders Patch
What does the Custom Shaders Patch do?
Traffic Planner
Improved graphics
Other cool CSP settings
Force feedback
Where to download Assetto Corsa’s Custom Shaders Patch
Preview versions of Assetto Corsa’s Custom Shaders Patch can be downloaded from Ilja Jusupov’s Boosty or Patreon pages. Just like with Content Manager, a donation is required to unlock the full, current version of CSP, which costs a minimum of £1 per month.
To make your copy of AC look and perform its best, the latest CSP build is crucial, as it unlocks wet-weather effects and other exclusive features.
Fortunately, you don’t have to commit to this long-term (as is the case with Content Manager and Pure) and can simply pay for one month. So, just download the new version of CSP and cancel your subscription if you wish. Just bear in mind you’ll lose access to new builds and frequent updates.
How to install Assetto Corsa’s Custom Shaders Patch
If you’ve already downloaded Content Manager, then the option to download the latest publicly available versions of CSP will be under ‘Settings’ and ‘Custom Shaders Patch’.
Install this, and a multitude of options become available for you to tinker with.
However, if you wish to install the latest Preview version of CSP, simply open the root folder of AC (right-click on AC in Steam, select ‘Manage’ then ‘Browse local files’. You may find it helpful to pin this location to your quick access list, too) and copy over the contents of the downloaded CSP folder, in this case named ‘lights-patch-v0.3.0-preview110-full’, overwriting if necessary. This should just be the ‘extensions’ folder and the ‘dwrite.dll’ file.

Close Content Manager down and restart, then head to the ‘Custom Shaders Patch’ section again. Here, you’ll see that your build of CSP is now the same as the latest Preview edition.
Visit Our Sponsors
What does the Custom Shaders Patch do in Assetto Corsa?
At first glance, it may seem like the Custom Shaders Patch doesn’t make a massive difference to AC, but the opposite is true: it’s literally game-changing.
The most eye-catching feature of CSP is that it gives you the ability to change the time of day in AC via the WeatherFX extension. In Content Manager, make sure to activate both CSP and WeatherFX by ticking their respective boxes in the CSP settings menu.
If you have a mid-range PC, selecting most of CSP’s extra graphics options (and there are literally hundreds to cycle through) will still allow AC gameplay well above 60 fps at 1440p. Naturally, for lower-powered systems, turning down reflection and shadow effects will garner a smoother visual experience. The key is to balance graphical bells and whistles with performance.
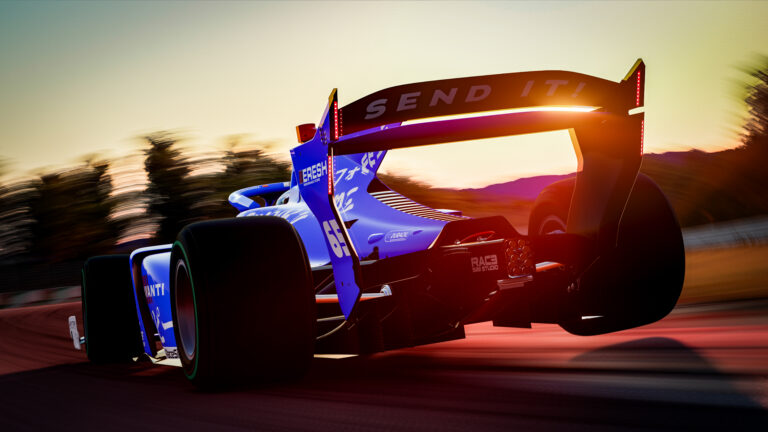
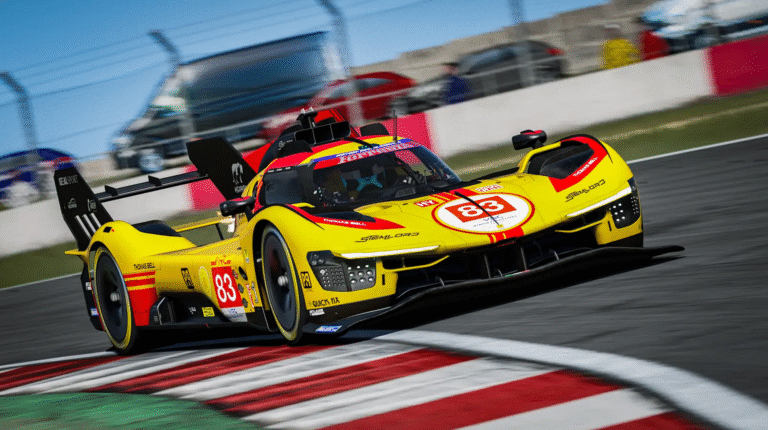
After installing CSP, it’s possible to install further weather and graphics mods, like Sol or Pure, as well as a host of other high-quality car mods that rely on CSP to reproduce advanced visual effects and vehicle systems (examples from Race Sim Studio and Virtual Racing Cars spring to mind, including the latest MP-H Hypercar mods).

Check out more information on the best RSS and VRC mods in our ‘Five of the best single-seater mods for Assetto Corsa’ and ‘Hypercars in Assetto Corsa: Can these Mods match Le Mans Ultimate?’ articles.
To continue using CSP-enabled cars, tracks and apps, you’ll need to ensure your version of CSP is kept up to date, with multiple versions – including work-in-progress builds – available to download and install. To do this, visit the CSP section in Content Manager and select the build you’d like to install. Some of these builds are experimental and prone to bugs, so aim to install the tried and tested versions.
Free versions of CSP will appear automatically in Content Manager, but to keep up to date with the paid-for full version, you’ll have to monitor Ilja Jusupov’s Boosty or Patreon pages (or you can also be notified by email of any updates and receive an immediate link to update your copy of CSP).
Traffic Planner
CSP also unlocks the ability to create and control AI traffic in open-world environments, something immensely popular with sim racing YouTubers.
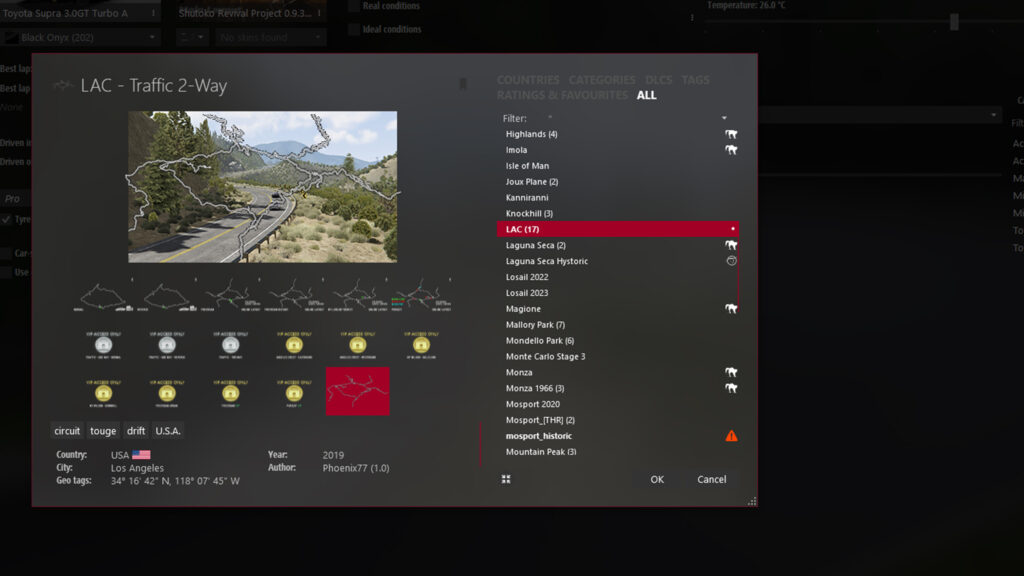
The simple way to do this is to first install a large open-world map like LA Canyons (available as a free download from OverTake), followed by a two-way traffic AI file (also available from OverTake).

Selecting the ‘2-Way Traffic Layout’ and the ‘Track Day’ driving mode will allow you to share the road with all manner of cars, which can either be chosen randomly or selected manually. You can even alter the behaviour of AI cars by heading to the CSP menu in CM under ‘Simulation’.
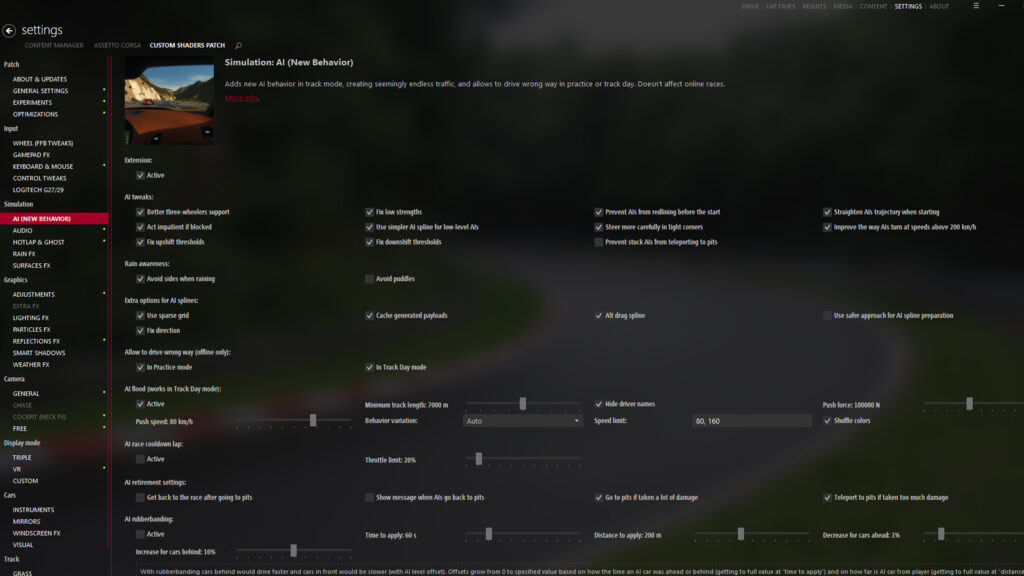
The AI ‘New behaviour’ menu features several boxes to tick, but the adaptive AI feature is well worth activating to help enliven the behaviour of your computer-controlled opponents.
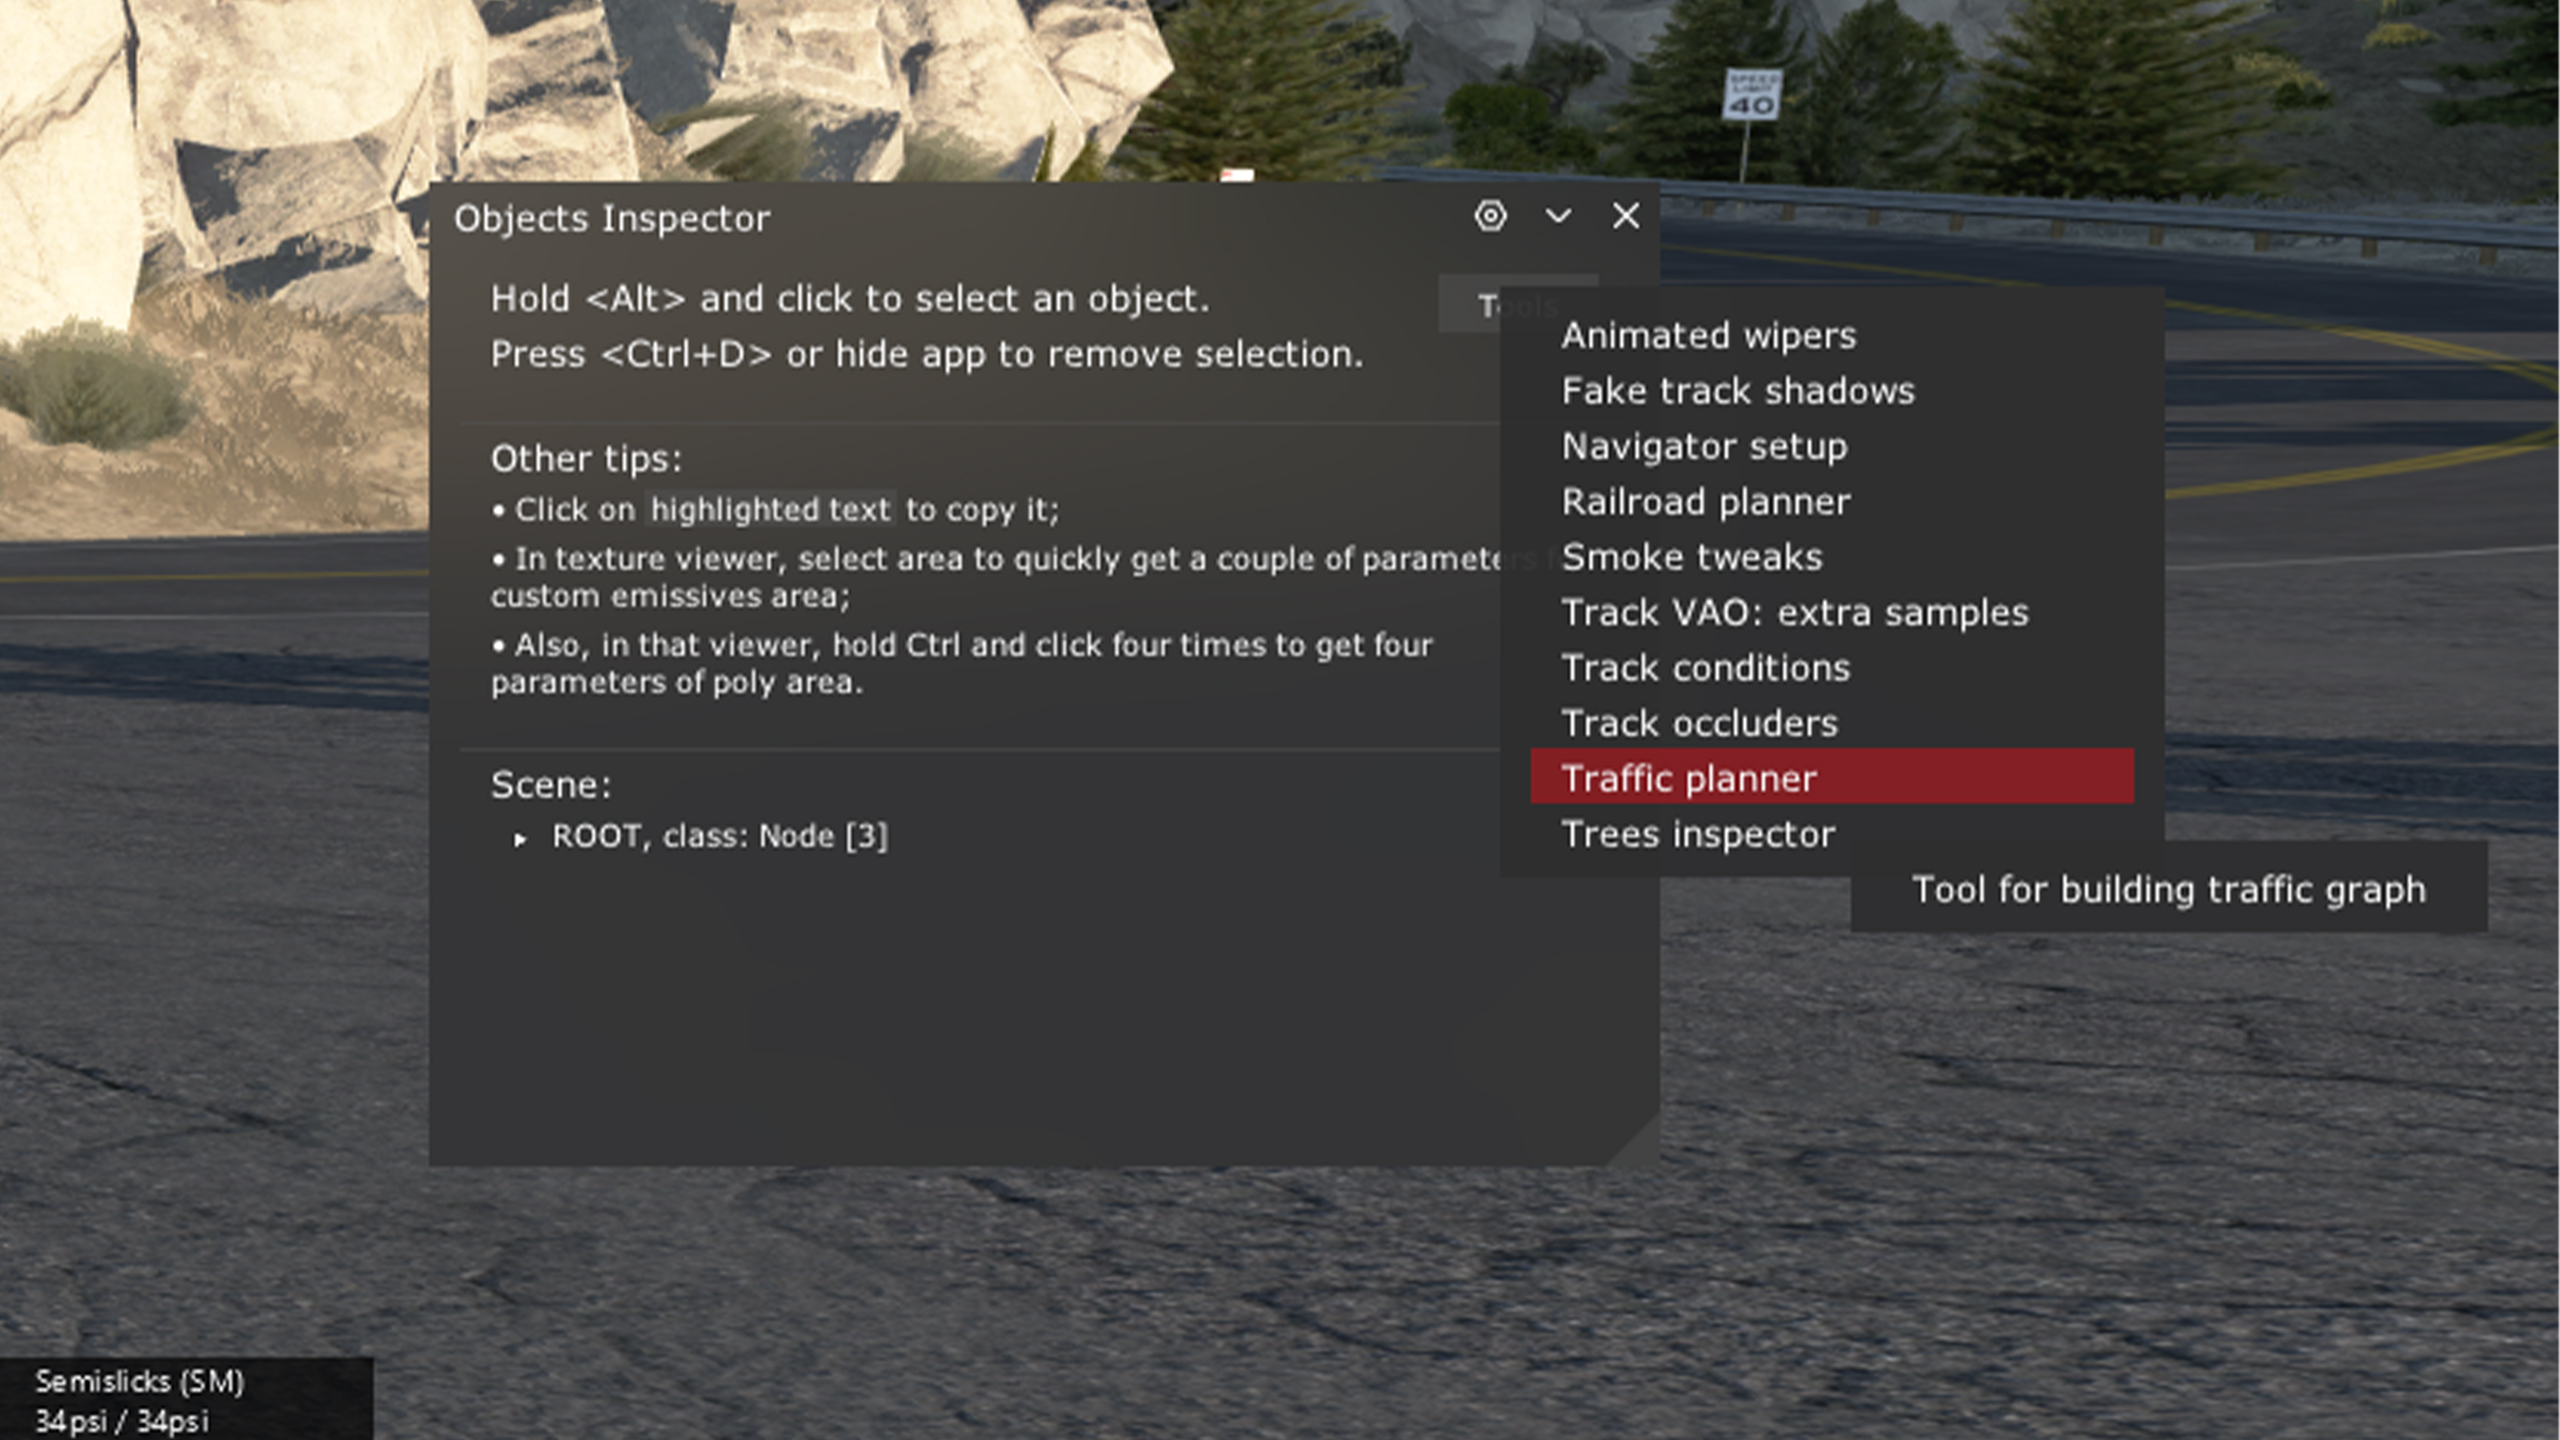
For more advanced control, CSP includes the Traffic Planner app by default, but requires extra steps to unlock it fully. The reason for this is to minimise the size of the initial CSP installation.
For detailed instructions on how to unlock Traffic Planner and how to set up your own traffic systems, check out the video below.
Improved graphics
CSP enables a multitude of detailed visual effects, including the Pure weather mod, which we’ll cover later. However, we’ll run through some key settings from CSP’s Graphics menu below.
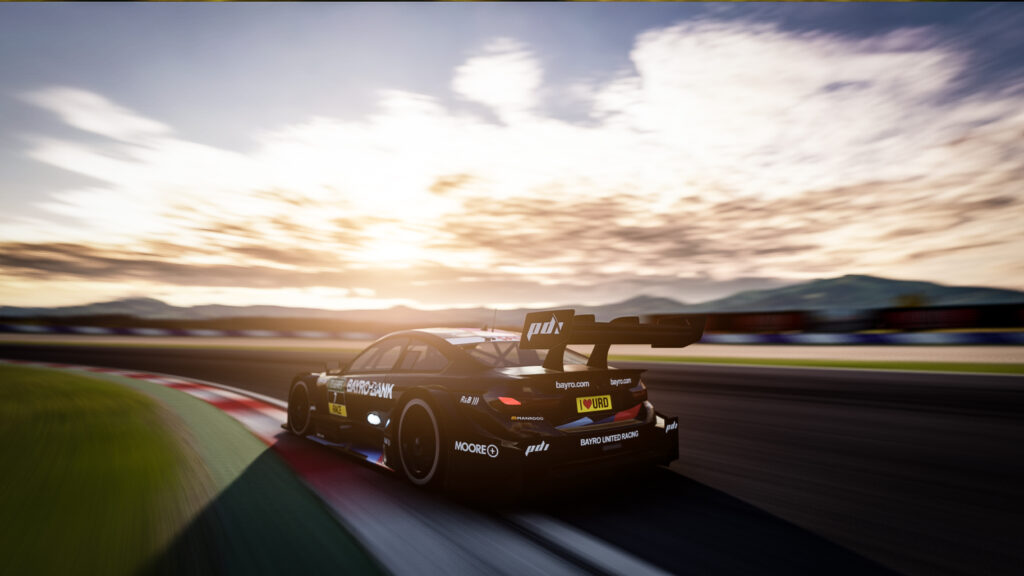
- Motion blur: It’s not everyone, but adding additional motion blur will make AC look great, especially in replays, providing an extra sensation of speed. Purists tend to stay away from this, however, especially when competing online, owing to the extra stress on their PC.
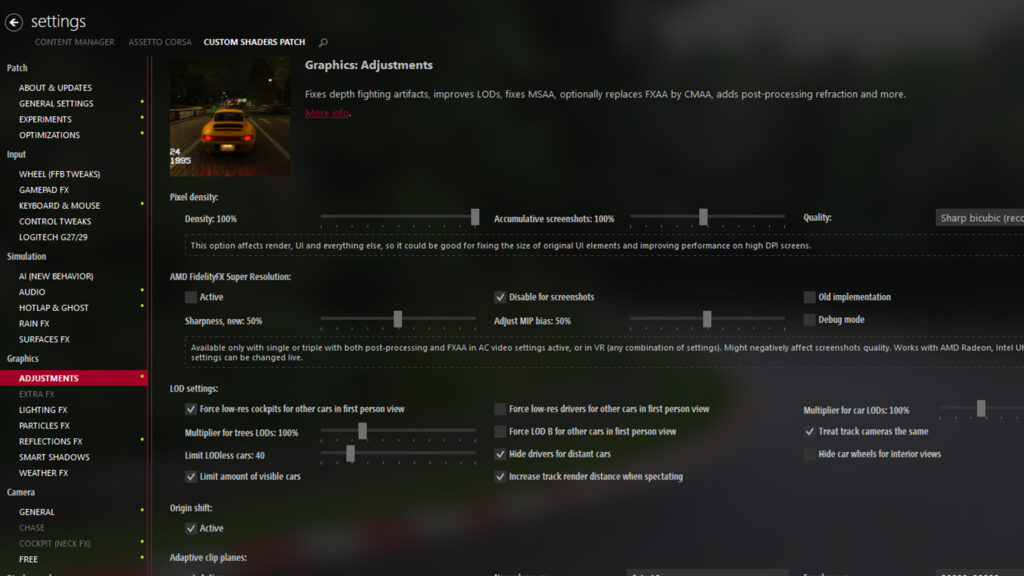
- Temporal anti-aliasing: This can be enabled in replays and normal driving (or both), and helps smooth out jagged edges at the expense of extra computing power. For the best look, turn ‘Extra sharpness’ to 0% and enable ‘FidelityFX by AMD’ in the ‘Graphics Adjustments’ menu in CSP.
- Local reflections (SSLR): When checked, this option improves the reflections of AC’s in-game shiny surfaces, including water, glass and metal, making them look more realistic. For best results with the Pure weather mod, also select the ‘Long speculars for wet tracks’ setting.
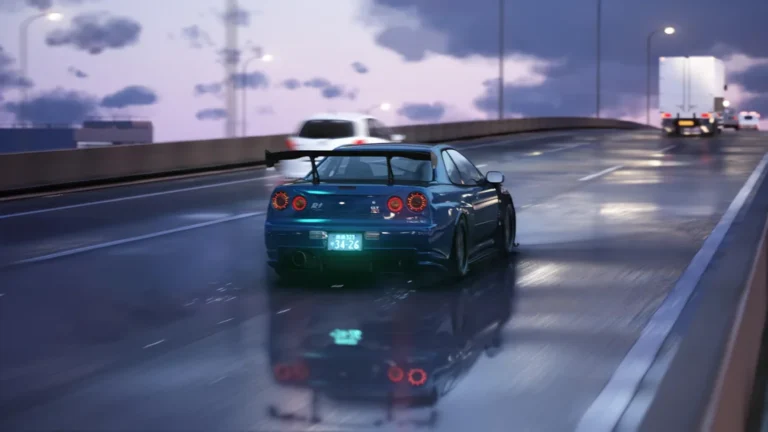
- Lighting FX: In this sub-menu, you can turn on dynamic shadows and improve the resolution of headlights in your mirrors. These settings are resource-hungry, however, so turn them off if AC is running choppily. When racing at night in the rain, these settings can be oh-so atmospheric.
Other cool CSP settings
- ‘Consider sun shadows’: Can be found in CSP’s ‘Patch’ and ‘Experiments’ section, and once selected, it forces the game to calculate lower temperatures for asphalt in shadowy areas, something only implemented in a handful of modern sims.
- ‘Adapting AI’: Found under the ‘Simulation’ and ‘AI behaviour’ menus, ‘Adapting AI’ allows computer-controlled opponents to learn from their mistakes and improve their lap times, also introducing more variance to the way they drive. Although experimental, this setting helps make AC’s AI cars more believable to race against.
- For fans of Initial D, you can simulate the manga series’ brake light trails effect by turning it on in the ‘Particles FX’ graphics sub-menu. Not practical in any way, but still cool, especially for nighttime drifting.
- Refracting headlights: This can be activated via the ‘Reflection FX’ menu and helps produce a convincing light refraction effect within car headlight clusters. This is especially powerful up close, so it is perhaps better left switched on for screenshot creation only.
- Procedurally-generated grass: Found under ‘Track’, activating this script increases the detail and density of track-side grass, even with wind effects. Higher quality settings will impact performance, though.
- CSP also adds the ability to take better quality screenshots within AC, using clever motion blur and depth of field effects. We’ll cover this in a more detailed guide in future, but needless to say, you’ll want to activate the ‘Accumulation AA’, ‘Accumulation motion blur’ and ‘Accumulation DOF’ extensions under the ‘Screenshots’ sub-menu.
Force feedback
CSP can be used to fine-tune force feedback in AC, too, with numerous options available to tinker with.
Even more so than graphics, FFB should be tuned to personal tastes, but there are a few settings that should allow you to harness the extra back-end horsepower of CSP. You can find these via the ‘Input’ and ‘Wheel (FFB Tweaks)’ sub-menus in CSP’s options.
- Allow CSP to alter FFB: check this option to allow CSP to change and increase AC’s FFB options.
- Custom soft lock: enable this to smooth out the bounciness of AC’s soft-lock effects
- Output real steering forces to wheel: this is recommended for direct drive wheelbase users, allowing you to set the correct torque rating for your wheelbase. As long as the car has been made with the correct code, it will make the steering feel much more realistic.
- Output real pressure from brake pedals: Again, if activated, this will create more realistic braking forces for compatible cars. Expect higher brake pressures for racecars and lower for road cars. This setting is recommended for load cell brake pedal sets only.
Related Articles

What Is The Custom Shaders Patch For Assetto Corsa And What Does It Do
What is the Pure Weather mod for Assetto Corsa and How do I Install it?

Install Content Manager Custom Shaders Patch Pure Assetto Corsa
Five of the Best Single-Seater Mods for Assetto Corsa
Hypercars in Assetto Corsa Mods
Assetto Corsa EVO: Everything You Need To Know
Topic: Assetto Corsa Mods