

I’m a sim racer and amateur racer with a passion for Motorsport, good racecraft and the technical and setup aspect of sim racing.
Featured image: Studio 397
If you haven’t heard of rFactor2 but you are interested in giving this racing simulator a try, you’re in the right place. Born from professional F1 simulation roots (see rFpro and rFactor), much of rFactor2’s source code is derived from software developed for the highest level of Motorsport simulation.
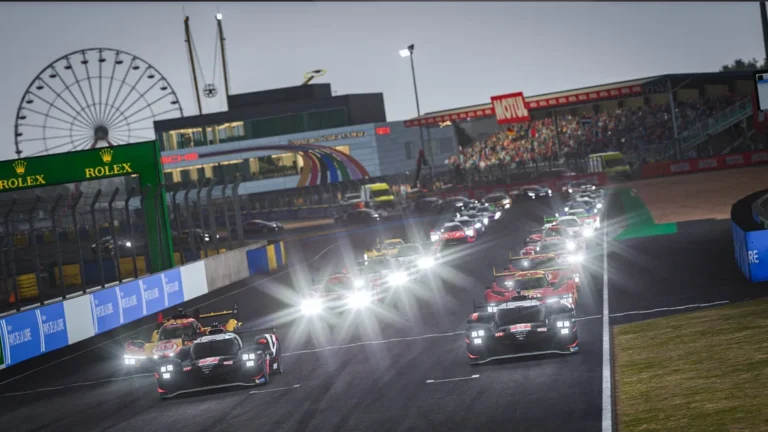
rFactor2 is the platform upon which the 24 Hours of Le Mans Virtual race is hosted, which, despite drawing criticism in its first year is still going strong and is scheduled with an all-star lineup ready to broadcast onto screens on January 14-15.
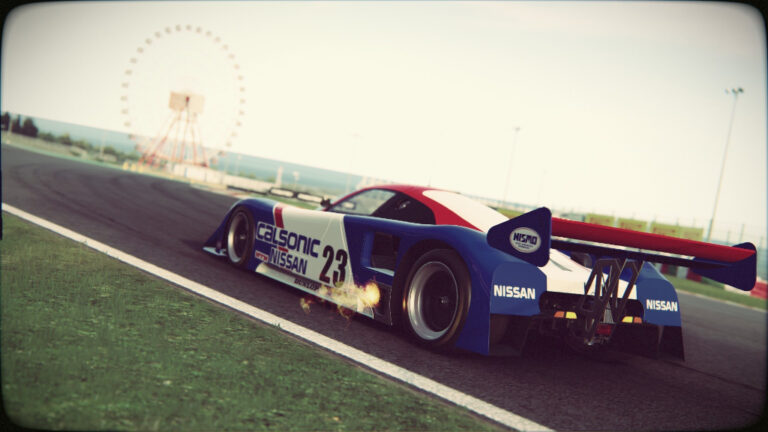
Contents: How to setup rFactor2I think the quality of the FFB in rFactor2 really impresses me. You can feel little details through the wheel like understeer and even the tyre walls folding over slightly when you’re using too much steering lock. The detail is really quite inspiring. Despite past reports, rFactor2 is also quite easy to set up, once you know where to look and what to do.
You don’t have to be a professional racing team or Max Verstappen to run rFactor2 of course, and in today’s guide, we’re going to look at how to setup rFactor2 for your first drive.
Installation
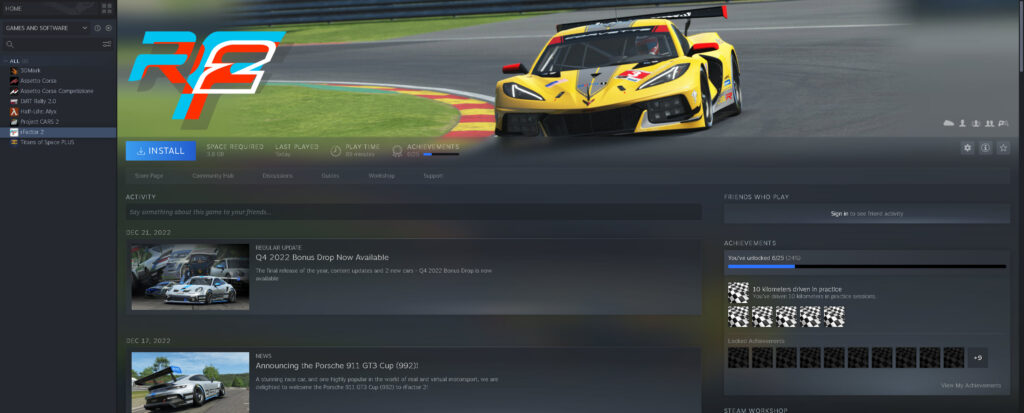
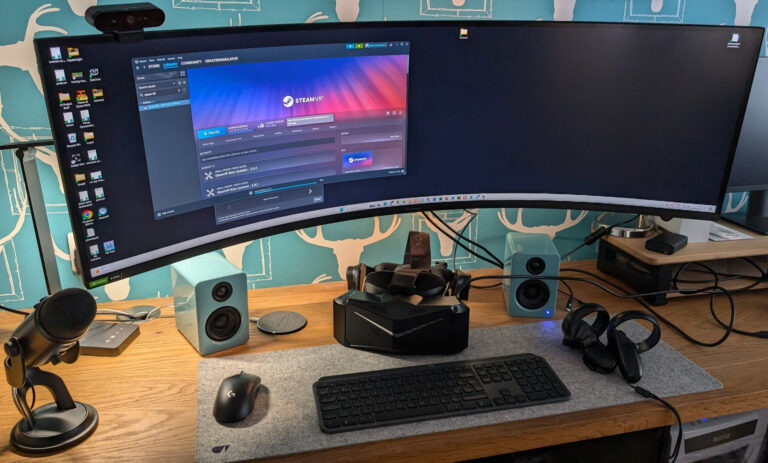
First, you’ll need a Steam account and of course, the base package for rFactor2:
Click the “Install” button and the following dialogue appears:
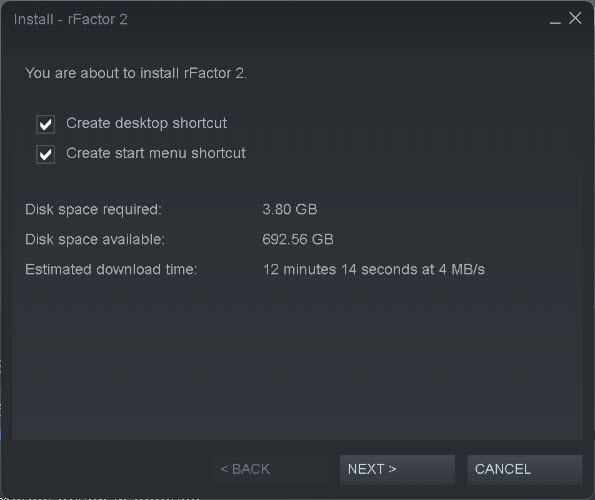
Click “next” and Installation will begin. It can take some time so it’s worth leaving your PC to the installation task and returning after 15 minutes or so.
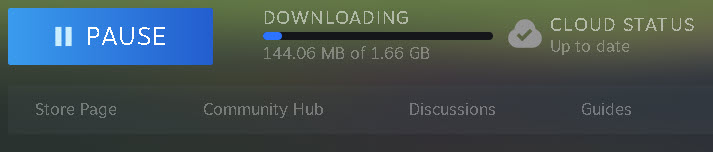
While downloading, Steam’s status bar will keep you updated on its progress. Once all the files have been downloaded and the game is synced to the cloud, you’ll see this in Steam:

Next, click play. This will open another dialogue with a few options:
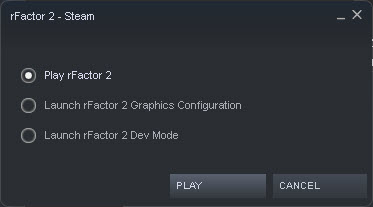
Before playing rFactor2, I run the Graphics Configuration option first. This sets rFactor2 up with a base set of graphics optimizations that will most likely work best with your GPU.
When the graphics configuration completes, click OK and the dialogue will simply disappear.
Now, launch rFactor2 from the play button in Steam, you’ll have to return to the play options screen and select “Play rFactor2”.
Configuration
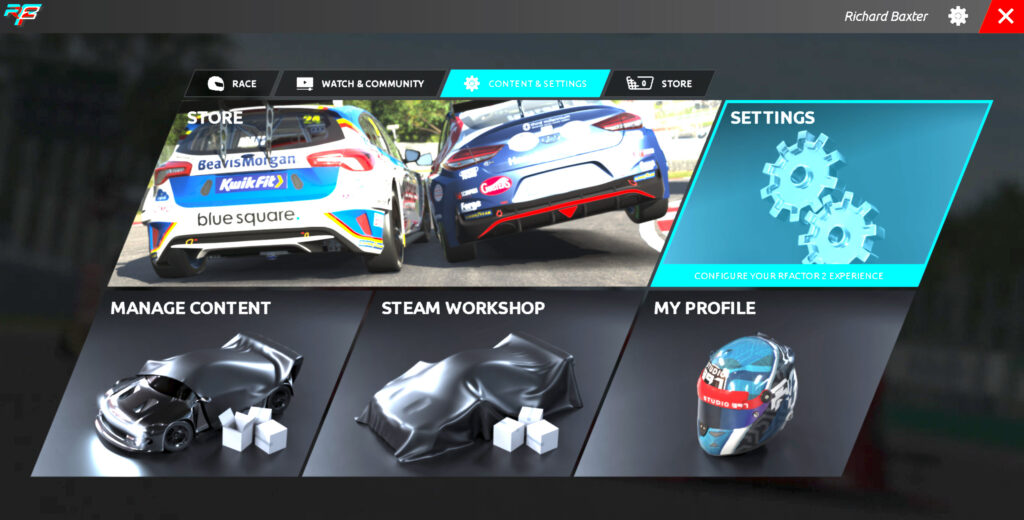
Now it’s time to configure the graphics and controllers so you’re ready to race. Here’s the rFactor2 UI. Select “Content & Settings” and click the Settings panel highlighted below:
Inside the settings panel, you’ll find tabs for graphics configuration, controls assignment, and control calibration.
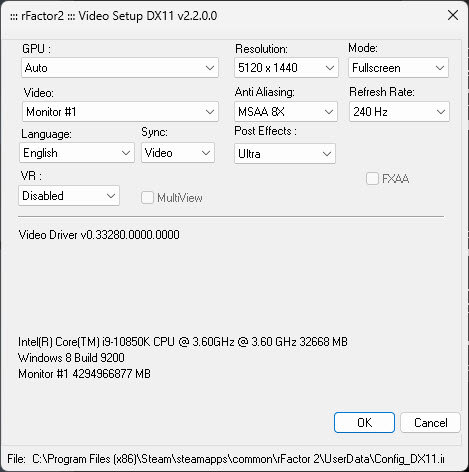
Graphics Settings
Let’s start with the graphics settings options. In the new UI, all of the software graphics settings are in this panel. Note that I usually select “fullscreen” mode, not “windowed” but for making screenshots windowed mode worked better!
Windows 11
Just a little heads up that in Windows 11 it’s worth enabling the (auto) HDR setting, if you have a 30xx series GPU or higher and a monitor that supports HDR.
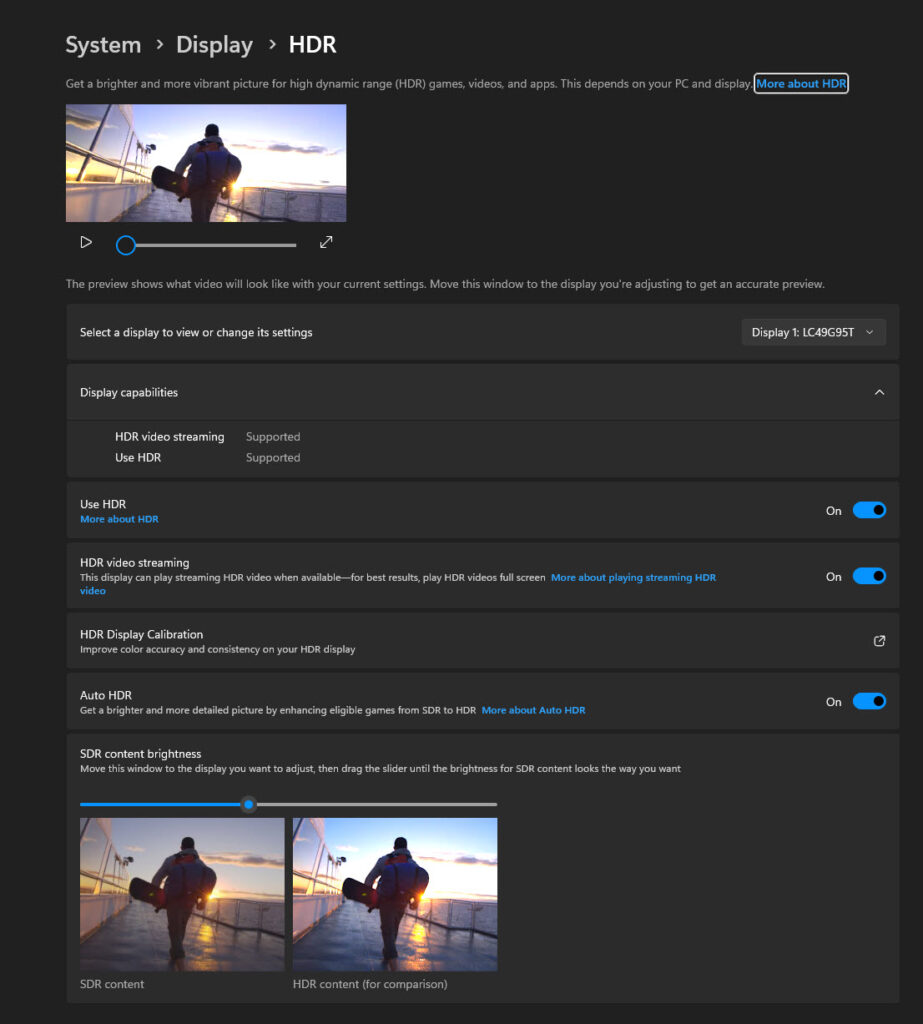
Just head to System > Display > HDR and select “Use HDR” to “On” and enable auto HDR.
Display
Here are the settings I use with a Zotac 4090 and my Samsung G9:
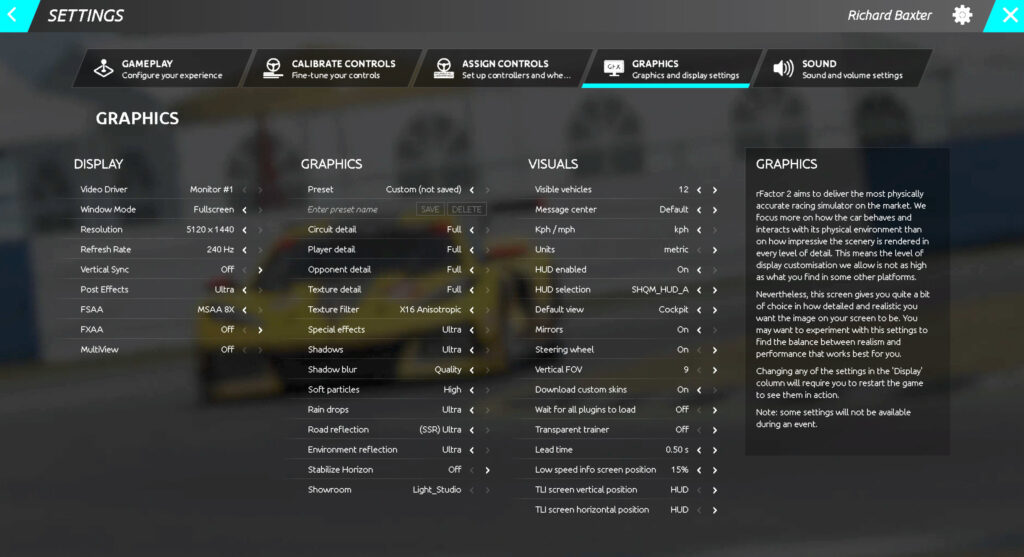
Most of these settings are pre-configured to a minimum level by the graphics config process we ran earlier. However there are some important settings that will affect the visual quality and performance, so let’s take a quick look at the important stuff:
Under the Display section, your video driver, window mode, resolution and refresh rate should all be pre-configured, but check the settings to make sure they seem right based on what you know about your setup.
Vertical sync (Vsync) is a series of options designed to tie the FPS your system can provide and the vertical refresh capabilities in your monitor specifications. There’s a good explanation of the meaning of each of the options available here. If you have a modern GPU and gaming monitor combination then you’ll likely have G-Sync or Free-Sync, depending on whether you’re an NVIDIA or AMD GPU owner. If that’s the case you can choose “Off” in your sync settings.
Visit Our Sponsors
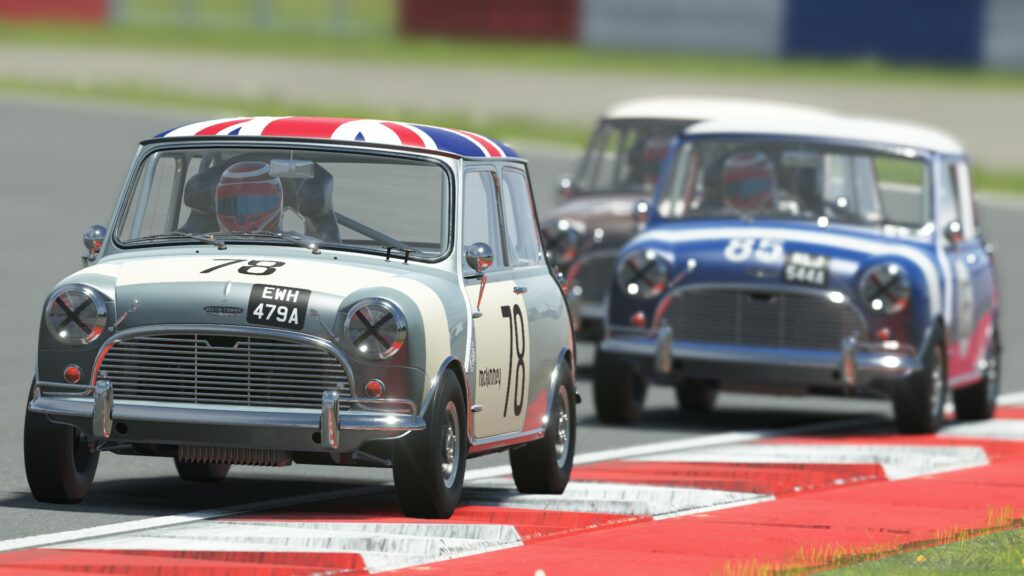
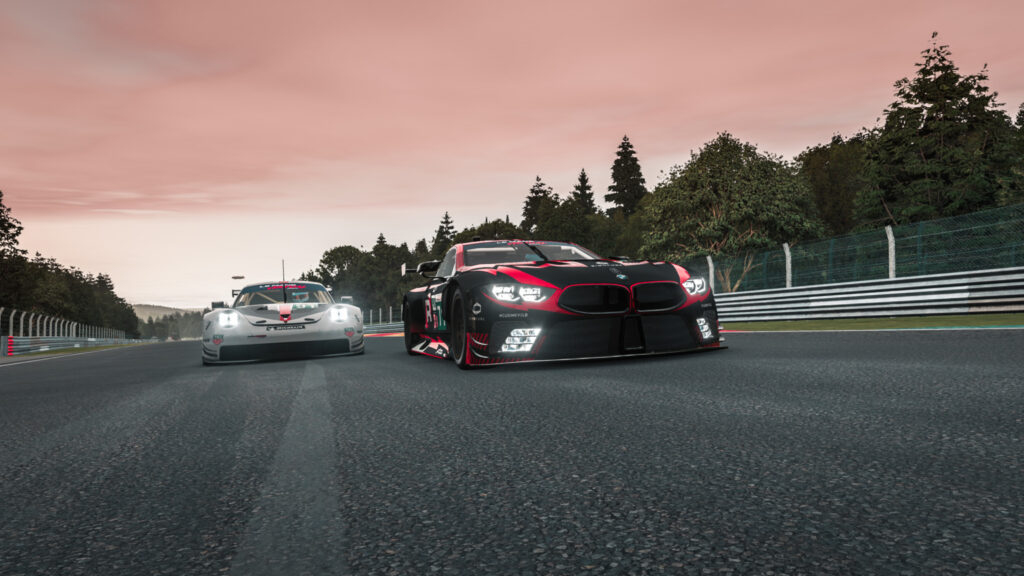
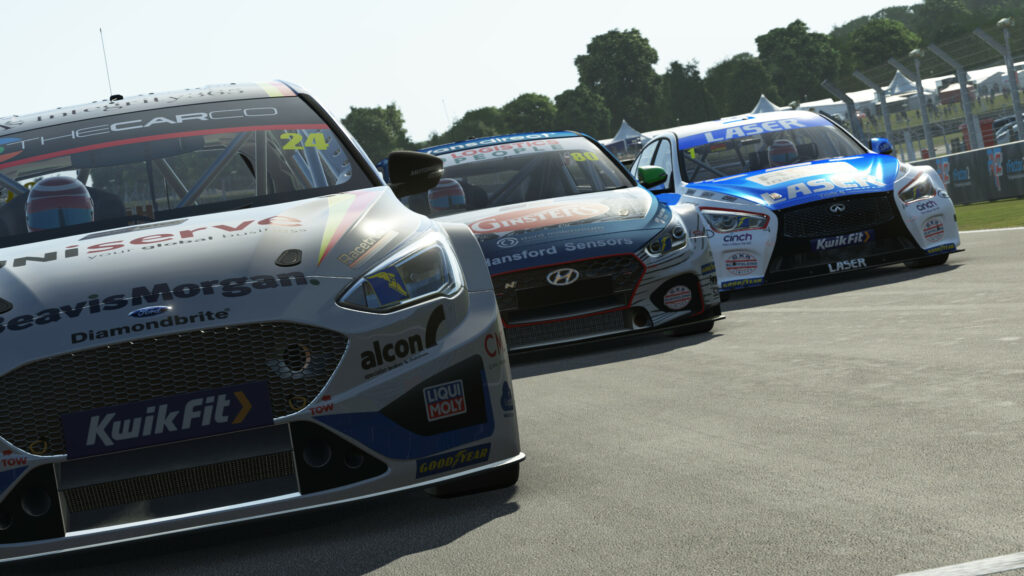
Post effects deal with the image enhancement of external camera views. It’s worth setting this to “Ultra” to achieve all of the depth of field effects on the external views. Take a look at the image above to get a feel for the quality this setting provides. Post effects are somewhat GPU intensive so, naturally, you might want to back this off if you sense any performance issues with it set to Ultra.
FSAA (Full Screen Anti Alias) smooths out the jagged edges you sometimes see in 3D-rendered games. Try to set this at the highest number provided you don’t sense any FPS drops. Just test the different settings in order to find the best frame rate with the smoothest looking picture in-game.
FXAA is a lower resource way of blurring jagged lines rather than using more GPU time with true anti-aliasing. For most setups, you can leave this set to none, unless anti-aliasing is set very low and you’re running a low-power PC.
Graphics
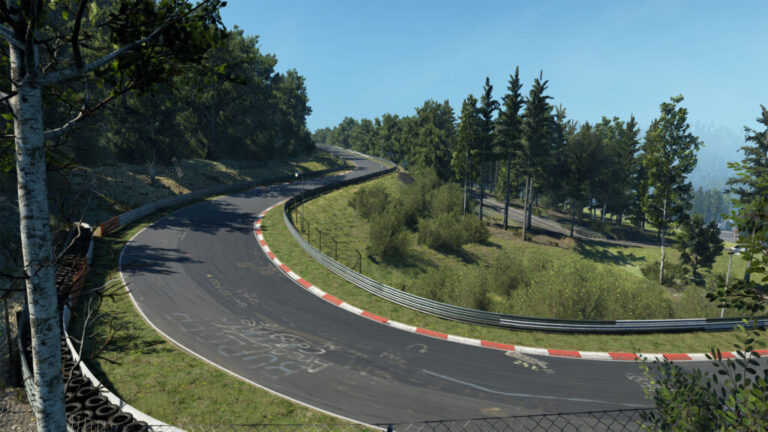
As for the Graphics section, again you’ll see I’ve opted to max everything out on the highest possible settings. All of these settings are worth experimenting with, perhaps even by starting the game on maximum settings and rolling them back from there if you’re experiencing a low frame rate. As with just about all racing simulators shadow effects are a huge culprit for FPS loss. If that’s the case try knocking the Shadows and Shadow blur effects down.
Visuals
If you’re still struggling with framerate, try lowering the number of Visible Vehicles on screen. Too many visible vehicles can present a potential performance loss during the races. I have set mine to 12.
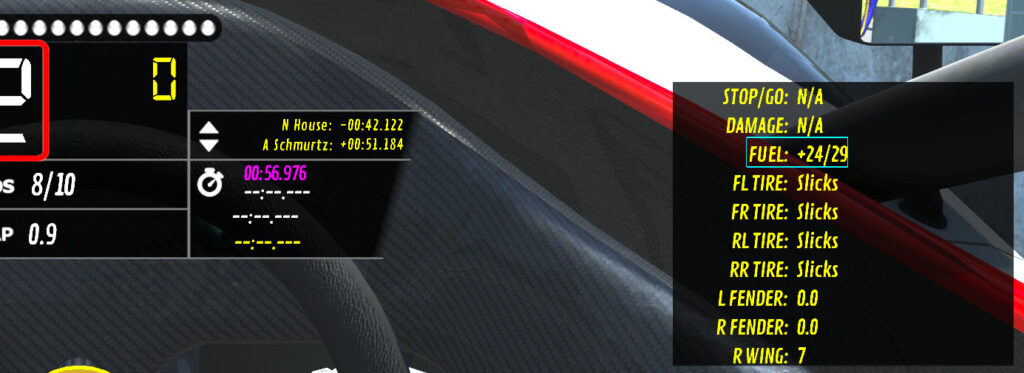
HUD: There are alternative HUDs (heads-up displays) available for rFactor. The one I’m using is SHQM_HUD_A:
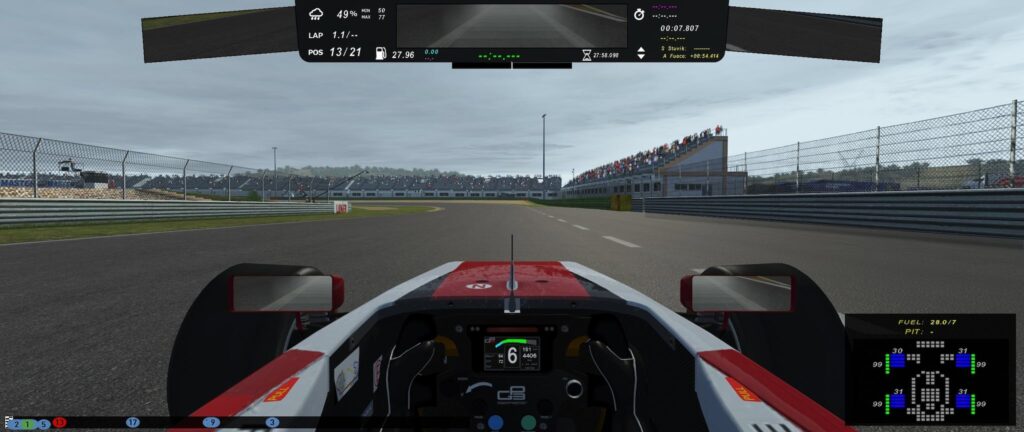
It’s very easy to add this HUD to your installation. It’s available on Steam (follow this link).

Just click “+ Subscribe” and you’ll find your new HUD option available in the Visuals section.
If you’re feeling a little more adventurous you might want to try the popular Tinypedal HUD, which can be found here: https://github.com/s-victor/TinyPedal
Control Calibration
The Calibrate Controls panel does exactly as you’d expect. From here you can set up your wheelbase, and your pedals and calibrate your force feedback settings.
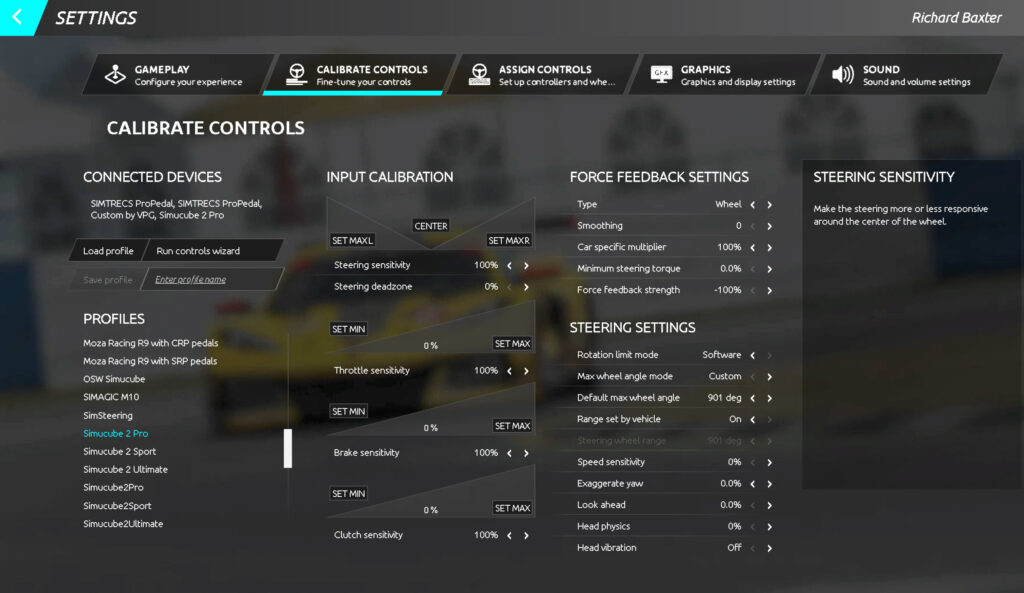
The calibration process is quite self-explanatory but you can encounter a few small hurdles. You might see in the top left that rFactor2 has already detected my SimTrecs Pro Pedals, my VPG Custom Wheel, and my Simucube 2 Pro.
As rFactor has recognised my Simucube, it has pre-loaded the “Simucube 2 Pro” profile. To actually begin the calibration process, click Run Controls Wizard. The controls wizard takes you through the steering, pedals and shifter calibration process. Before you begin it might be a wise idea to check your pedal calibration in the pedal manufacturer software, or DiView. This is because rFactor2 seems to only acknowledge a games device when it is outputting the full range expected by the controller.
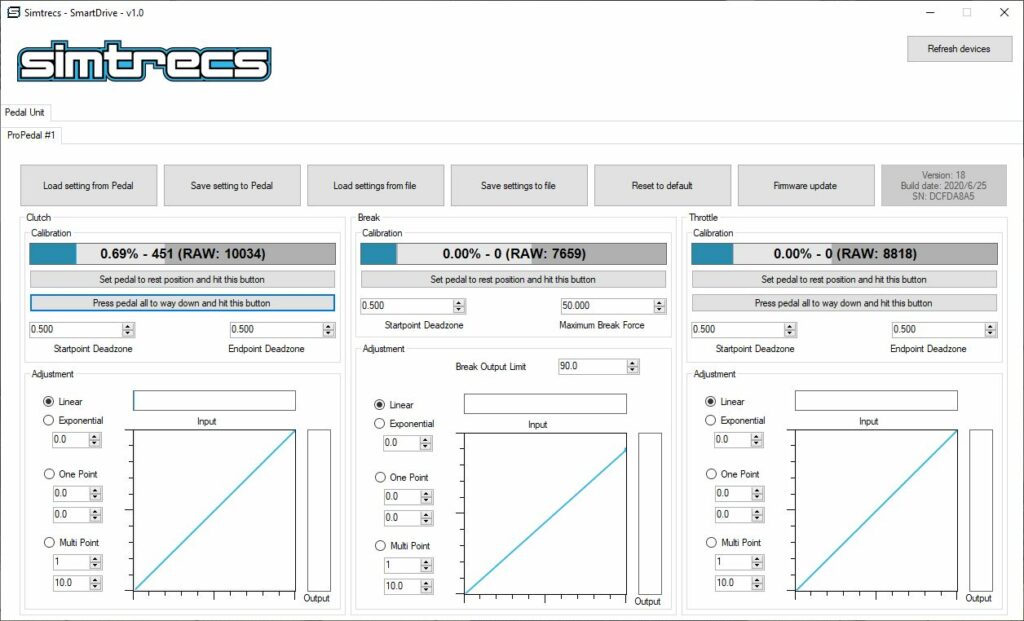
If, for example, your brake pedal is calibrated to max: 80% pressure then it may not register in rFactor2.
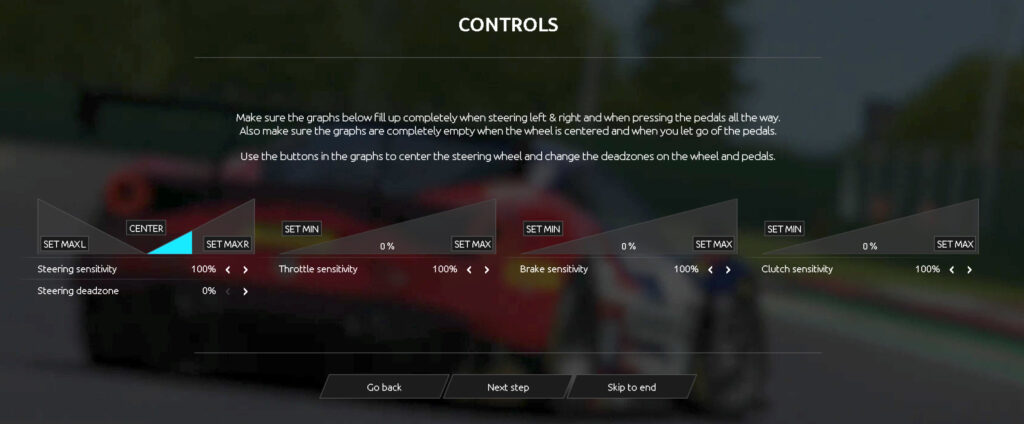
The controls wizard will expect you to steer fully left, center the wheel and then steer fully left. The software won’t recognise the input until you’ve fully rotated the wheel to its bump stop. You can fool yourself into thinking the software isn’t recognising your wheel – it’s far more likely you’re not rotating it far enough!
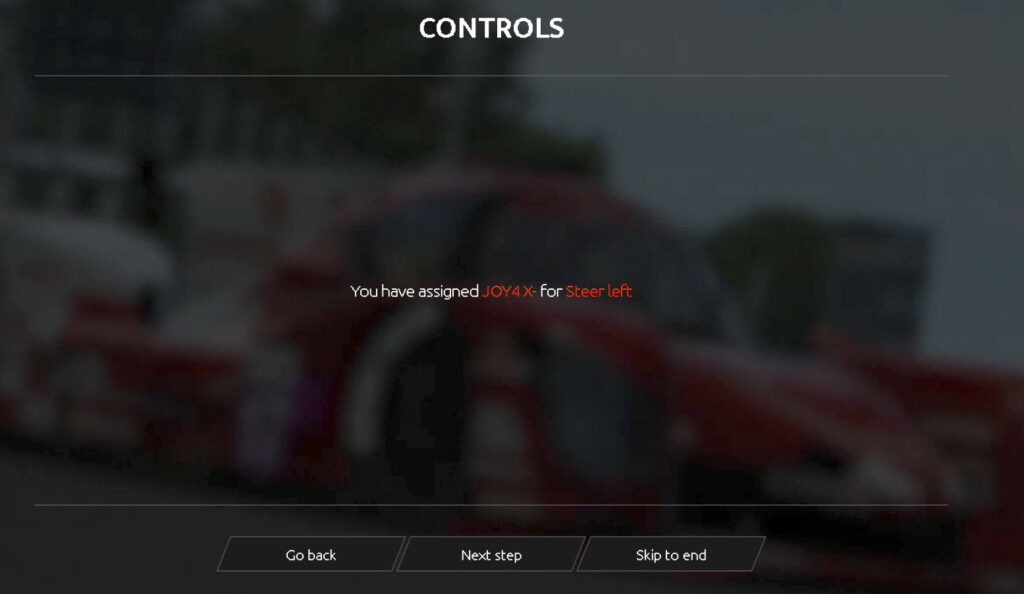
Follow all of the wizards prompts, remembering to fully depress your pedals. Once the process is complete, you’ll see this summary screen so that you can double-check your controller inputs:
Force Feedback Settings
You might notice my FFB smoothing settings are set to 0. The feedback I’m getting via the Simucube profile is very grainy, which is absolutely find for testing purposes as I seek to get the most from my wheel.
During testing, I found that Dan Suzuki’s iRacing profile (yes – I did say iRacing!) was actually quite smooth and extremely usable. It needed no further tweaking. However, I discovered this profile in True Drive paddock which I highly recommend:
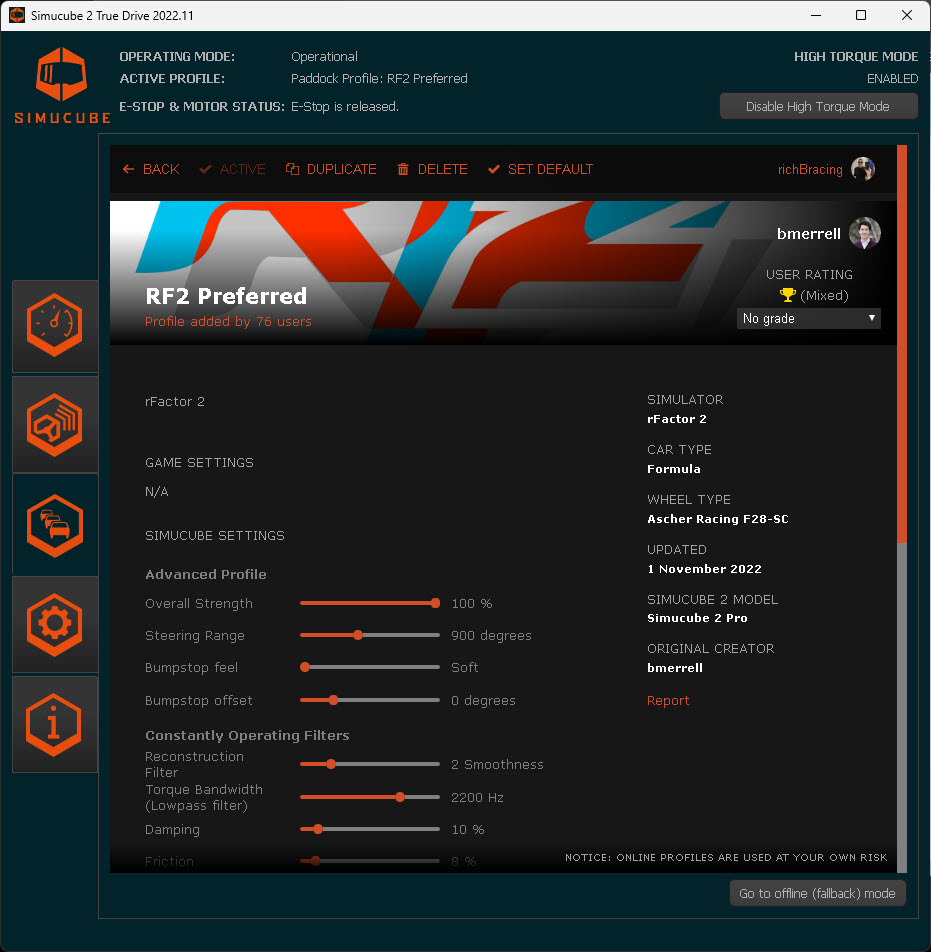
Despite the grainy feeling (which I’ll dial out using smoothing) the quality of the force feedback is exceptional. Particularly rFactor’s ability to communicate understeer and tyre detail under load. I don’t mind the grainy feeling while I’m dialing myself into this new FFB. It’s a vast improvement on how I have iRacing setup, meaning I’ll be going back to True Drive to find something that can provide me with more detail.
Assign Controls
Once the controllers are tested and working you can proceed with assigning the rest of the controls you’ll need for gameplay.
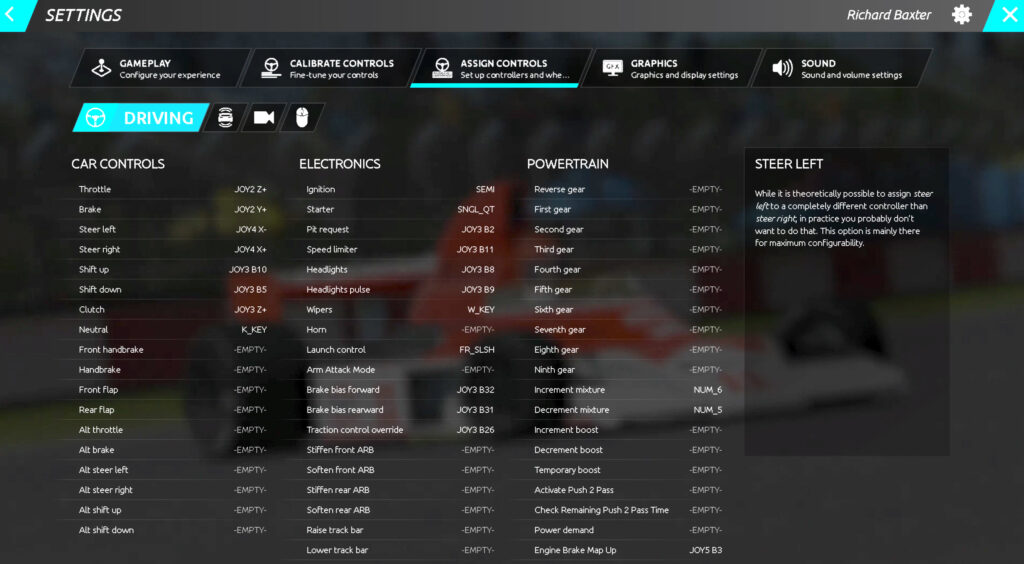
Control assigment will seem very familiar to most sim racers. Many of these things are entirely self explanatory, however I’ll just point out a few criticla items.
FFB Reset – map this function to a button on your wheel. While I haven’t experiened this, some forums mention that rF2 can lose FFB if switching between sessions or returning to the garage from the track.
Request Pit – you’ll need to assign a button for pit entry request or your pit crew will be none the wiser when you arrive at your box. Giving them around 30 seconds notice seems to work. Pitting will automatically trigger the pit menu.
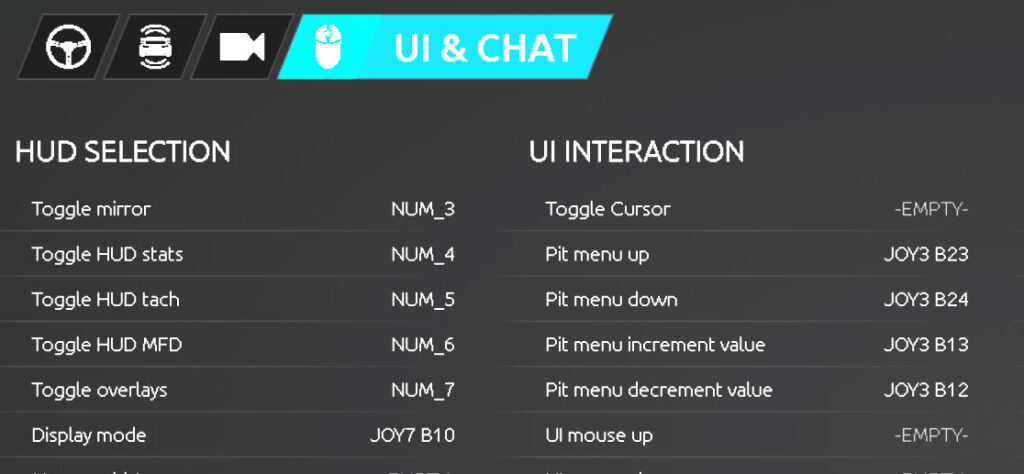
Making changes in the pit menu requires button or rotary assigment. Like the black box in iRacing, I use my thumb rotaries to select a menu item, and a pair of buttons to increment / decrement the values.
To assign pit controls, click “UI & Chat” and look under “UI Interaction”.
The pit stop menu appears at the start of a pit stop:
Bind controls to map your seat position – in the assigned controls view, click the camera icon tab:

As you can see above, under “Camera & Seat” there are controls for “Seat & FOV”. Map those to your keyboard. In-game you can use these to adjust your driver’s eye view, up and down and forwards and backwards. This will make it easier to see the mirrors and for you to adjust the horizon without affecting your FOV settings.
Adjust your mirrors – the last thing we do before going to the assembly area in a real car is a mirror check. Mirrors are adjusted using “Ctrl, Alt and Shift” with the seat adjustment controls. If you need to adjust your mirrors before setting off, here’s a helpful guide on the Steam community forum.
Ready to Race
If you’ve followed our guide you are now ready to head back to the main menu and start your racing career.
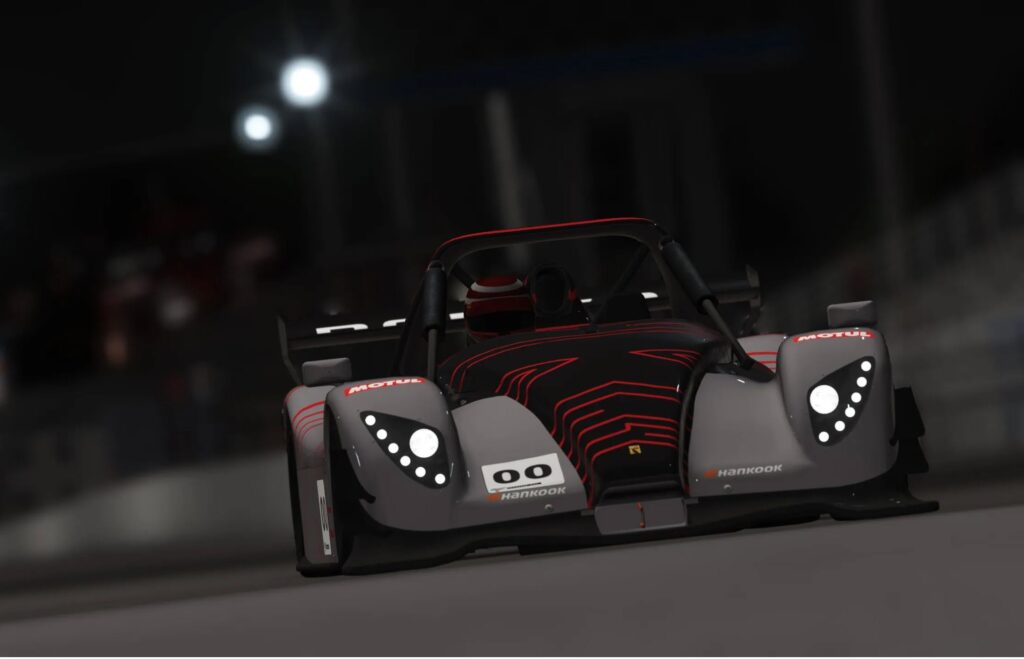
Single player mode against the AI cars is an excellent place to begin and learn some confidence. I think the Radical SR3 in rFactor2 is about as close to the real thing as you can get. And, a favourite circuit of mine, Lime Rock Park is an excellent location to “get your eye in”. Enjoy!
Related articles
Best Pimax VR Settings for F1 25 in 2026: A Damage-Control Guide
Best Pimax VR Settings for Le Mans Ultimate in 2026

Best Pimax VR Settings for Automobilista 2 in 2026
Best Pimax VR Settings for Assetto Corsa in 2026
Best Pimax VR Settings for Assetto Corsa Evo (v0.6, May 2026)
Sol for Assetto Corsa in 2026: Still Worth Installing, or Switch to Pure?
Topic: Sim Racing Games