Featured Image: Meta Quest 2 VR Headset
Released in October 2020, the Meta Quest 2 – initially known as the Oculus Quest 2 before Facebook’s re-branding exercise – virtual reality headset was seen as a breakthrough in bringing VR to the masses; balancing price, performance and accessibility.
Although recently usurped by the Quest 3, its predecessor is still immensely popular thanks to a low price point (just £199.99 from most vendors right now) and still represents a big chunk of the VR market.
Most apps available in the Quest store are largely basic in terms of visuals, but players can link their headsets to their gaming PCs via a USB-C cable and enjoy more demanding titles such as Half-Life: Alyx, Microsoft Flight Simulator and – of course – numerous sim racing titles.
However, setting up the headset for optimal virtual driving performance can still be a fiddly and rage-inducing process, thanks to confusing menus and unclear instructions. So, to help prevent all that heartache we’ve devised a short guide on how to make the most of your Quest 2-based VR sim racing sessions.
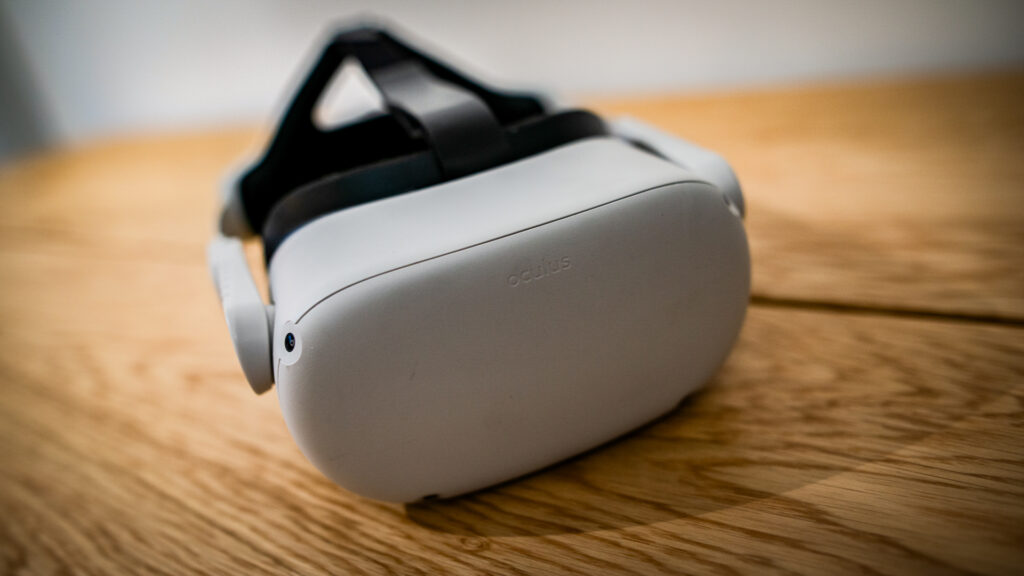
Comfort Settings
Perhaps one of the most important aspects of VR headset use (and most overlooked) is how comfortable it is to wear, especially over extended stints of virtual racing.
The Quest 2’s standard head strap is flimsy at best, and liable to contribute to painful pinch points around your ears and forehead. This can be resolved by buying an aftermarket replacement featuring more substantial plastic supports that allow a more equal tension distribution around your head. There are plenty of these on sale, with the GeekVR proving to be a popular buy (try this alternative too – Ed.)
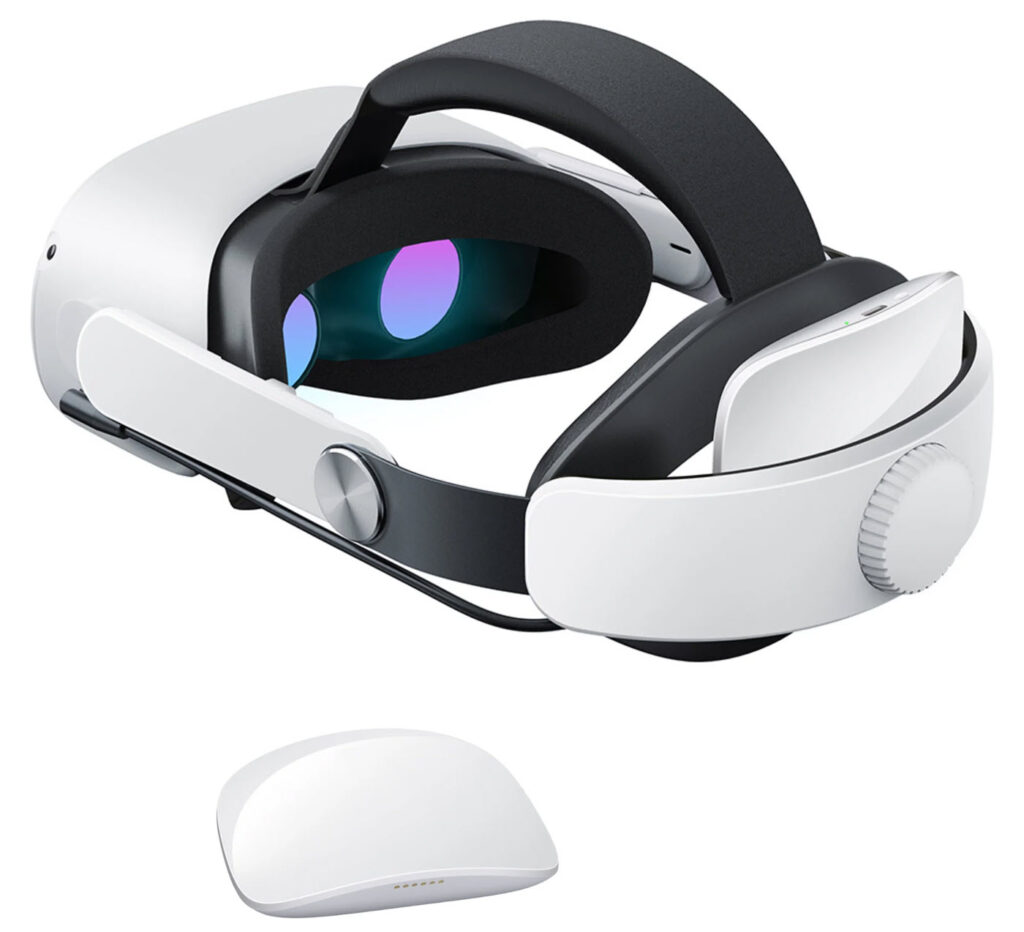
Upgrading the headset’s foam insert is also a great way to improve comfort, as the default material can irritate some users’ skin (a recall was issued for this very reason, in fact). The foam also has a nasty habit of retaining heat, making extended VR sessions rather sweaty and uncomfortable.
Consider this KIWI Design replacement as an upgrade: it has a PU leather face pad that’s easily cleaned and more breathable than the default option.
Improving the Meta Quest 2’s sim racing performance
In terms of unlocking the Quest 2’s full potential, a third-party app like Sidequest is a must. By using the Quest 2’s ‘Developer Mode’ Sidequest can enhance its capabilities no-end, improving both frame and refresh rates.
How to Unlock Developer Mode on your Meta Quest 2
To gain access to the back end of your Quest 2 and use its full potential you’ll first need to unlock Developer Mode by signing up for a Meta Developer Account.
As the name suggests, Developer Mode has been designed with game developers in mind, providing more tools to help test work-in-progress apps. It’s also useful for gamers too, as you’ll find out.
Head to dashboard.oculus.com and register your Meta account as a Developer Account. If you’re on a Windows PC you’ll also have to download the Oculus ADB 2.0 drivers package and install the ‘android_winusb’ file.
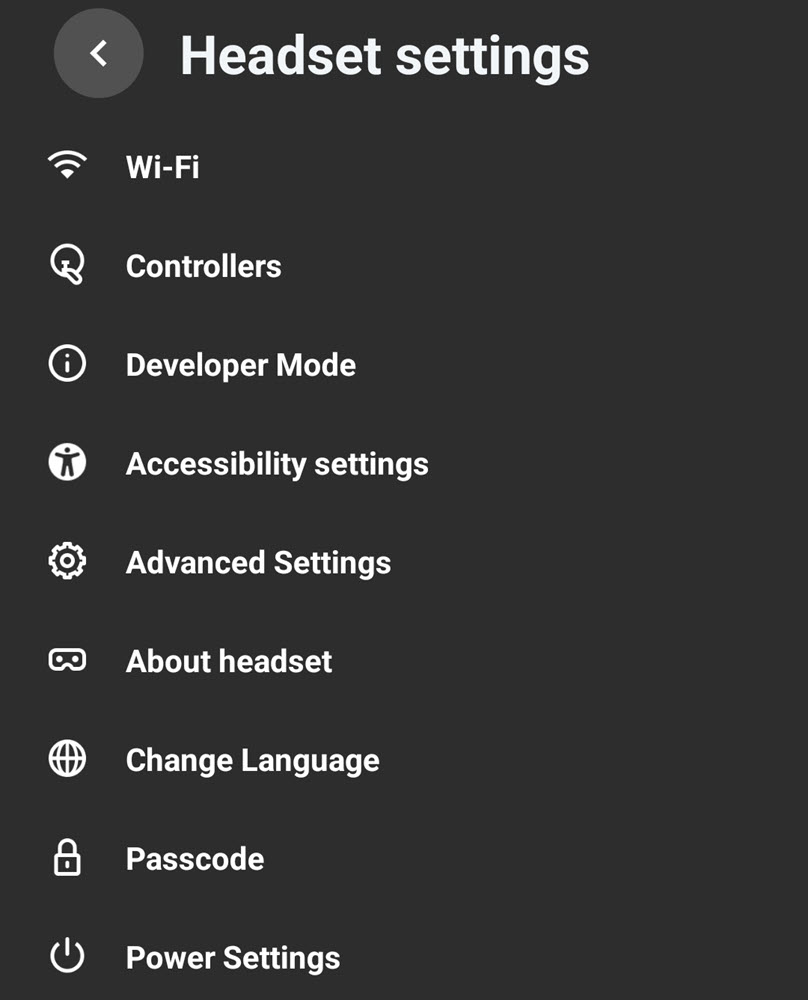
Once completed, restart your PC, switch on your Quest 2 headset and fire up your Meta Quest mobile phone app (assuming you’ve already done this when setting up your headset!). Connect your headset to your phone (both devices will need to be on the same wi-fi network) and navigate to the ‘Devices’ menu on your mobile. Scroll down to ‘Developer Mode’ and enable it.
How to download and install Sidequest
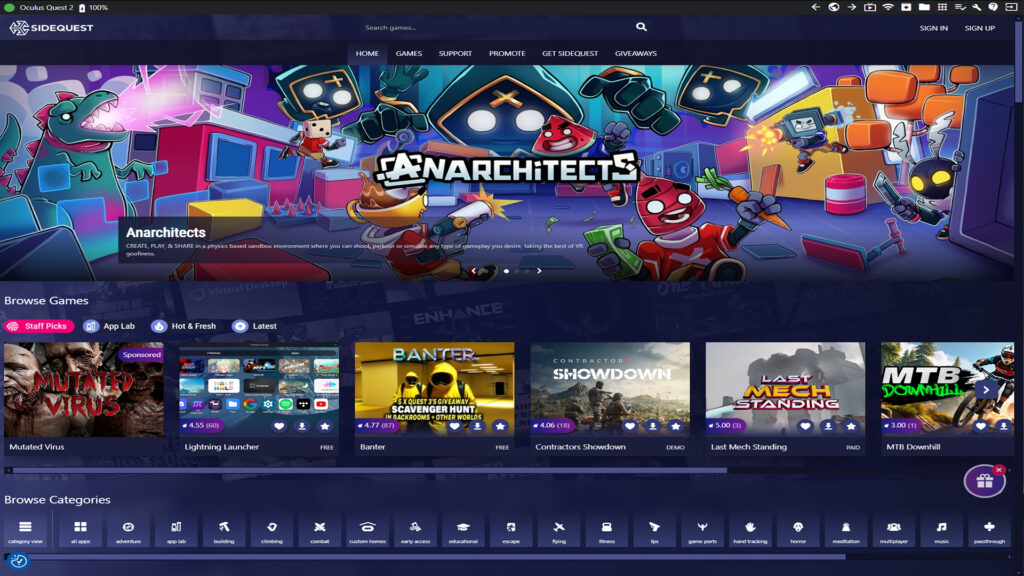
Head to the Sidequest website and download the correct version for your operating system, creating an account if you haven’t already done so. The installation process is straightforward and once completed you’ll see your Quest 2 has connected via a green light in the top left of Sidequest’s UI.
How to Use Sidequest to improve your Meta Quest 2’s performance
Now, this is the good bit. Head to the ‘Device settings & tools’ menu in Sidequest and you’ll be able to change graphics-enhancing options like refresh rate and texture size, as well as allow your headset to operate at a higher performance level (at the expense of increased battery usage and a hotter running temperature).
The key to getting the right combination of improvements is balancing visual fidelity with performance.
Naturally, sim racers prefer a smoother frame rate over super-detailed textures, but thanks to Sidequest players can enjoy a modest increase in detail with zero drawbacks. However, aiming for too much eye candy may make your Quest 2 less stable and more likely to crash, leaving you in the barrier too.
Best Meta Quest 2 settings for sim racing
Getting the best settings for your Meta Quest 2 doesn’t necessarily mean cranking everything up to 11. In Sidequest, for example, I’ve found that increasing the texture size to 1536 and the refresh rate to 120Hz works surprisingly well.
When combined with Level 2 CPU and GPU settings, the Quest 2 is able to punch far above its weight in terms of sim racing VR performance.
Check out the Sidequest settings I’ve been using below, with accompanying videos to demonstrate Assetto Corsa, Automobilista 2 and rFactor 2 in action. Note: any dropped frames are down to the extra load of recording video footage while playing – for details on the hardware used in this article scroll to the end*.
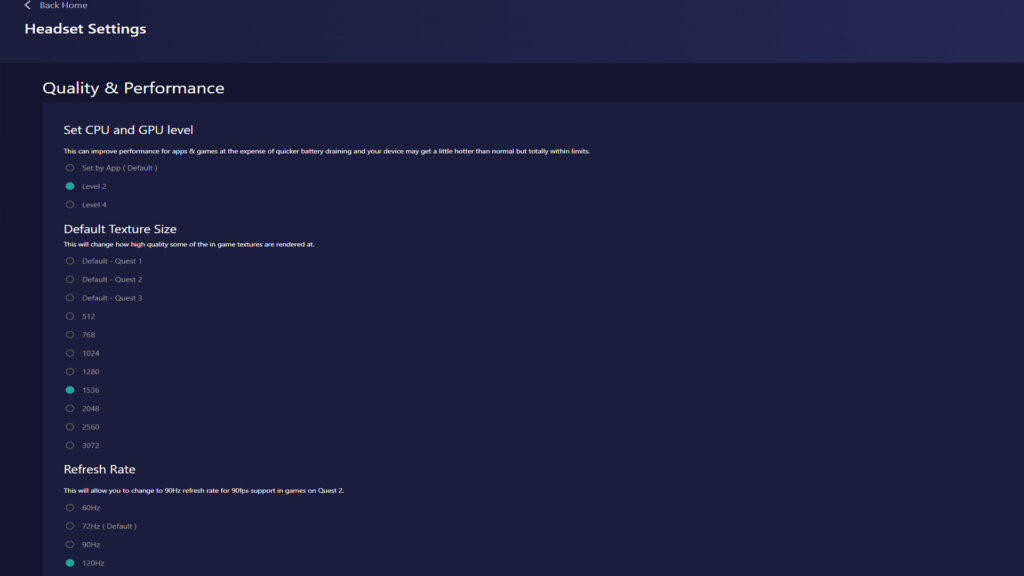
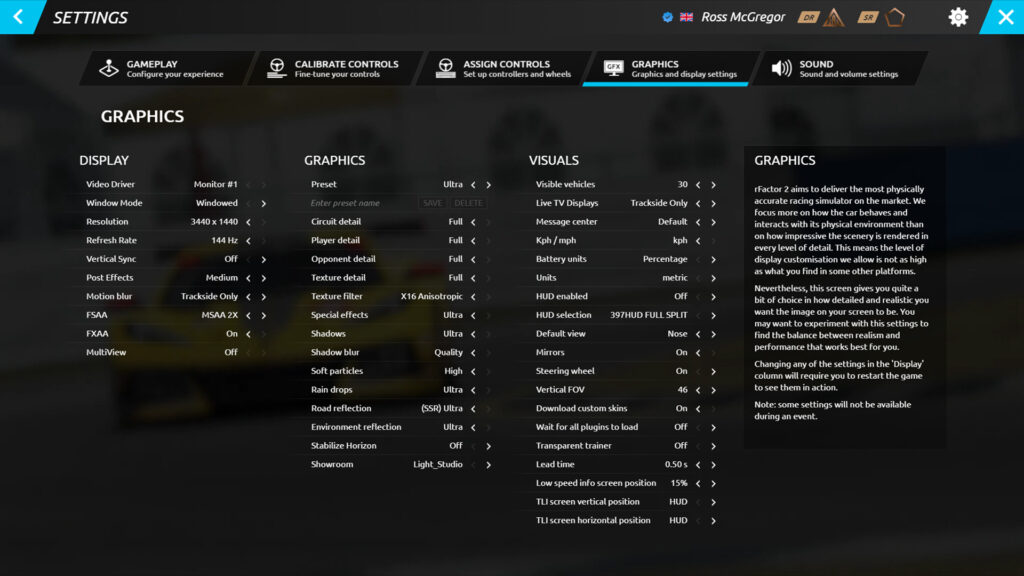
As a general rule, if your PC and Quest 2 are struggling to deliver a smooth VR sim racing experience – even with the help of Sidequest – turn down in-game graphics options like anti-aliasing, shadows, visible opponents and texture detail. I’ll run through the graphics options I’ve selected for each video below.
Assetto Corsa
The go-to favourite sim for thousands of sim racers, Assetto Corsa is more popular than ever thanks to modders enhancing its graphics and content roster. When used through Content Manager, I’ve been able to run AC with most graphics settings turned all the way up.
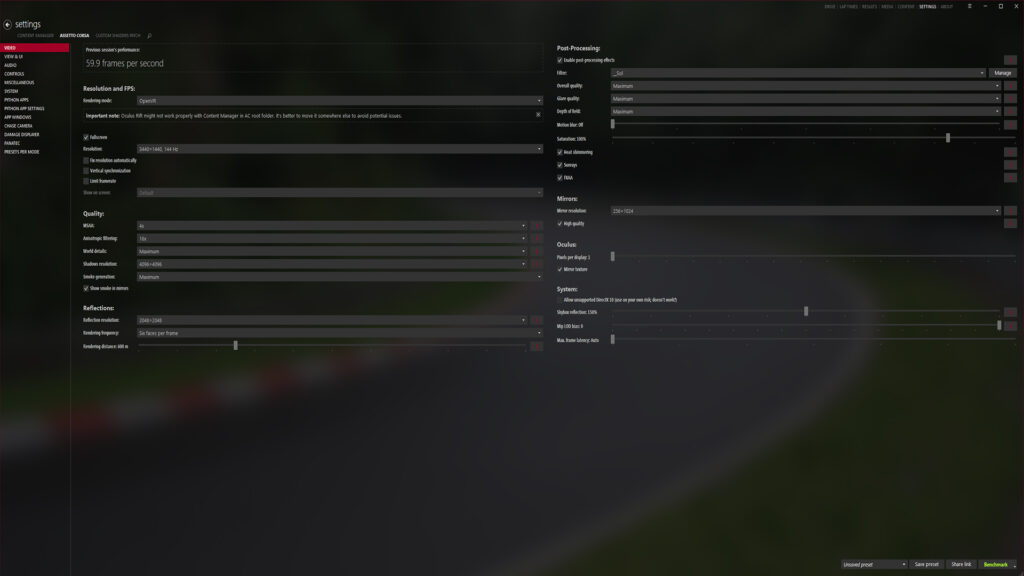
The advantage AC has over most other sims is the sheer variety of content available for it, with dedicated modding teams producing professional-level work for a small fee, like the DRM Modding Team’s BMW we’ve demonstrated below.
Automobilista 2
Automobilista 2 possibly provides the best default VR experience across all sims, combining visual flair with buttery smooth performance. As a result, we’re able to turn many of its graphics settings to High or Ultra without compromising consistent frame rates.
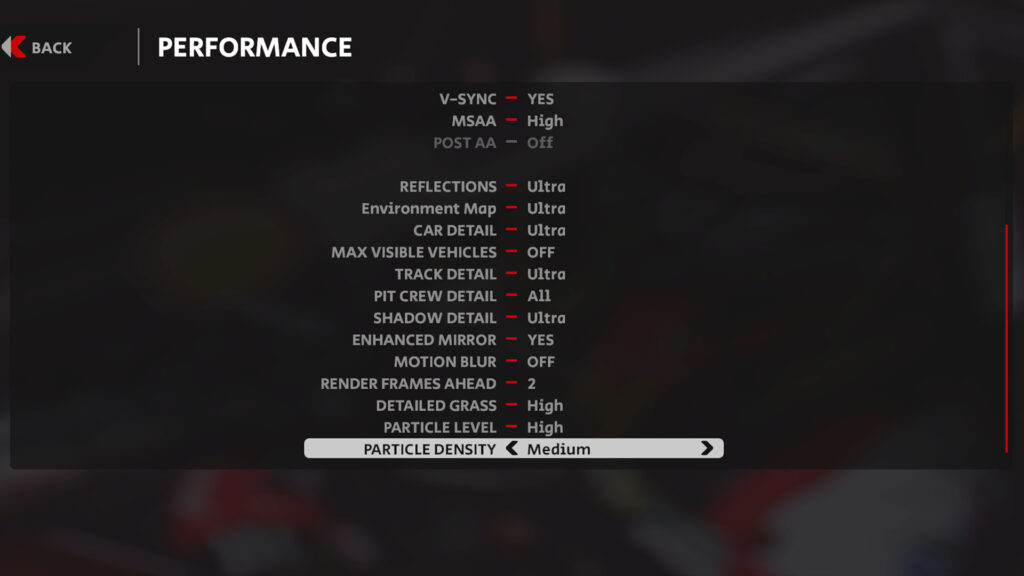
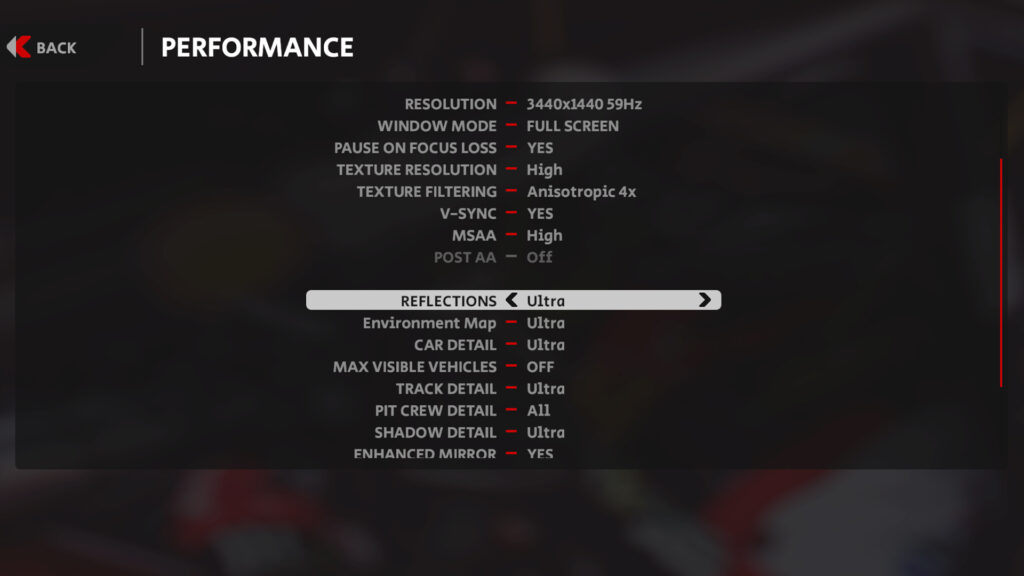
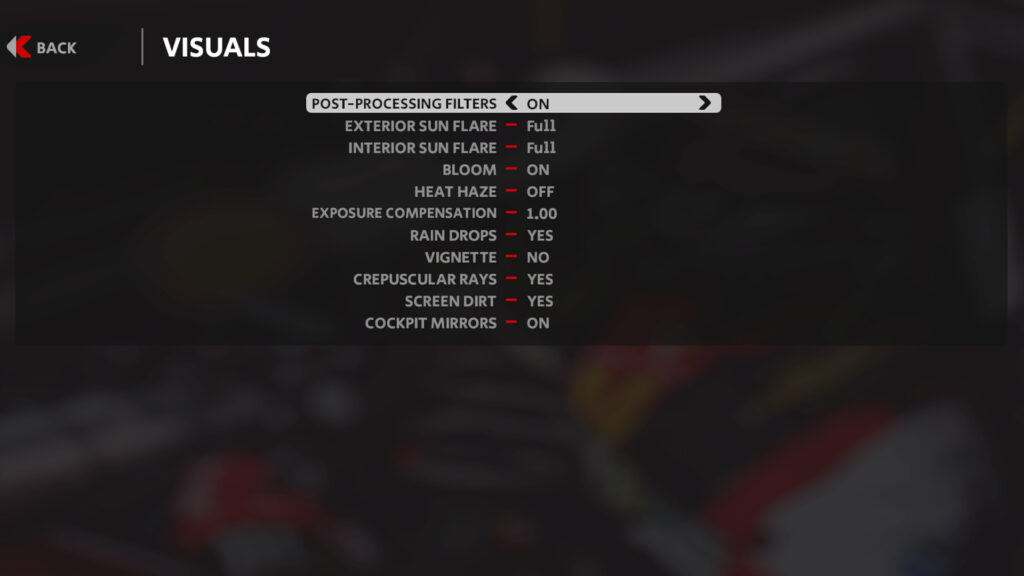
Naturally, with more cars on track and changeable weather, you may have to aim for Medium or Low settings: with a little trial-and-error you’ll be able to work out the best balance.
rFactor 2
Although a tad more demanding than the previous two sims, rFactor 2 is still extremely capable with a headset on – although it’s generally less stable overall. Even with most graphics settings turned up the VR experience is solid.
Notable mentions
Other sims like iRacing, RaceRoom and venerable classics like Project CARS 2, Richard Burns Rally (the RallySimFans mod) and Live For Speed also offer excellent VR experiences, and can also be played with most graphics settings turned all the way up (Live For Speed is particularly effective in VR thanks to stereoscopic side mirrors!).
However, titles like EA SPORTS WRC, BeamNG.drive and Assetto Corsa Competizione will all require significant effort to get to a playable state and may be best served by more powerful VR headsets. Le Mans Ultimate – the new sim on the block – isn’t currently compatible with VR but there is a workaround available. It’s still very much a work-in-progress, however.
How to capture your Meta Quest 2 Gameplay
Capturing footage from your VR sessions can be occasionally troublesome, but by far the easiest and most effective method is to use a program like Nvidia GeForce Experience to record the full-screen display from your PC’s monitor.
If your chosen VR title doesn’t display gameplay in this fashion then you can use the hidden ‘Oculus Mirror’ program.
Essentially, starting Oculus Mirror on your PC opens up a window on your desktop which mirrors your headset’s display. Added to that, by inputting certain commands players can change the overall display resolution (as well as field-of-view settings and whether the left or right eye projection is shown).
It’s then possible to record the Oculus Mirror window with software like OBS or the aforementioned GeForce Experience. Be warned, however, that this can be particularly resource-intensive, especially if you also decide to stream your gameplay.
Assuming you’ve installed your Meta software into Program Files, Oculus Mirror can be found here: Drive:\Program Files\Oculus\Support\oculus-diagnostics\OculusMirror.exe. We advise adding this as a shortcut on your desktop for speedy access in future.
The default resolution of Oculus Mirror is 1366×768, so to change this to 1920×1080 type ‘OculusMirror.exe –Size 1920 1080’ into the OculusMirror.exe command line (find this by right-clicking and heading to ‘Properties’).
For a full breakdown of further Oculus Mirror enhancements check out Meta’s official Compositor Mirror page.
*All VR footage recorded and tested with:
X470 Gaming Plus motherboard
AMD Ryzen 7 3800X 8-Core Processor
16GB RAM
500GB SSD
NVIDIA GeForce RTX 4070
AOC 3440 x 1440 widescreen monitor
Related Articles
Topic: VR Headsets


