
I’m a sim racer and amateur racer with a passion for Motorsport, good racecraft and the technical and setup aspect of sim racing.
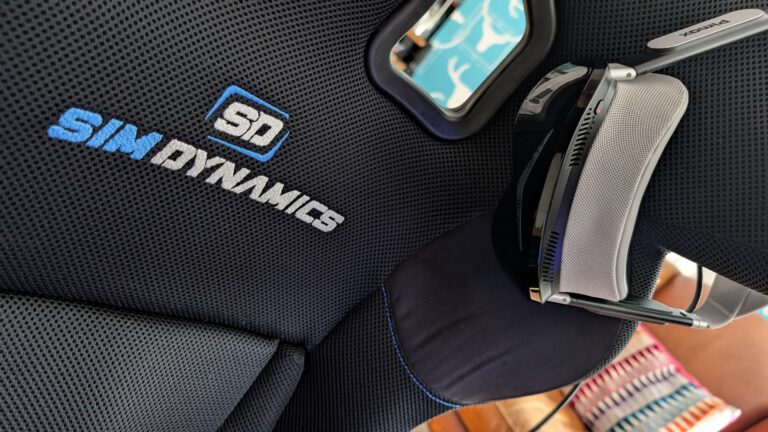
Featured image: Pimax Dream Air on my race seat
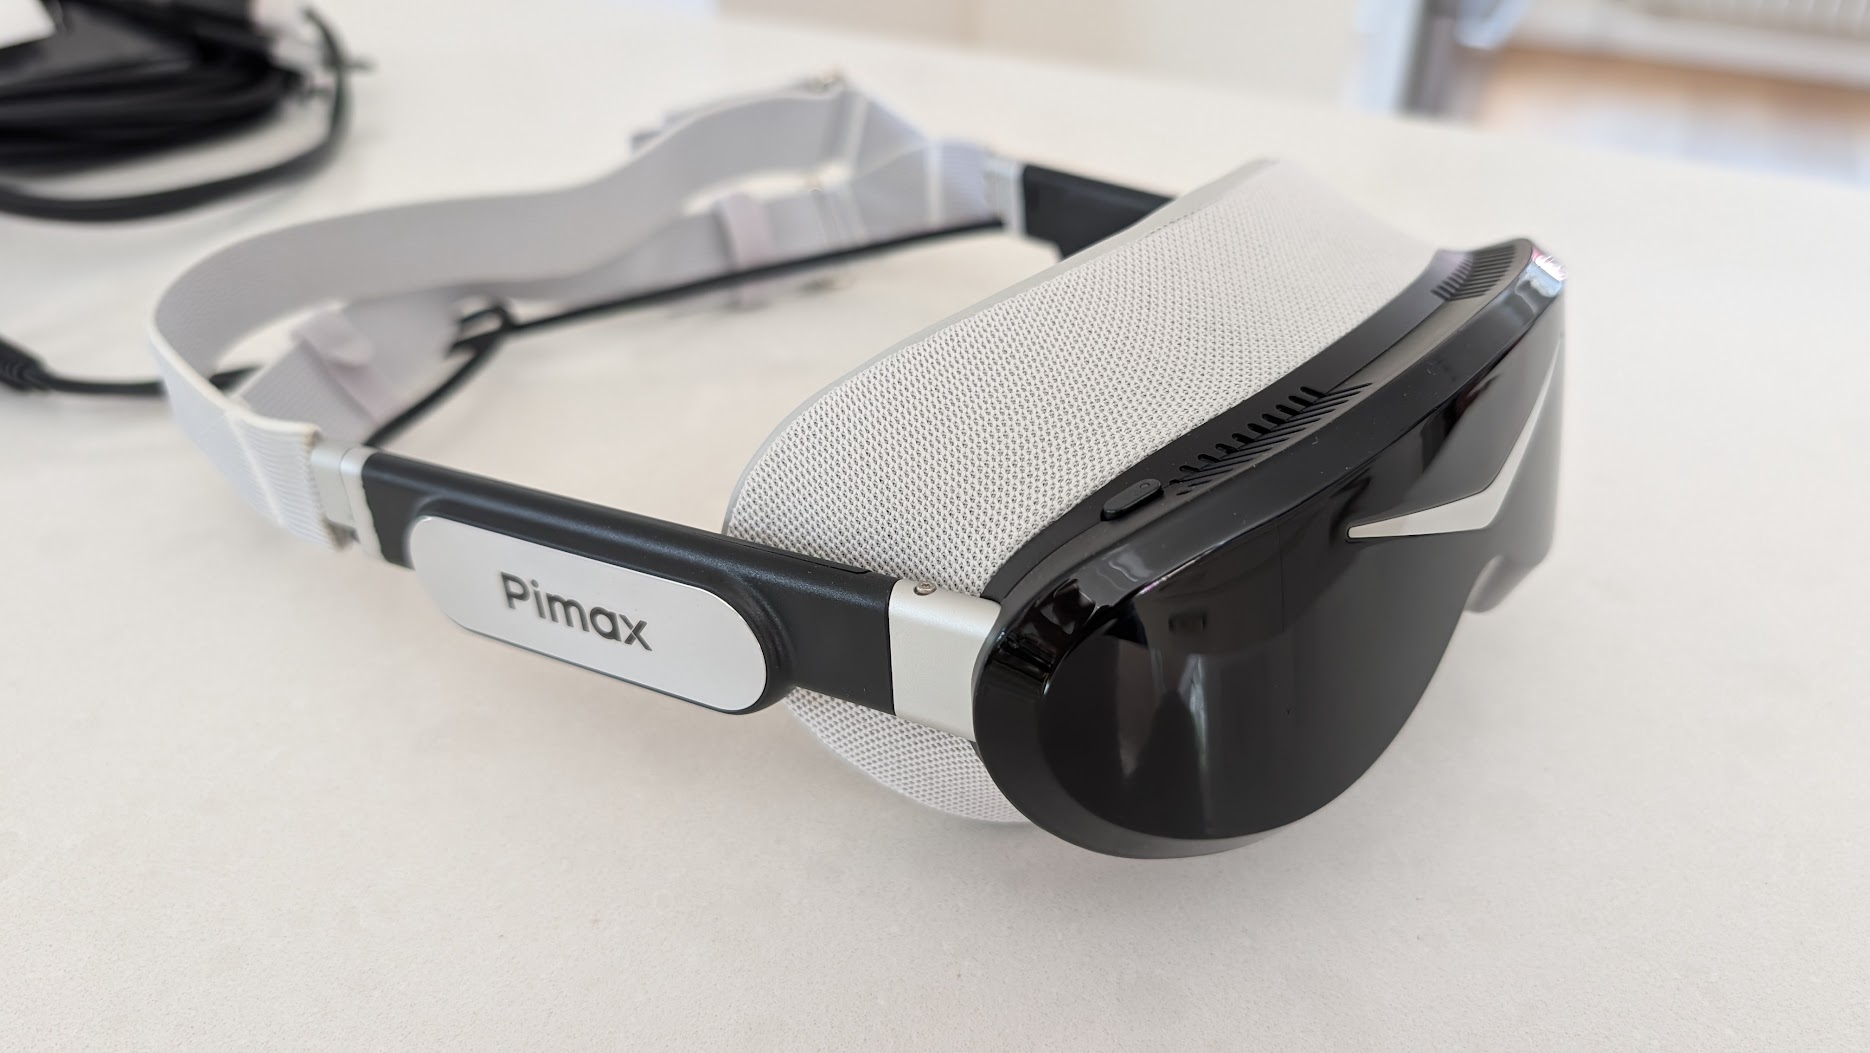
Today we’re going to take a look at how to install the SBoys3 driver for the Pimax Dream Air Lighthouse, and explore why this is an increasingly popular alternative to Pimax’s own runtime. SBoys3 is the developer’s handle, and their driver, which is community-made and free to download, turns the Dream Air into a native SteamVR headset.
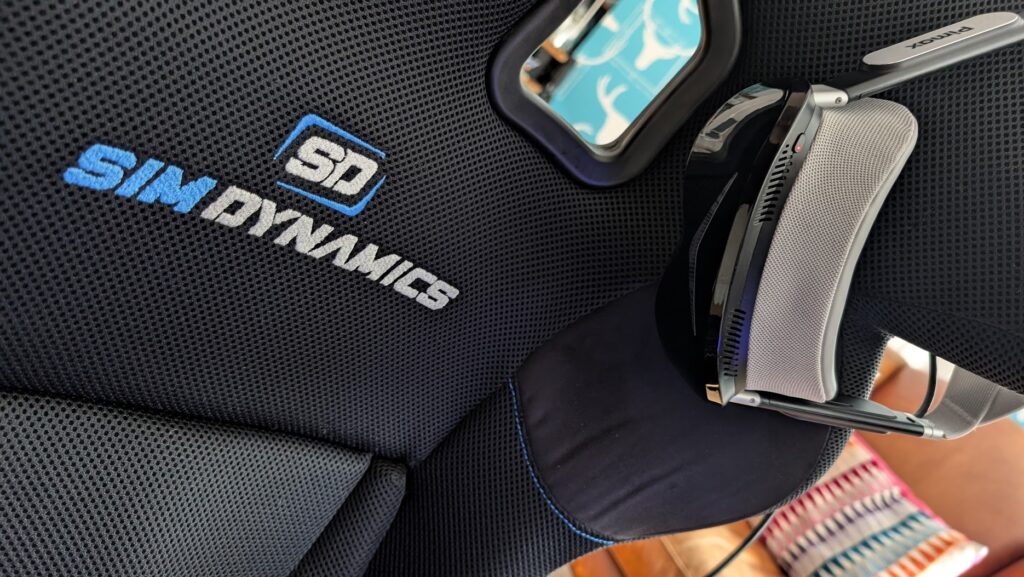
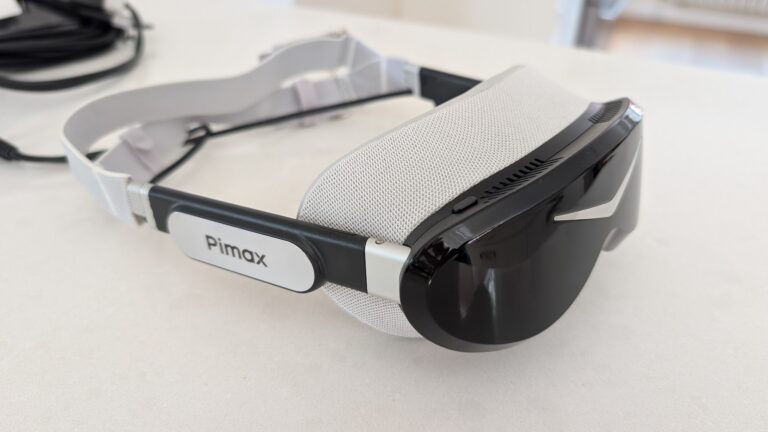
My own Dream Air is the Lighthouse version, which is what this guide covers, and up to now it’s been running on Pimax Play (you can read how that went in my Pimax Dream Air review). There are two ways to start the driver, through Pimax Play or through Pimax EVO, and Pimax’s own pages don’t agree on which to use, so there’s a whole thread on r/Pimax asking. So today I’ll walk you through the SBoys3 installation steps and hopefully resolve some of the conflicting advice that I’ve found even on Pimax’s own website!
Quick Navigation
Jump directly to what you’re looking for:
Why SBoys3? |
Before you start |
Download |
Extract |
First launch |
Pimax Play route |
Pimax EVO route |
Settings |
Updating and undoing
Why use the SBoys3 driver?
I want to say that really VR is still in a somewhat embryonic position, where you can have high resolution and FPS, but only by brute forcing your way to it with very powerful GPUs and CPUs. What I love about SBoys3 is they’re showing the manufacturer how the manufacturer should be doing it – a better optimised runtime that makes the most of the headset without the overhead that the current on-device firmware and official runtimes seem to expect.
You get features that aren’t in Pimax Play yet, and installation is easy – thanks to the downloadable exe on the GitHub page we’ve shared.
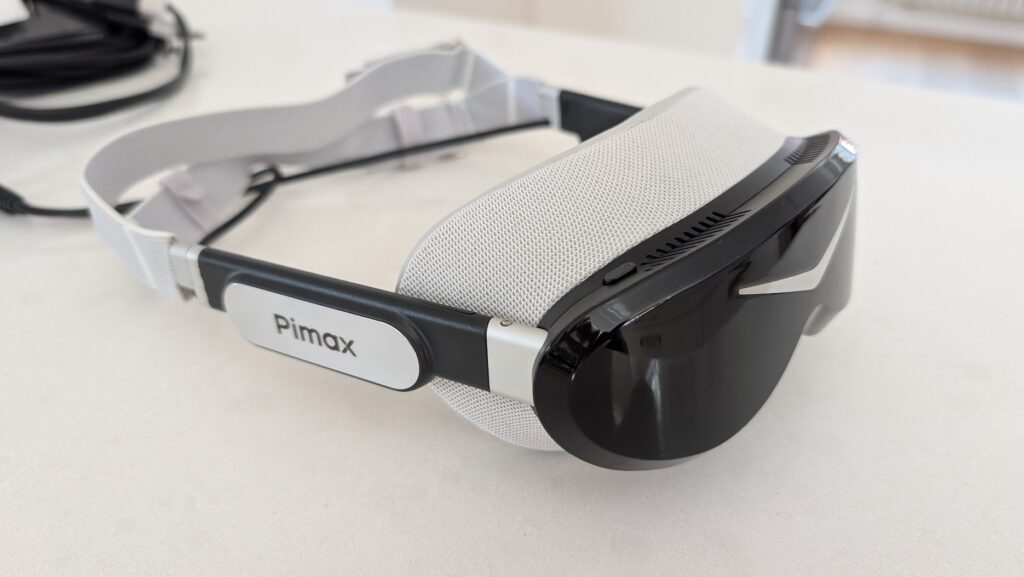
Most owners switch for Motion Smoothing. With the driver in place the Dream Air is a native SteamVR headset, so SteamVR’s own Motion Smoothing works, and owners on r/Pimax rate it well above Pimax’s Smart Smoothing for holding a steady frame rate. You also get a lot more control over the image, with distortion profiles, a per-eye FOV limit and settings for colour, black level and burn-in dimming, and almost all of it applies live, without restarting SteamVR or the game. In a racing sim that means you can crop the vertical FOV while you’re on track and watch the frame rate come back.
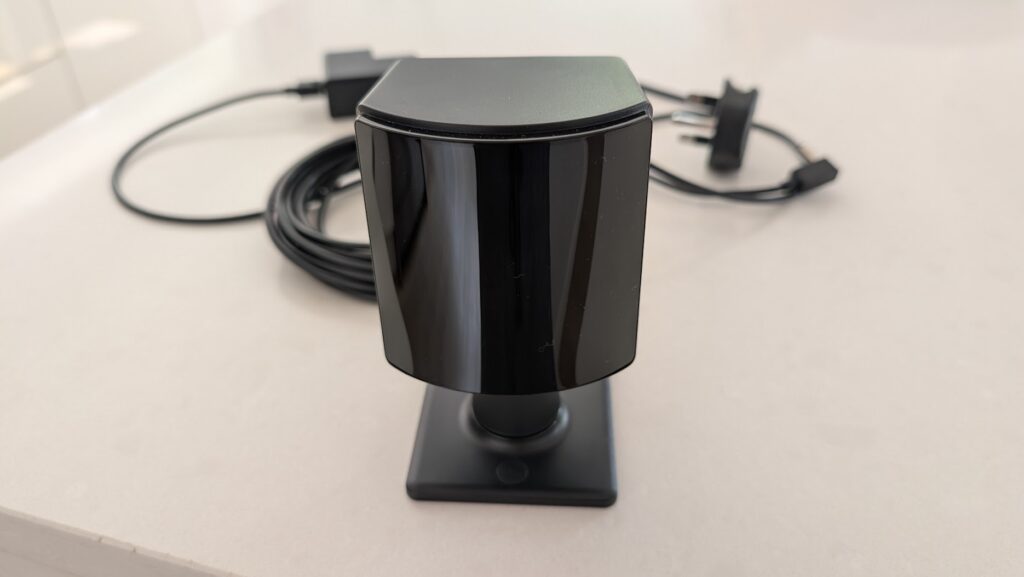
SBoys3 started the driver in April 2025 for the Shiftall MeganeX, and it’s moved quickly since – Pimax put out its own Dream Air walkthrough video in April 2026 and a setup guide in June, and September’s 1.3.0 release added support for every Pimax headset.
There are a couple of catches, though. On the Pimax Play route, Pimax Play still has to start the Dream Air once after every PC boot because of Pimax’s DRM, so it doesn’t disappear from your life altogether. Pushing the FOV or eye rotation too wide can also cause eye strain.
What you need before you start
The install itself is quick, as long as you’ve got everything in place before you start:
- The Dream Air Lighthouse, with your base stations and controllers already tracking in Pimax Play.
- Pimax Play installed and logged in.
- Steam and SteamVR installed, and SteamVR run at least once – it only creates its drivers folder on the first run.
- The Microsoft Edge WebView2 runtime, usually already on Windows 11; if the app won’t open, install the WebView2 Evergreen Bootstrapper as administrator.
- Your physical IPD set in Pimax Play before you switch over, because the driver’s IPD setting is software-only.
Pimax discount codes: use SIMRACINGCOCKPIT for 2% off, or SIMRACINGCOCKPIT25 for $25 off, at pimax.com.
Download the driver from GitHub
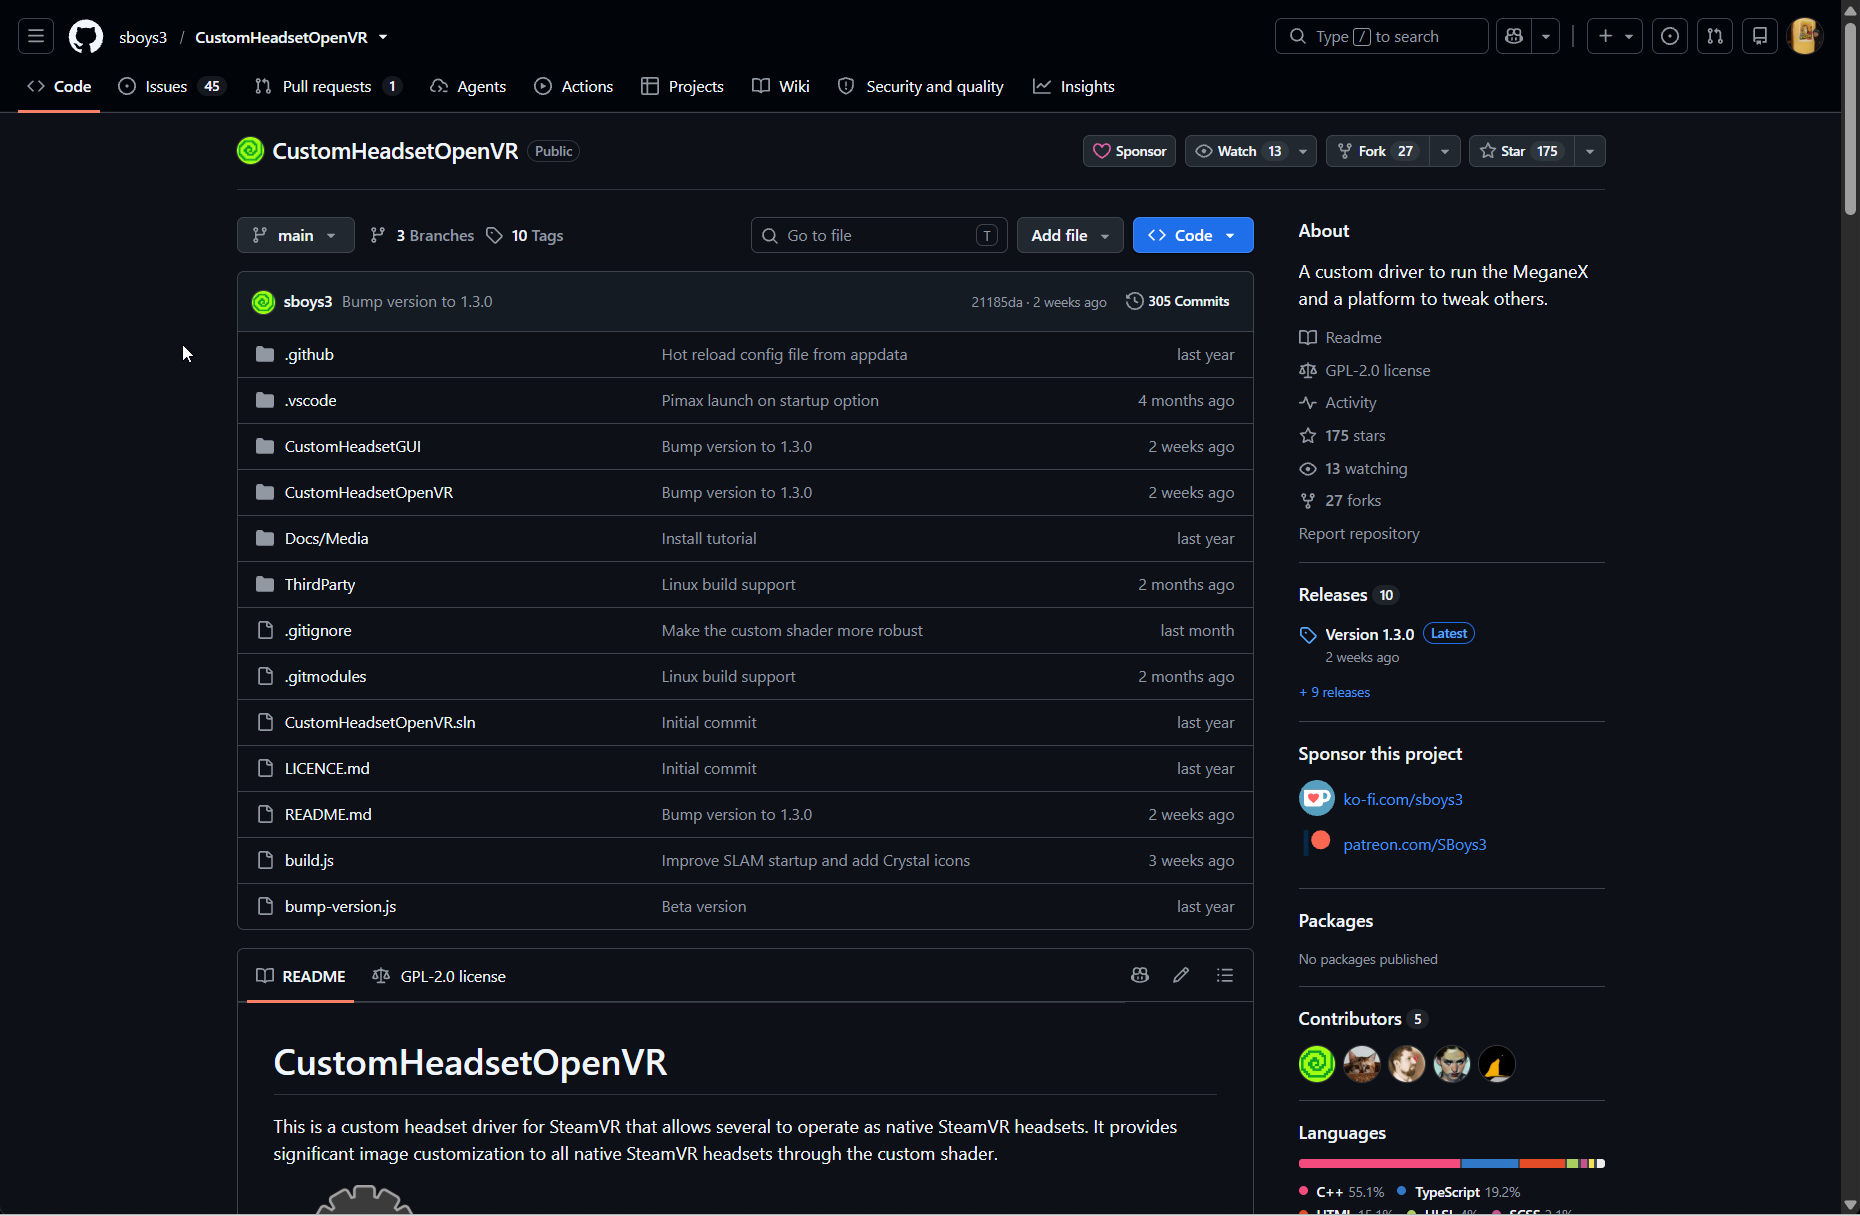
Head to the releases section on GitHub. At the moment, the latest release is 1.3.0, from 7 September 2026, and it supports both Pimax Play and Pimax EVO for Lighthouse headsets. Expand Assets under the release notes and you’ll find two ZIPs, CustomHeadset-1.3.0-Pimax-UI.zip and CustomHeadset-1.3.0-Windows.zip, both 6.3 MB.
Download the Pimax-UI one, which is the ZIP the r/Pimax “Dream Air Driver Install Process?” thread points Dream Air owners at, and it’s the one I downloaded.
Extract it to a permanent folder
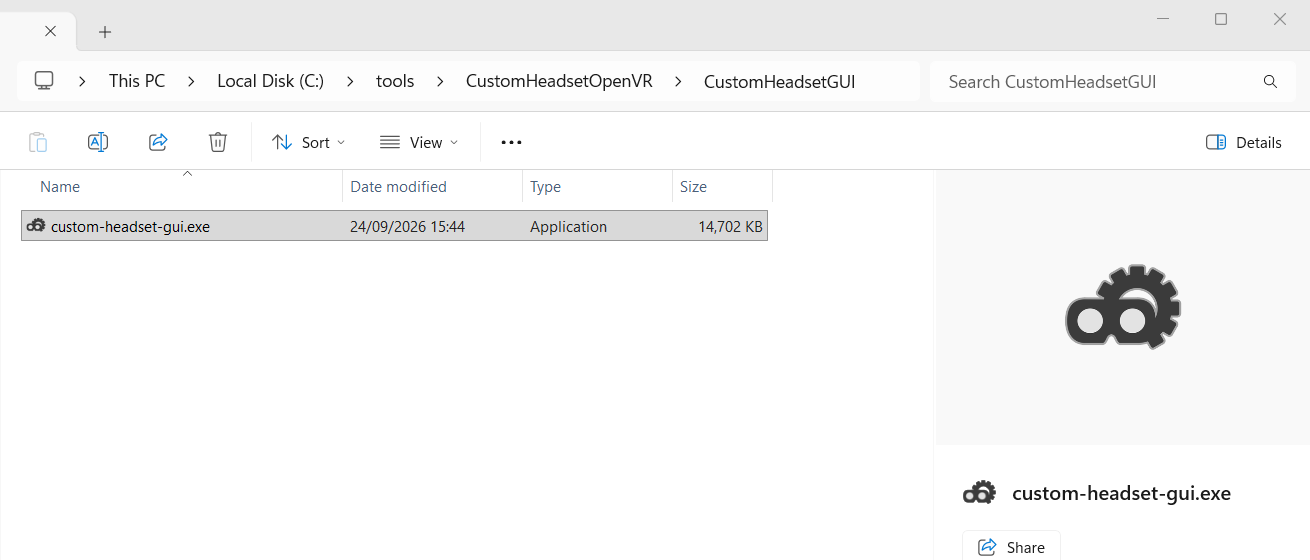
Extract the whole ZIP to a permanent folder, not Downloads – mine went into C:\tools\CustomHeadsetOpenVR. The installer registers this path with SteamVR, and if you move the folder afterwards SteamVR is left pointing at a dead path. If that does happen, move it back or reinstall the driver from the app. The app you’ll run is custom-headset-gui.exe, in the CustomHeadsetGUI folder.
Open the settings app and check it’s ready
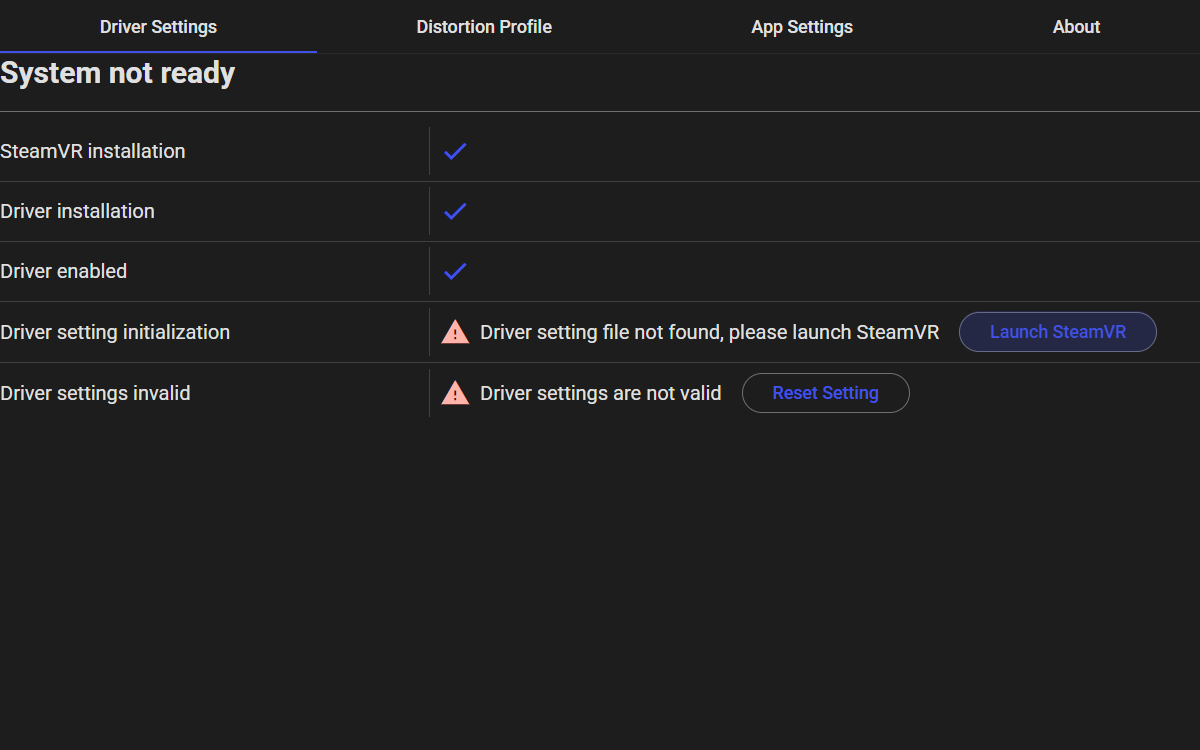
Double-click custom-headset-gui.exe. The window is titled “Pimax Native Headset”, and across the top there are four tabs: Driver Settings, Distortion Profile, App Settings and About. The first time I opened it, it told me it couldn’t find SteamVR at all, even though Steam and SteamVR were both “installed”. SteamVR was in fact still downloading – 984 MB of 2.36 GB – so there was no drivers folder for the app to find. Let SteamVR finish and run it once, and if the app still can’t see it, close the app completely and open it again.
Once SteamVR had finished installing, Driver Settings showed a readiness checklist headed “System not ready”, with three ticks and two warnings. SteamVR installation, Driver installation and Driver enabled were all ticked. Underneath were the two warnings, “Driver setting file not found, please launch SteamVR” with a Launch SteamVR button next to it, and “Driver settings are not valid” with a Reset Setting button.
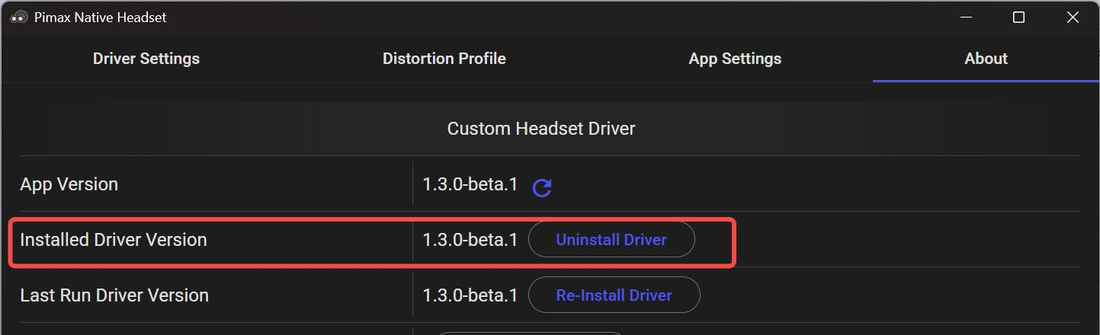
Then have a look at the About tab. It shows the Installed Driver Version, with Uninstall Driver and Re-Install Driver buttons, plus Restart Compositor and the Enable Driver switch. Pimax’s older guide tells you to go to About > Install Driver at this point. On 1.3.0 you can skip it, because the driver was already installed and enabled by the time SteamVR was in place.
Start the Dream Air through Pimax Play
After every PC boot, start Pimax Play and connect the Dream Air first. That’s down to Pimax’s DRM, which means the driver can’t take over until Pimax Play has started the Dream Air once. Pimax headsets like to take their time starting up anyway; every one that’s come through my office has, and unplugging and re-inserting the USB tends to get it going. If Pimax Play won’t bring the Dream Air up at all, start with the Pimax troubleshooting guide before blaming the driver.
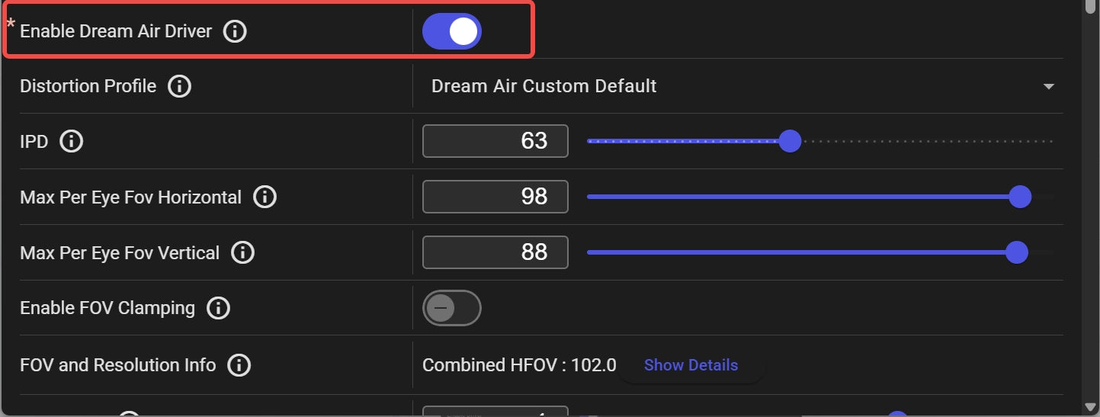
With the Dream Air connected, go to Driver Settings > Dream Air in the app and check Enable Dream Air Driver is switched on. The first time round, the readiness checklist asks you to launch SteamVR, which creates the driver’s settings file. After that, press the large Launch Dream Air Headset button to start the Dream Air under the driver, and give it a few seconds to come up. Once the driver takes over, Pimax Play disconnects from the Dream Air, which is normal. Minimise Pimax Play and leave it running. If the cable gets pulled mid-session, SteamVR keeps running and picks back up a few seconds after you reconnect.
Start the Dream Air through Pimax EVO
Pimax EVO is Pimax’s separate, experimental client, and it’s the second way to start the driver. In EVO, open Developer Mode and switch on Pimax OpenPort. Click Import and point it at custom-headset-gui.exe in the CustomHeadsetGUI folder, then press Launch.
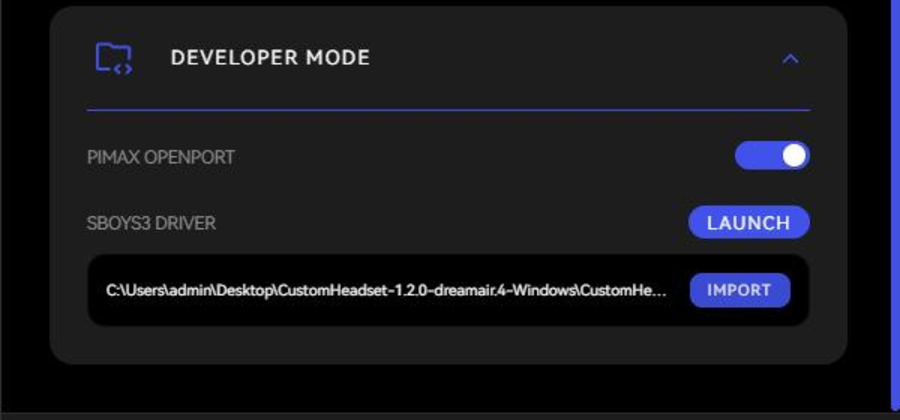
The developer’s notes also say the closed-source DRM parts aren’t needed when you run through OpenPort.
The Dream Air settings worth changing
Start with the Distortion Profile tab and make sure it’s set to the Dream Air’s own default, “Dream Air Custom Default”. Another headset’s profile will distort the image heavily. Set the driver’s IPD to match the physical IPD you set in Pimax Play. Then look at Max Per Eye Fov Vertical, because cropping it buys frames and it applies live. You do lose a little of the view, but as a driver I care less about the slightly reduced FOV that other reviewers flag – I’m used to wearing a helmet, so you can’t see all that much in real life anyway.
Parallel Projection should only be on when a game needs it. Pimax Play keeps it on permanently for the Dream Air, whereas the SBoys3 driver leaves it off unless you ask for it, which saves GPU. Leave Stationary Dimming on as a burn-in precaution for the Micro-OLED panels. Hidden Area Mesh also saves GPU, but it needs a compositor restart, which you’ll find on the About tab.
Vibrance is down to taste, although Pimax suggests around 1.25 as a starting point if you want a punchier image. Eye Rotation defaults to 2°, and 0° gives you full overlap, but only make small changes or you risk eye strain. According to its release notes, 1.3.0 also adds support for Pimax’s OpenVR foveated rendering. I haven’t had the Dream Air running under the driver yet, so I can’t tell you how the foveated rendering holds up in iRacing.
Updating the driver and going back to Pimax Play
To update, download the new release, extract it, run the app, then go to About > Re-Install Driver – the 1.3.0 notes say that last step is what completes the update.
To go back to Pimax’s runtime, restart the Pimax Play service from within Pimax Play, or switch OpenPort off if you’re on EVO. If you’d rather remove SBoys3 altogether, click Uninstall Driver on the About tab.
Once SteamVR sees the Dream Air as a native headset, the next job is getting iRacing to look right. My Dream Air settings for iRacing are a good place to start, although I wrote them for Pimax Play. Good luck, and let me know how you get on in the comments!
Related Articles
How to Install the SBoys3 Driver on the Pimax Dream Air Lighthouse
Steam Frame vs Dream Air: What We Know
Pimax Dream Air SE (SLAM) Review: My Verdict
What’s Going On With Pimax?
Should You Upgrade From a Quest 3 to the Pimax Dream Air?
Best VR Headsets for Flight Simulation
Topic: Pimax Dream Air