
I’m a sim racer and amateur racer with a passion for Motorsport, good racecraft and the technical and setup aspect of sim racing.
Every direct drive wheelbase ships with two layers of force feedback settings you need to get right – the manufacturer’s software (Fanalab, Pit House, SimPro Manager, TrueDrive, or TM Control Panel) and whatever the sim itself gives you. Get either one wrong and you’ll clip your FFB signal, lose detail, or end up fighting a wheel that feels like mush. I’ve spent weeks pulling apart settings from YouTube creators, Reddit, manufacturer docs, and forum threads to build an interactive tool that covers 23 wheelbases across 9 sims – and then written up the how and why below. Blindly copying someone’s profile off Reddit? That’s how you end up confused when nothing feels right on your rig.
Quick Navigation
Jump directly to what you’re looking for:
Settings Finder Tool |
The Two-Layer System |
Fanatec (Fanalab) |
Moza (Pit House) |
Simagic (SimPro Manager) |
Simucube (TrueDrive) |
Thrustmaster |
Common Mistakes |
Per-Sim Tips
DD Wheelbase Settings Finder
Pick your brand, wheelbase, and sim below and it’ll show you community-sourced settings with confidence ratings. Three profiles per combination – balanced, high detail, and endurance. Every recommendation links back to its source – YouTube video, forum thread, whatever it came from. Same research that informed the rest of this guide, just condensed into something you can actually use at the rig.
The Two-Layer System: Wheelbase Software vs In-Sim Settings
Here’s the thing most people get wrong straight away. FFB passes through two completely separate processing stages before your wheel’s motor ever sees it. The sim generates the raw FFB signal – tyre slip, kerb impacts, suspension load, road texture. That signal goes to your wheelbase’s software, which applies its own filters (damping, friction, inertia, interpolation) before the motor spins.
Both layers matter, and they compound. Running damping at 50% in your wheelbase software AND 50% in the sim doesn’t give you moderate damping. It stacks. You end up with a wheel that feels like it’s pushing through treacle. So pick one layer for each filter type and leave the other alone. Most experienced drivers prefer letting the sim handle damping (ACC and AMS2 do it well natively) and keeping the wheelbase software clean – minimal filters, just enough to prevent oscillation.
My earlier FFB setup guide covers the fundamentals if you’re starting from scratch. Below is the brand-by-brand breakdown – what each setting does, and where to start.
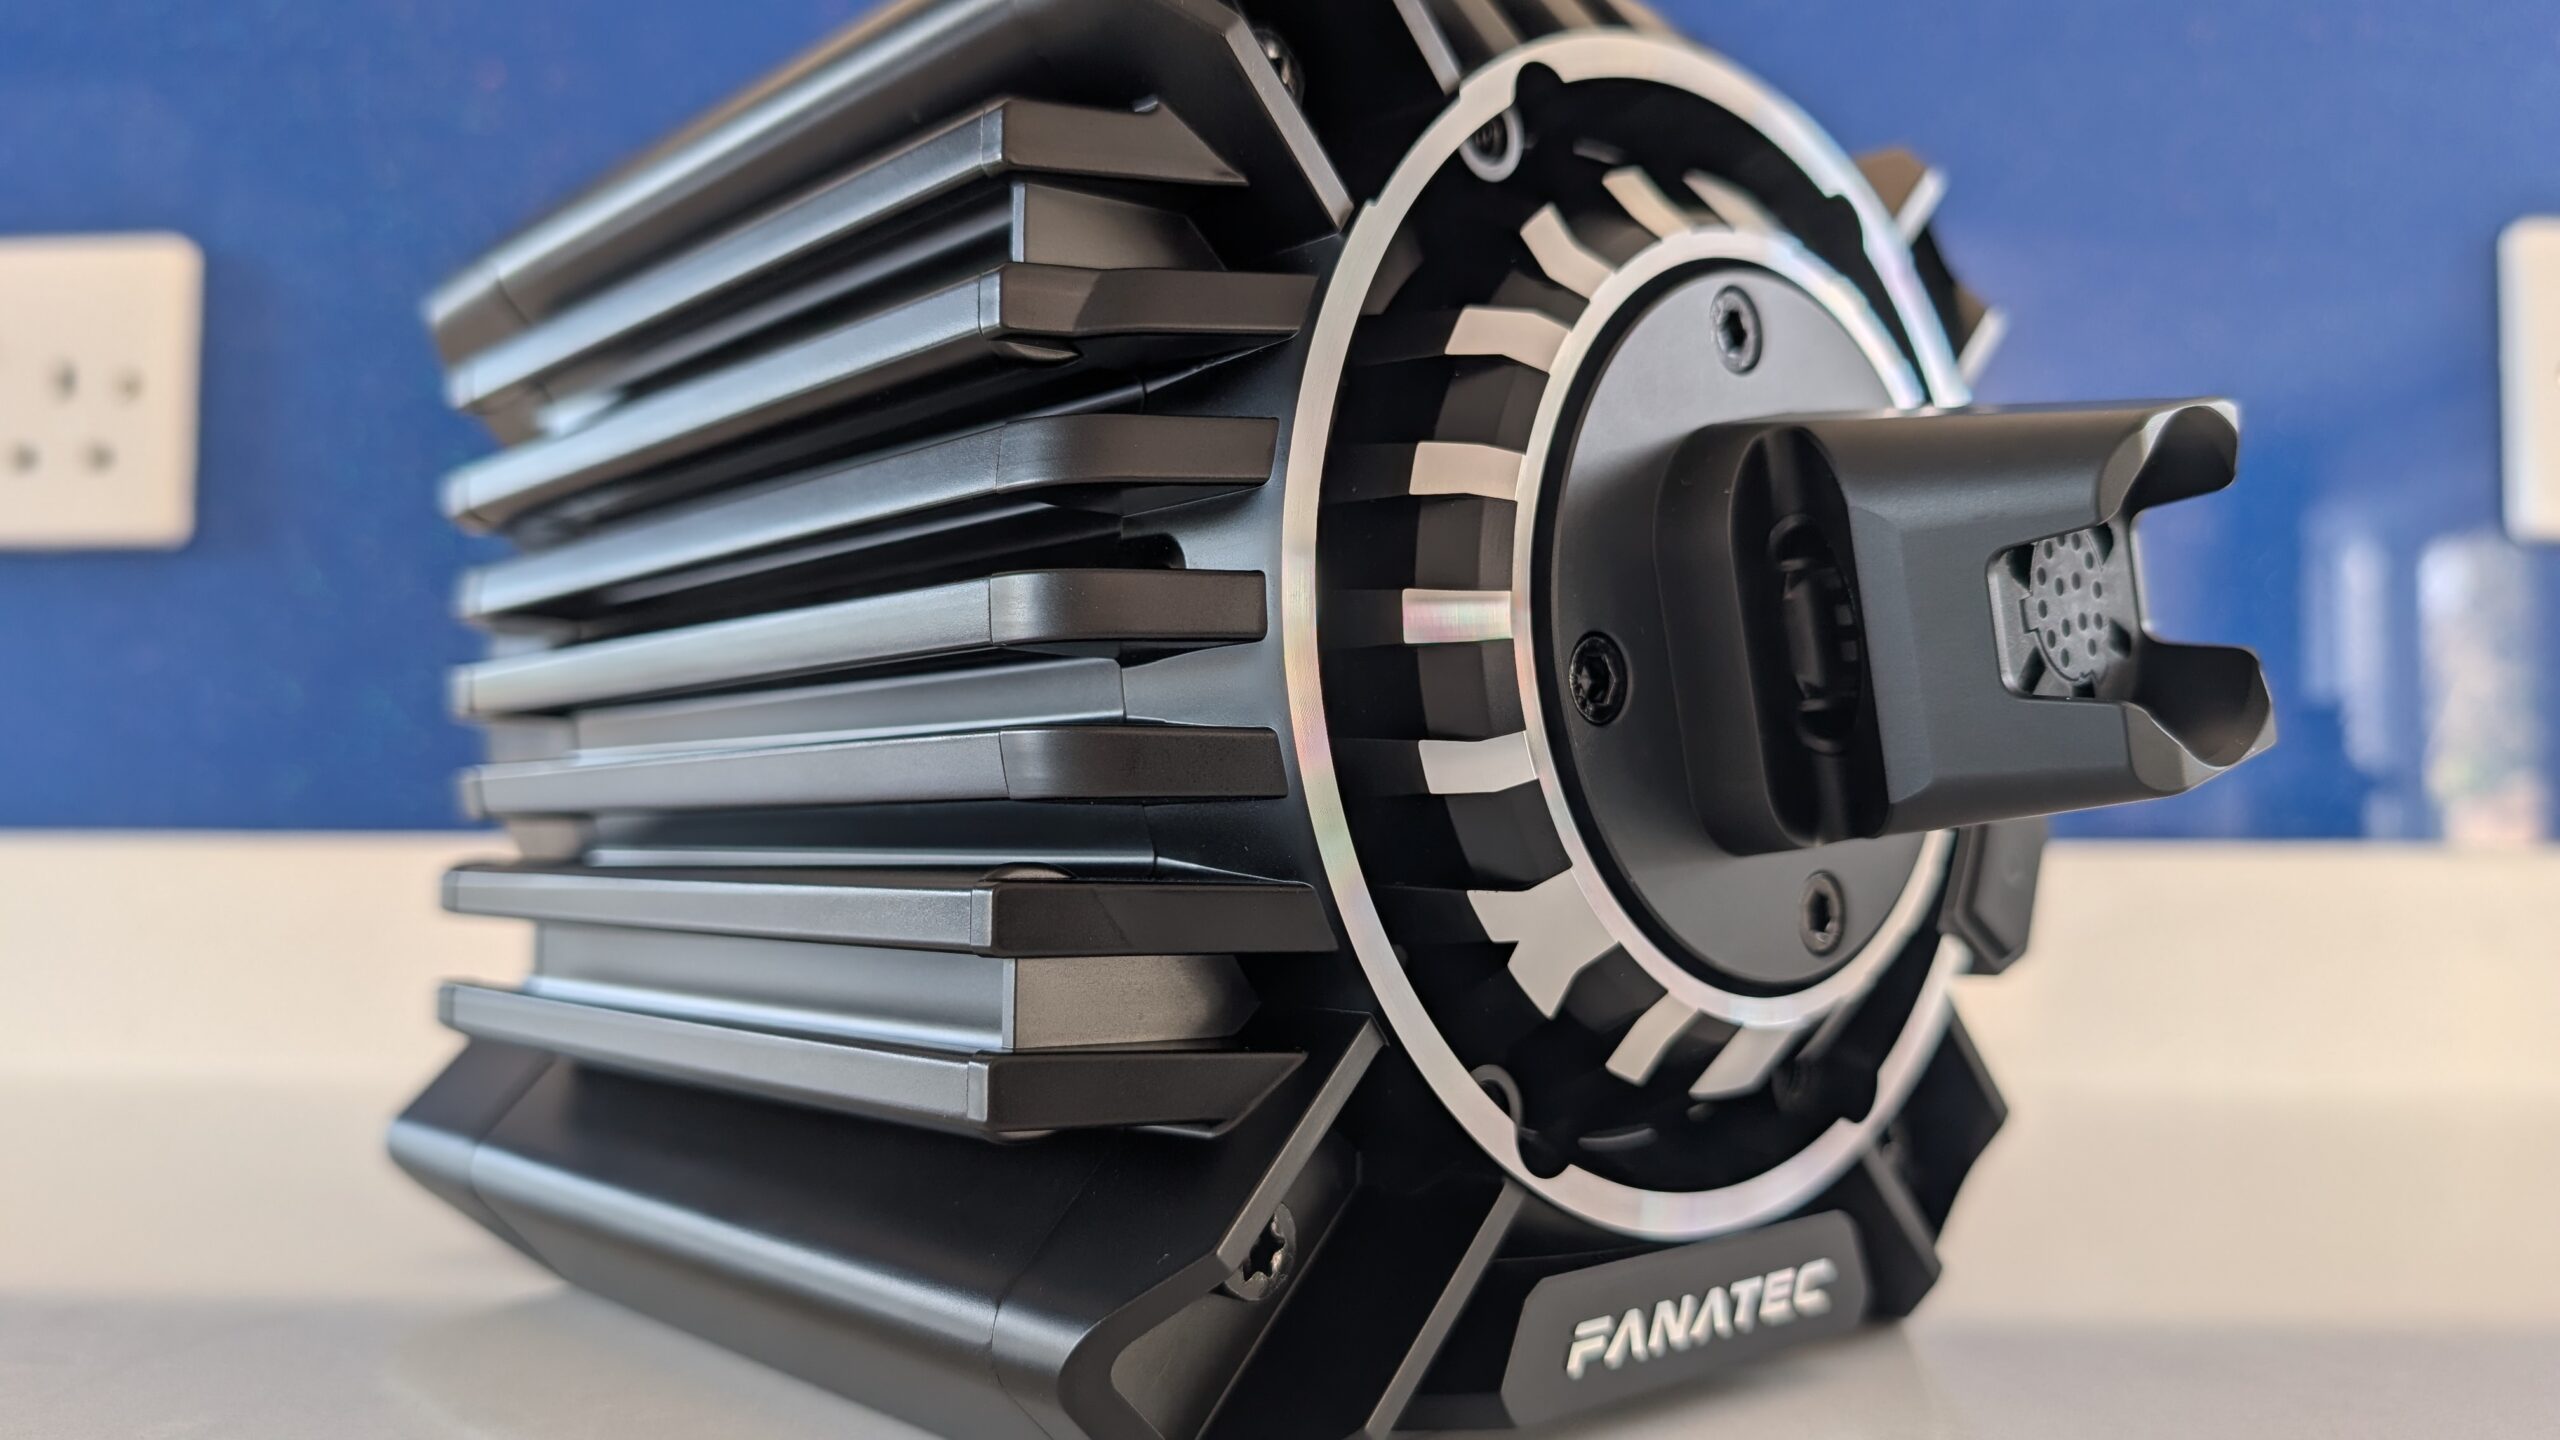
Fanatec: Fanalab Settings
Fanalab on PC (or the on-wheel tuning menu on console) has a frankly overwhelming number of settings. Two categories: DirectInput filters (SPR, DPR) which affect the Windows-level signal, and Constant filters (NDP, NFR, NIN) which apply to the base’s internal FFB processing. For most DD users, the DirectInput stuff should be zeroed out unless a specific sim requires it.
Here’s what you need to care about:
FF (Force Feedback Strength) – Basically your torque dial. Percentage of the base’s max output. On a CSL DD 8Nm, running FF at 80 gives you 6.4Nm. On a Podium DD1 that’s 16Nm – properly strong. Start around 80% and adjust in-sim rather than cranking this to max. Pro drivers run less force than you’d think – somewhere around 10-14Nm regardless of what their base can deliver.
NDP (Natural Damper) – Adds resistance proportional to how fast you turn the wheel. Range of 0-100. I’d start at 20-30 for most sims. Too high and everything feels sluggish. Too low on certain cars (especially open-wheelers) and the wheel oscillates.
NFR (Natural Friction) – A constant drag on the wheel that’s always present, moving or stationary. 10-20 gives a subtle heft that makes cheap rims feel less hollow. Go past 30 and you’ll start burying tyre feel under fake resistance.
NIN (Natural Inertia) – Simulates the mass of a real steering column. 0-20 is the typical range for DD bases. Higher values make the wheel feel heavier to get moving but also smoother through fast direction changes.
INT (Interpolation) – This one’s model-specific. GamerMuscle’s golden setting of INT 3 applies to the older DD1/DD2. On the newer ClubSport DD and DD+, use INT 0 or 1 – these bases have higher native signal processing that doesn’t need the extra smoothing. INT fills in the gaps between the sim’s relatively low-frequency FFB output (usually 60Hz for DirectInput sims, up to 360Hz for iRacing) and the motor’s much faster update rate.
FEI (Force Effect Intensity) – Controls the strength of periodic effects like ABS vibration and traction control buzzes. Start at 100 and dial down if those effects overwhelm the core steering feel. Most community profiles land between 60 and 100.
FullForce – A Fanatec DD-specific feature that adds high-frequency road surface vibrations. Unique to direct drive bases, doesn’t exist on belt/gear-driven wheelbases. Worth enabling for immersion but can feel buzzy on certain surfaces if you’re also running high in-sim road effects.
For Fanatec settings in iRacing specifically, I’ve done a separate deep dive. Hardware-wise, the Fanatec buyer’s guide has the full breakdown.
Moza: Pit House Settings
Pit House has one killer feature nobody else has: the FFB Effects Equalizer. It’s basically a five-band EQ for your force feedback signal. Low frequencies (0-10Hz) cover overall steering weight and body roll. Mid frequencies (15-25Hz) handle kerb strikes, tyre slip transitions, ABS feel. High frequencies (40-100Hz) are road texture, surface buzz, vibration detail.
GamerMuscle called this “the most powerful single setting in Pit House” and honestly, he’s right. Most other brands handle this stuff with a single slider. Having per-frequency control means you can boost mid-range detail (where the useful information lives) while cutting high-frequency buzz that just fatigues your hands during endurance stints.
Visit Our Sponsors
Beyond the EQ, here’s the rest:
FFB Intensity – Overall force output percentage. On the R9 (9Nm), SBOR Racing and Boosted Media both run this at 100%. On the R21 (21Nm), SBOR runs at 60% to land around 12-13Nm effective torque. That’s the pattern: higher-Nm bases should run lower percentages because the sweet spot for most drivers sits at 10-14Nm actual output regardless of what the base can do.
Natural Inertia – Measured in percentage, with 100% being neutral. 50-100% is where you want to be initially. GamerMuscle and Boosted Media both run higher values (150-200%) as personal preference, but starting there without understanding why will just add weight you don’t need. Experiment from 100% upward.
Wheel Damper – Ranges from 0-100. Boosted Media runs 15 on Dirt Rally 2.0 and 60 on AC – huge range depending on the sim. Rally sims want less damping for quick counter-steer response. Circuit sims can handle more for a heavier, more planted feel.
Speed Dependent Damping – Applies more damping as wheel rotation speed increases. Useful for catching oversteer snaps without deadening low-speed feel. The speed threshold setting determines at what kph the additional damping kicks in – 90kph is a common starting point.
The Moza iRacing FFB guide breaks down R5 through R21 settings in detail. And there’s a full Moza hardware overview if you’re comparing bases.
Simagic: SimPro Manager Settings
One thing that trips people up constantly: Simagic’s software is called SimPro Manager, not FX Pro. FX Pro’s a steering wheel rim. Confusing naming, but there you go. The older Alpha Manager software got replaced by SimPro a while back.
Compared to Fanalab’s sprawl, SimPro Manager’s refreshingly simple. Three sliders you’ll actually touch:
Overall Strength – Same idea as Fanatec’s FF or Moza’s FFB Intensity. Alpha Mini at 10Nm? Run it at 80-100%. On an Alpha U at 23Nm, drop it to 50-70% – you don’t need all 23Nm trying to rip your arms off for two hours.
Damping and Friction – Work similarly to Fanatec’s NDP and NFR. Keep both low (0-20) and let the sim handle the heavy lifting. Simagic’s specific advantage here is Speed Dependent Damping which scales with rotation speed – gives you a planted feel at the straight-line centre without mushiness in corners.
Road Sensitivity – Controls how much surface texture comes through. 5-8 is typical for circuit racing. Rally and off-road sims benefit from higher values (8-10) since the surface variation IS the information you’re looking for.
The full Simagic ecosystem guide covers their wheel rims, pedals, and QR system too.
Simucube: TrueDrive Settings
TrueDrive is where things get properly technical. Simucube’s software exposes settings that other brands handle internally, which means more control but also more rope to hang yourself with.
Reconstruction Filter – Unique to Simucube. This smooths the transition between FFB updates from the sim. Filter 1 is raw and immediate (good for high-update-rate sims like iRacing at 360Hz). Filter 4 or higher adds more interpolation – useful for 60Hz DirectInput sims like Dirt Rally 2.0 where the gaps between updates are larger.
Slew Rate – Controls how fast the motor can change force direction. Lower values feel smoother but add latency. Higher values feel more responsive but can cause oscillation on lighter wheel rims. Daniel Morad runs Bandwidth 2200 and Slew Rate 30 on his SC2 Pro. Team Redline’s Luke keeps it minimal – 100% strength, 900 steering range, damping at 20, and lets the sim do the work.
Damping and Friction – Daniel Morad uses Damping 20, Friction 10, Inertia 20. Team Redline’s approach: Damping 20, everything else near zero. Two pro drivers, two completely different setups. Says it all, really. Wheel rim weight, driving style, how much detail you want versus smoothness – it’s all personal. Worth trying both approaches over a few sessions.
One thing both pros agree on: keep in-sim FFB as high as possible without clipping, and do your filtering in TrueDrive rather than in the sim. Basically the opposite of how Fanatec and Moza users tend to run things.
The Simucube 3 write-up has the hardware details. Got problems? The troubleshooting guide covers the common ones.
Thrustmaster: T-DII Control Panel
Thrustmaster have one DD base – the T818. Different beast to the competition. A physical mode switch on the base itself toggles between PC, PS, and Advanced modes. Advanced mode opens up the full settings in the TM Control Panel (or the newer Creation Hub software).
Fewer settings than the competition, which isn’t a bad thing. Overall Force, Spring, and Damper are the main ones. Thrustmaster’s approach leans toward letting each sim’s native FFB implementation do the work, with the base adding minimal processing on top. For the T818 at 10Nm, most community profiles run Overall Force at 75-100% and keep Spring and Damper low.
Common Mistakes
I’ve gone through hundreds of forum posts, Reddit threads, and YouTube comments pulling this research together. These mistakes show up constantly:
- Running FFB strength too high (clipping) – The signal saturates at maximum and you lose all dynamic variation. Those subtle weight transfers mid-corner just disappear. Drop your overall strength until you can feel the difference between a light load and a heavy one through medium-speed corners.
- Stacking filters across both layers – Damping in the wheelbase software plus damping in the sim plus the hardware’s own mechanical damping equals mush. Pick one layer. For ACC and AMS2, the sim-level damping is good enough on its own.
- Copying profiles without understanding them – GamerMuscle’s point that profiles are specific to hardware, firmware version, wheel rim weight, and personal preference. A setting that works on his R12 with a KS wheel won’t necessarily translate to your R9 with a GS V2.
- Never recalibrating after firmware updates – Fanatec’s FullForce, Simucube’s Tuner 3.0, Moza’s Pit House updates have all changed default behaviours. Worth checking yours aren’t borked after a firmware update.
- Ignoring wheel rim weight – A 1.5kg wheel rim behaves differently to a 0.9kg one. Heavier rims need more damping to prevent oscillation. Larger diameter rims amplify perceived torque at the hands. If you swap rims, revisit your damping and inertia values.
- Adjusting only one layer – Tweaking only the wheelbase software or only the in-sim settings gives you half the picture. Start from a known wheelbase baseline, then tune in-sim.
Per-Sim Quick Tips
A few sim-specific notes that apply regardless of your wheelbase brand:
iRacing – Now supports 360Hz FFB for Moza bases (and eventually others). Set Wheel Force in-sim to match your base’s actual Nm rating. Linear mode ON. If you run multiple car types, save separate in-sim profiles – an MX-5 and an LMP2 want very different strength values. I’ve written a dedicated iRacing torque settings guide that goes deeper.
ACC – Dynamic Damping at 100% is ACC’s default and works well with DD bases. Road Effects at 0% – ACC’s road effects are artificial and most DD users turn them off entirely. FFB Frequency – 333Hz if your CPU’s struggling, 400Hz if it’s got room to breathe.
Le Mans Ultimate – FFB used to be genuinely bad at launch. The 1.2 patch sorted most of it out. In-game gain somewhere between 50-75% works for most bases – lower if you’ve got a 20Nm+ unit, higher on a 9Nm. Steering rotation should match between Pit House/Fanalab and the in-sim setting. I’ve covered LMU’s FFB settings with RevoSim separately.
Dirt Rally 2.0 / EA WRC – Max out your wheel speed setting for rally – you need the base to keep up with quick opposite-lock transitions. SAT (Self Aligning Torque) around 80-100. Lower your damping to keep counter-steer response sharp.
Assetto Corsa – Set Filter to 0 for DD bases. Gain between 60-90% depending on car and base strength. Enhanced Understeer OFF for a purist feel. Road, Kerb, and Slip effects between 10-20% add surface detail without overwhelming the core tyre information.
Still shopping for a base? The DD wheel buyer’s guide covers every brand and price point. And for the gear that connects your wheel to the base, there’s the complete guide to QR hubs. The settings tool above gets updated as new community research surfaces – if you’ve got a profile that works well, I’d love to hear about it.
Related Posts

Racing Cockpits Buyer’s Guide
Best VR Headsets for Flight Simulation
Fanatec ClubSport Steering Wheel GT3 for Xbox Review
Simagic Sim Racing: The Complete Buyer’s Guide (2026)
Corsair for Sim Racers: Ecosystem Buyers Guide 2026